This post may contain affiliate links. Please read our disclosure policy.
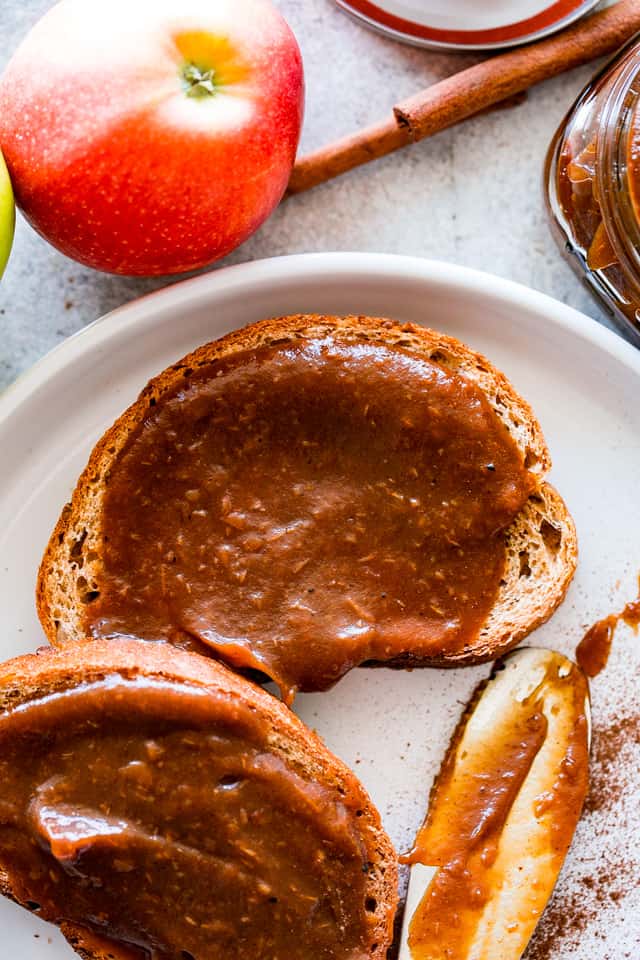
Sweet, delicious, gently caramelized, and flavored with warming spices, this Instant Pot Apple Butter is the taste of Autumn in a jar!
Jump To
A Delicious Instant Pot Apple Butter Recipe
Traditional apple butter recipes often require a long, slow cooking process, similar to simmering a pot of applesauce and then further caramelizing it. However, with this recipe, we’re cutting down that extensive cooking time drastically, thanks to the magic of the Instant Pot! You can whip up this delectable, cinnamon-infused apple butter in under an hour. Plus, it’s freezer-friendly so that you can savor the sweetness for up to 6 months – now that’s a tasty investment!
What’s the Difference Between Applesauce and Apple Butter?
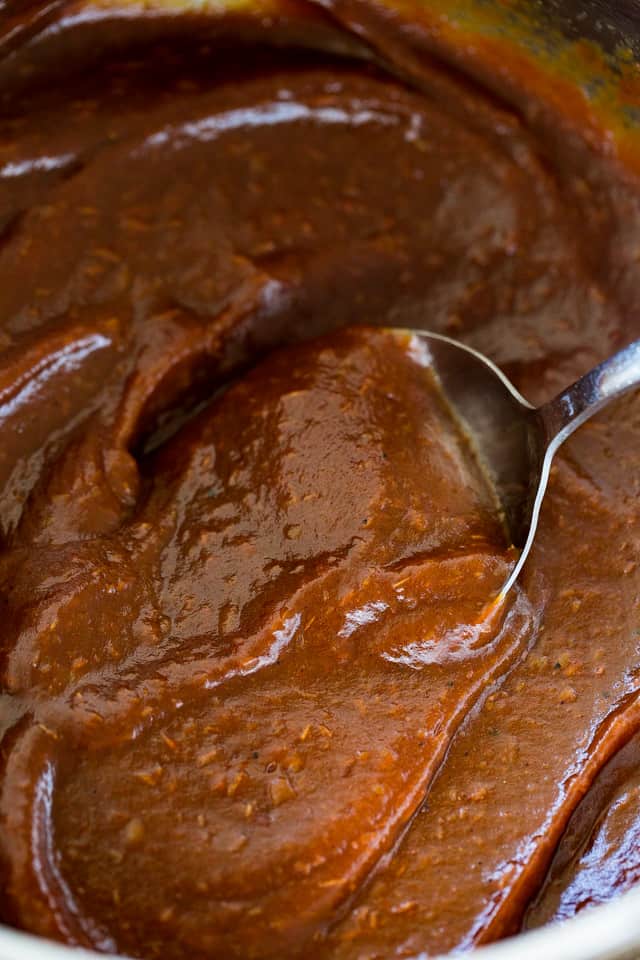
The main difference between applesauce and apple butter is caramelization, which is when an ingredient is cooked to bring out its natural sugars, which then brown and sweeten during the cooking process. Like caramel!
So apple butter begins as cooked-down apples which are pureed, and then cooked further to a deep caramel color and sweetness. Also, applesauce may or may not be spiced, but apple butter is almost always flavored with cinnamon and other warm spices.
Should You Leave the Apple Peel On?
You can definitely leave the peel on! This makes preparing the fresh apples very easy. You can leave the peels on if the apples are unwaxed; if using conventional waxed apples, peel them or trying a wax-removal method like this one. Either way, as with all produce, wash the apples well before using!
Recipe Ingredients
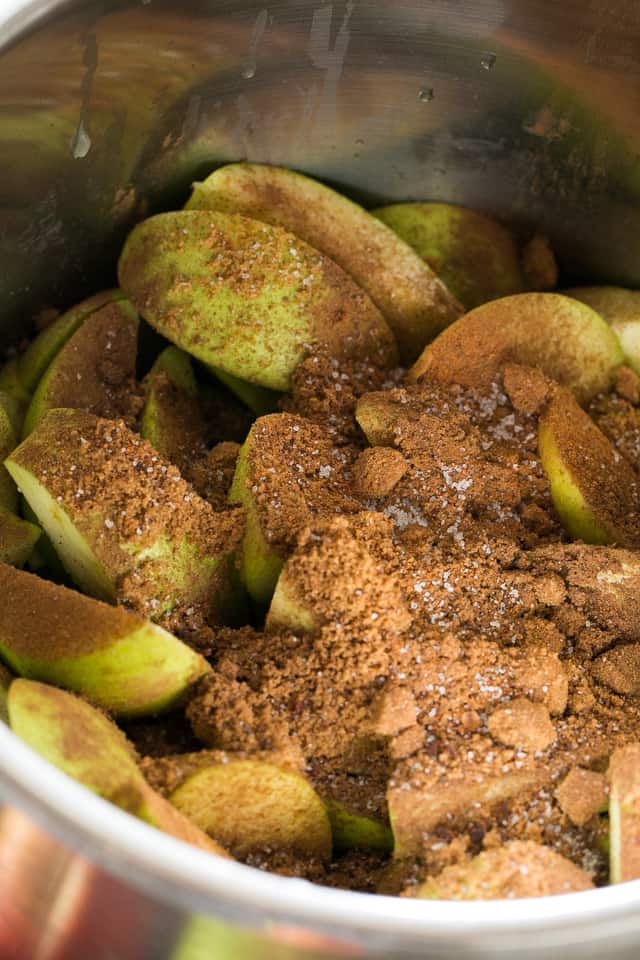
- Apples: You’ll need about 5 pounds of sweet apples cored and cut into wedges. I like to use Granny Smith, but sweet apples such as Pink Lady, Fuji, Golden Delicious, are also great!
- Lemon Juice: This adds a needed tangy note to the recipe.
- Brown Sugar: When measuring, be sure to pack the brown sugar down into the measuring cup for best results.
- Granulated Sugar: You may substitute raw or natural sugar for some or all of the granulated AND brown sugar in this recipe.
- Apple Cider: This adds the liquid necessary for pressure cooking in the Instant Pot (and it’s delicious).
- Cinnamon, Allspice, and Nutmeg
- Vanilla: Use pure vanilla extract for the best flavor.
How to Make Apple Butter In The Instant Pot
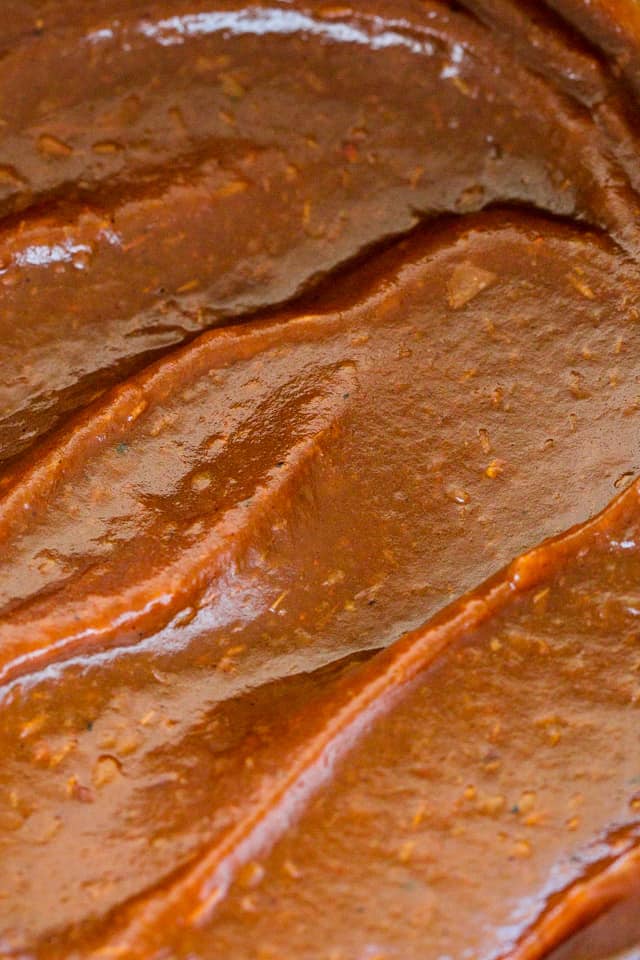
- Pressure Cook the Apples: Place the prepared apples into the Instant Pot, and stir in the lemon juice, sugars, cider, spices, and vanilla. Pressure cook on HIGH for 8 minutes. When cooking time is up, let the pressure release naturally for 15 minutes.
- Blend the Cooked Apples: Once the pressure has been released, remove the lid and use an immersion blender to puree the apple mixture until smooth, OR puree the apples in batches using a food processor or high-powered blender. (If you do this, return the apples to the Instant Pot.)
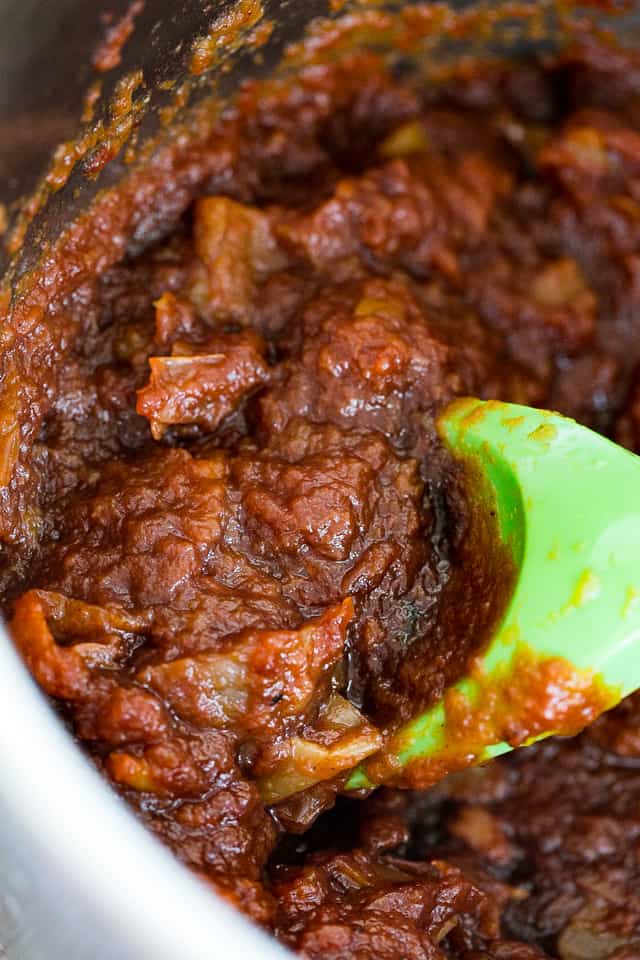
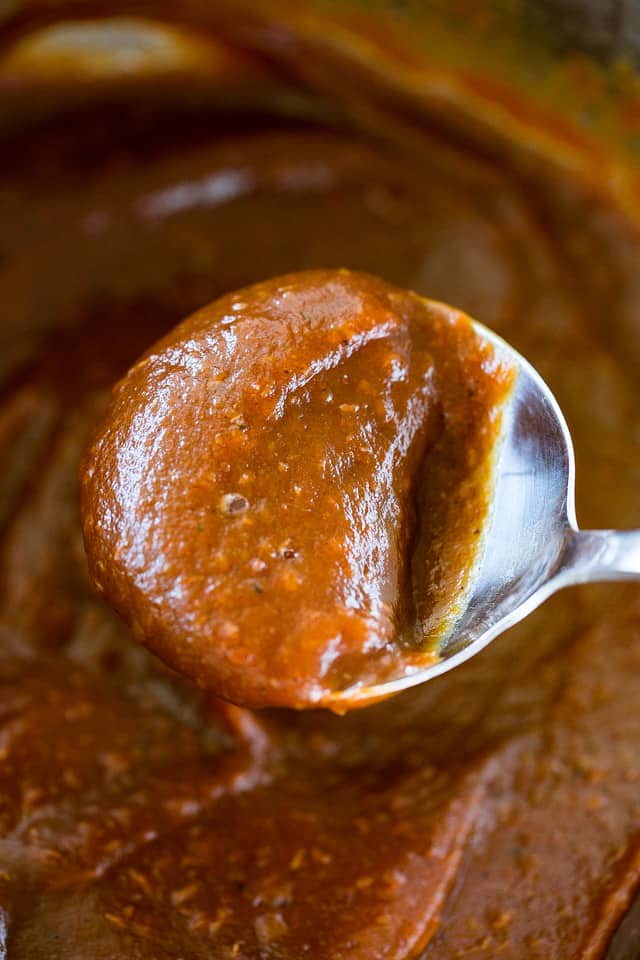
- Simmer the Puree: Turn the Instant Pot to saute and press the MINUS button to set it to LESS. Bring the apple puree to a simmer and cook for 12 to 15 minutes, until thickened into a spreadable consistency and dark golden brown. Cool, Serve, and Store!
What Is Apple Butter Used For?
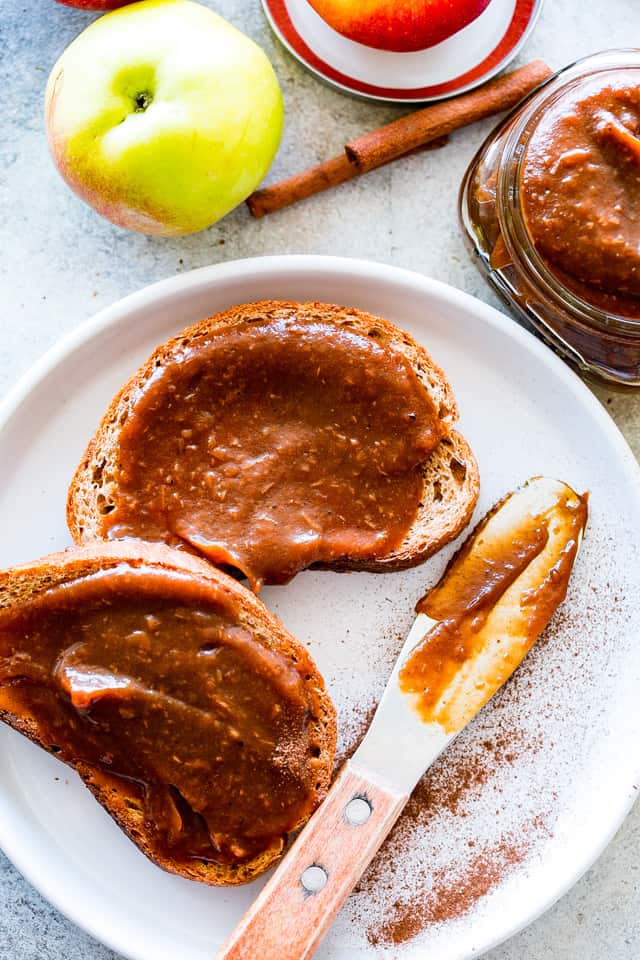
- Breakfast time, Teatime, or Anytime: Like any fruit spread, apple butter is wonderful on toast, biscuits, scones, English Muffins, and more. I like spreading it on pancakes!
- Charcuterie: With its complex flavors and sweet, fruity mellowness, apple butter makes a wonderful addition to a cheese board or charcuterie spread. It pairs very well with crackers, goat cheese, cured meats, and more.
- Substitutions: You can try using apple butter where you might normally use apple sauce– in baked goods, barbeque sauces, marinades, and more.
Choosing Apples
Typically, the apples used for recipes (as opposed to snacking) are tart and firm, but many cooks prefer a sweeter, more mellow apple for making apple butter. This is because the sugars in the apple are more apparent and lend themselves to caramelization. Yum! Try your favorite sweet apple, such as the Delicious varieties, Gala and Fuji apples, Pink Lady apples, and more.
How to Store Apple Butter
- Leftovers can be refrigerated in airtight containers for up to 3 weeks.
- You can also fill airtight containers or freezer bags with apple butter and keep it, well-sealed, in the freezer for up to 6 months.
- If you would like to can apple butter, it works really well! Follow Ball’s Canning Guides for step-by-step directions.
ENJOY!
Instant Pot Apple Butter
Ingredients
- 5 pounds apples,, cored, and cut into wedges (peel is optional)
- 1 tablespoon fresh lemon juice
- ½ cup brown sugar
- ¼ cup granulated sugar
- ¼ cup apple cider,, (NOT apple cider vinegar, but you can use pure apple juice if you don't have apple cider)
- 1 teaspoon ground cinnamon
- ½ teaspoon ground allspice
- ½ teaspoon ground nutmeg
- 1 tablespoon pure vanilla extract
Instructions
- Place the apples in the Instant Pot and stir in the lemon juice.
- To the apples, add sugars, apple cider, cinnamon, allspice, nutmeg, and vanilla; stir around until well combined.
- Secure the lid. Set the valve to sealing. Set to Pressure Cook on HIGH for 8 minutes.
- When cooking time is up, allow Natural Pressure Release for 15 minutes. Remove the lid.
- Using an immersion blender, blend the apple mixture until smooth. You can also use a high-powered blender or a food processor to blend the apples, but do it in batches and return the blended apples back to the IP.
- Turn the Instant Pot to Saute and press the MINUS button to set it to LESS.
- Bring the mixture to a simmer and continue to cook for 12 to 15 minutes or until thickened to desired consistency.
- Turn OFF the IP, but let the apple butter completely cool inside the IP.
- Once cooled, spoon the apple butter into an airtight container and keep refrigerated for 3 weeks. You can also freeze it for up to 6 months.
- If you want to preserve the Apple Butter in jars, use Ball’s Canning Guides for step-by-step directions.
Nutrition
Nutritional info is an estimate and provided as courtesy. Values may vary according to the ingredients and tools used. Please use your preferred nutritional calculator for more detailed info.






This was great and very easy! I used Swerve brown “sugar” for both the brown & white. It wasn’t quite sweet enough (for ME, anyway) at the end – not sure if it was due to the Swerve not being real sugar or if my apples weren’t very sweet, but I added a tablespoon or two of molasses and it was perfect! thanks!
I’m glad it turned out great for you! Swerve can sometimes be a bit less sweet than regular sugar, but adding molasses sounds like a perfect fix. Thanks for sharing your adjustments! 🙂