This post may contain affiliate links. Please read our disclosure policy.
You’ll absolutely love this easy Challah Bread recipe. It yields a soft, rich, and slightly sweet braided loaf, golden-brown and light as air. You’ve got to try this one!
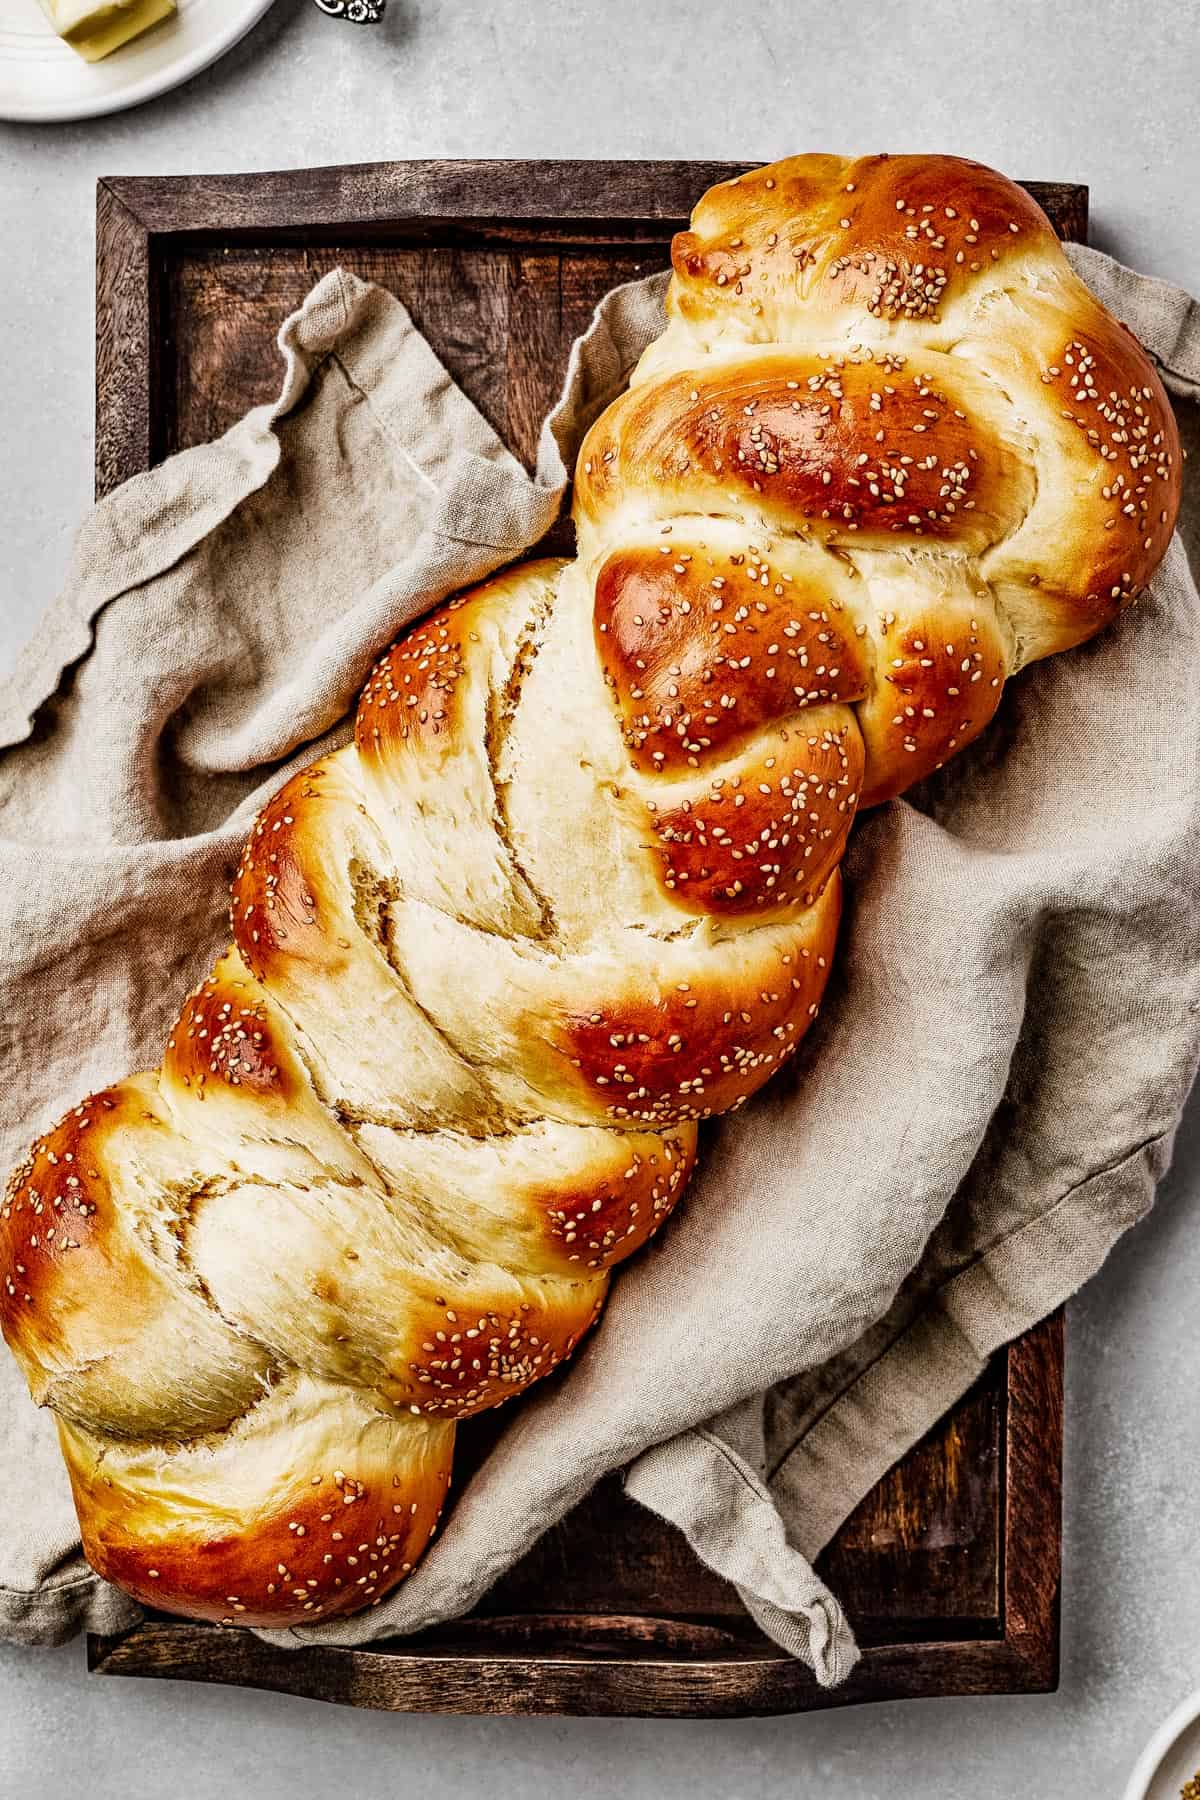
Easy Homemade Challah
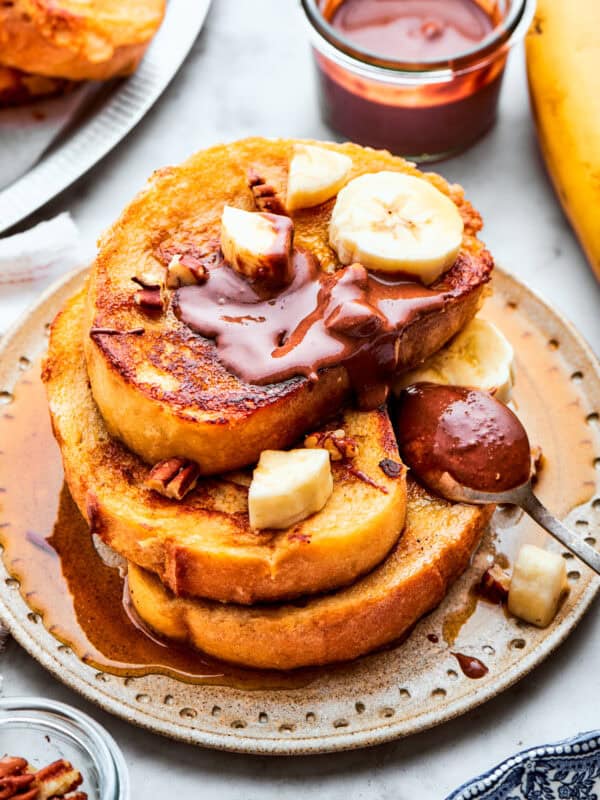
Challah bread is a fluffy, cloud-like bread that everyone should try to make at least once. (Spoiler alert – if you try it once, you’ll be totally hooked!) Whether you slice it for sandwiches, fry it into French toast, or just pull fluffy pieces off the loaf and eat it as a snack, challah bread is a special treat.
It’s even soft and sweet enough to be eaten as a light dessert with honey, Nutella, or jam. 😋
If you’ve never made challah before, don’t be intimidated. It’s actually a straightforward recipe that anyone can master. This challah bread recipe creates a beautifully springy loaf of golden bread in just a few hours, and most of that time is hands-off.
I promise, Challah is something you’ll want to make time and time again.
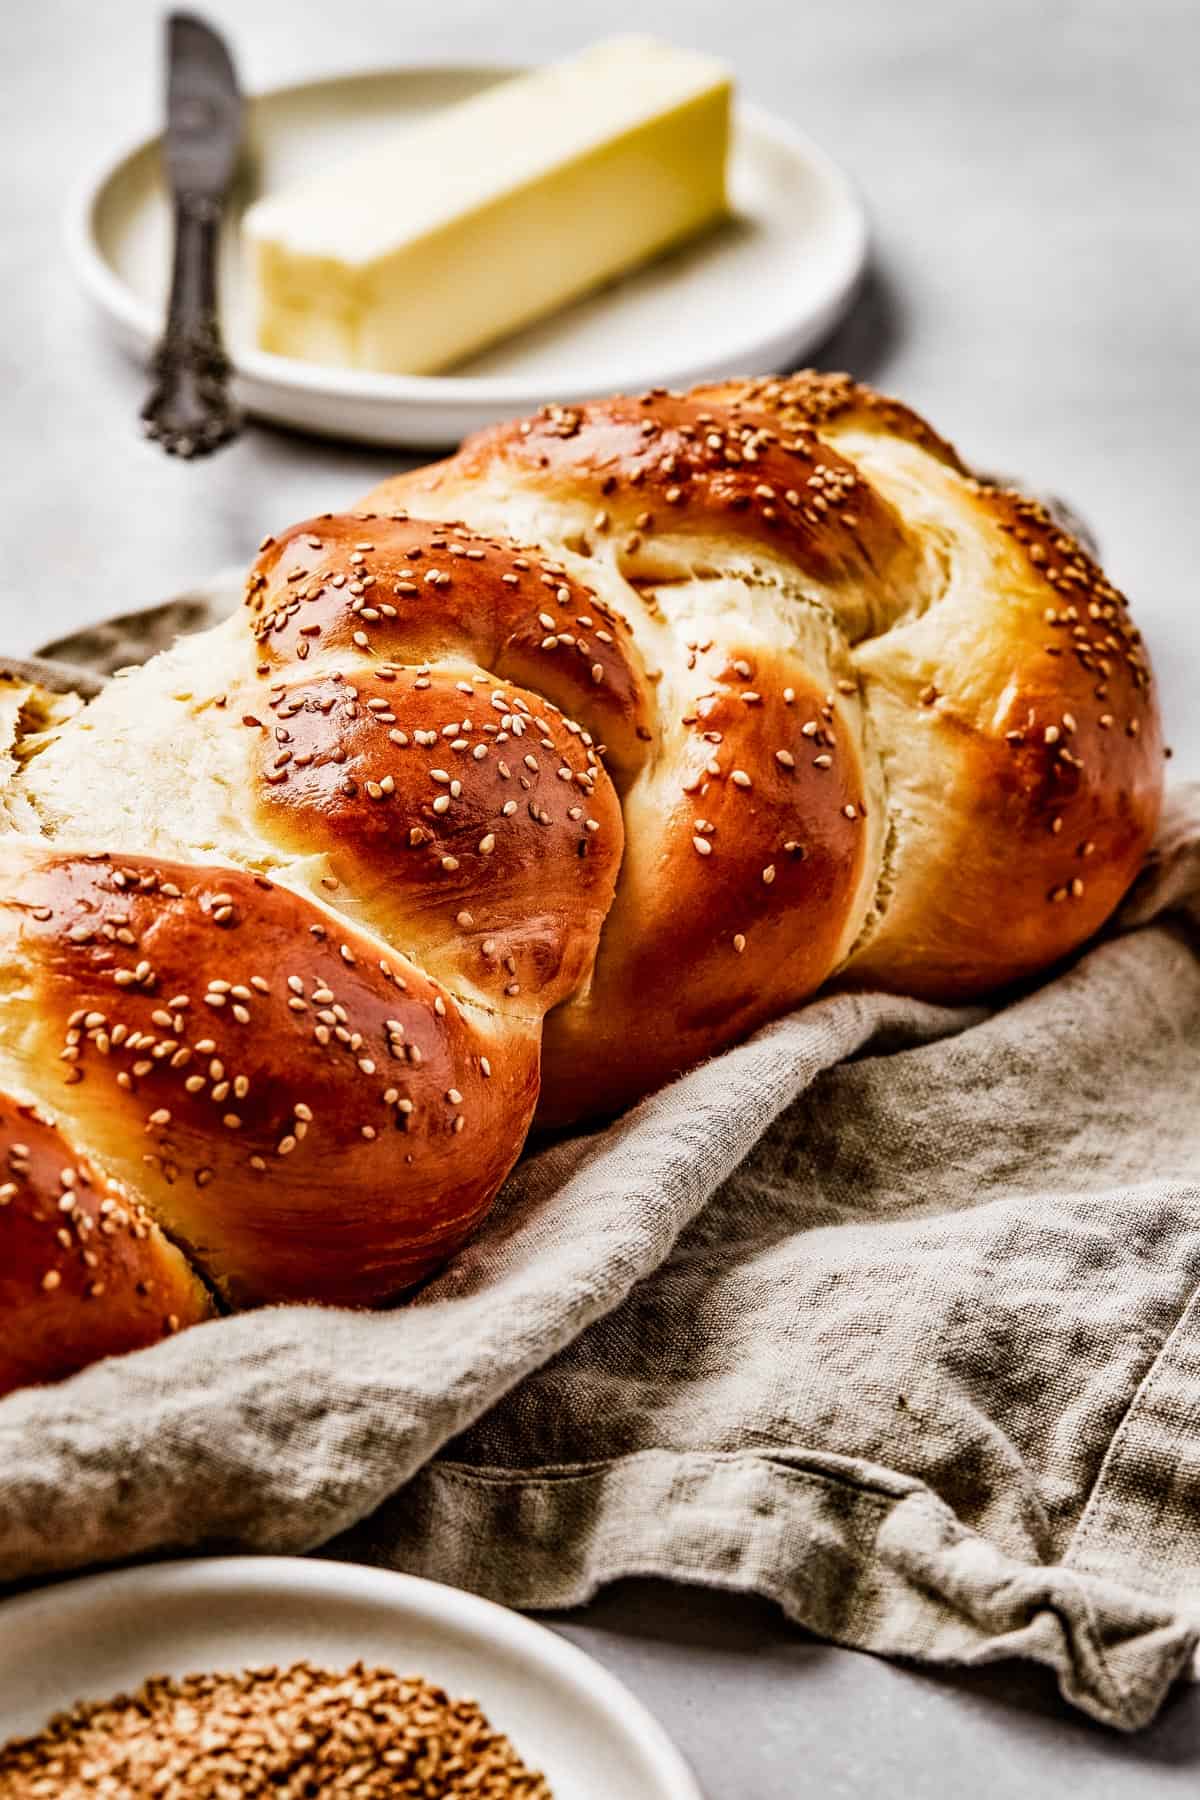
What Makes Challah Different?
The main difference between challah and other white breads (like sandwich bread or a baguette) is that it is made with an enriched dough. Challah includes both eggs, and extra fat, for a significant increase in flavor and a smooth, luscious texture.
This puts challah bread in a similar category to brioche, but brioche breads are famous for their butter content. Challah uses oil to achieve a similar result: rich, yeasted bread that is delightfully fluffy and light.
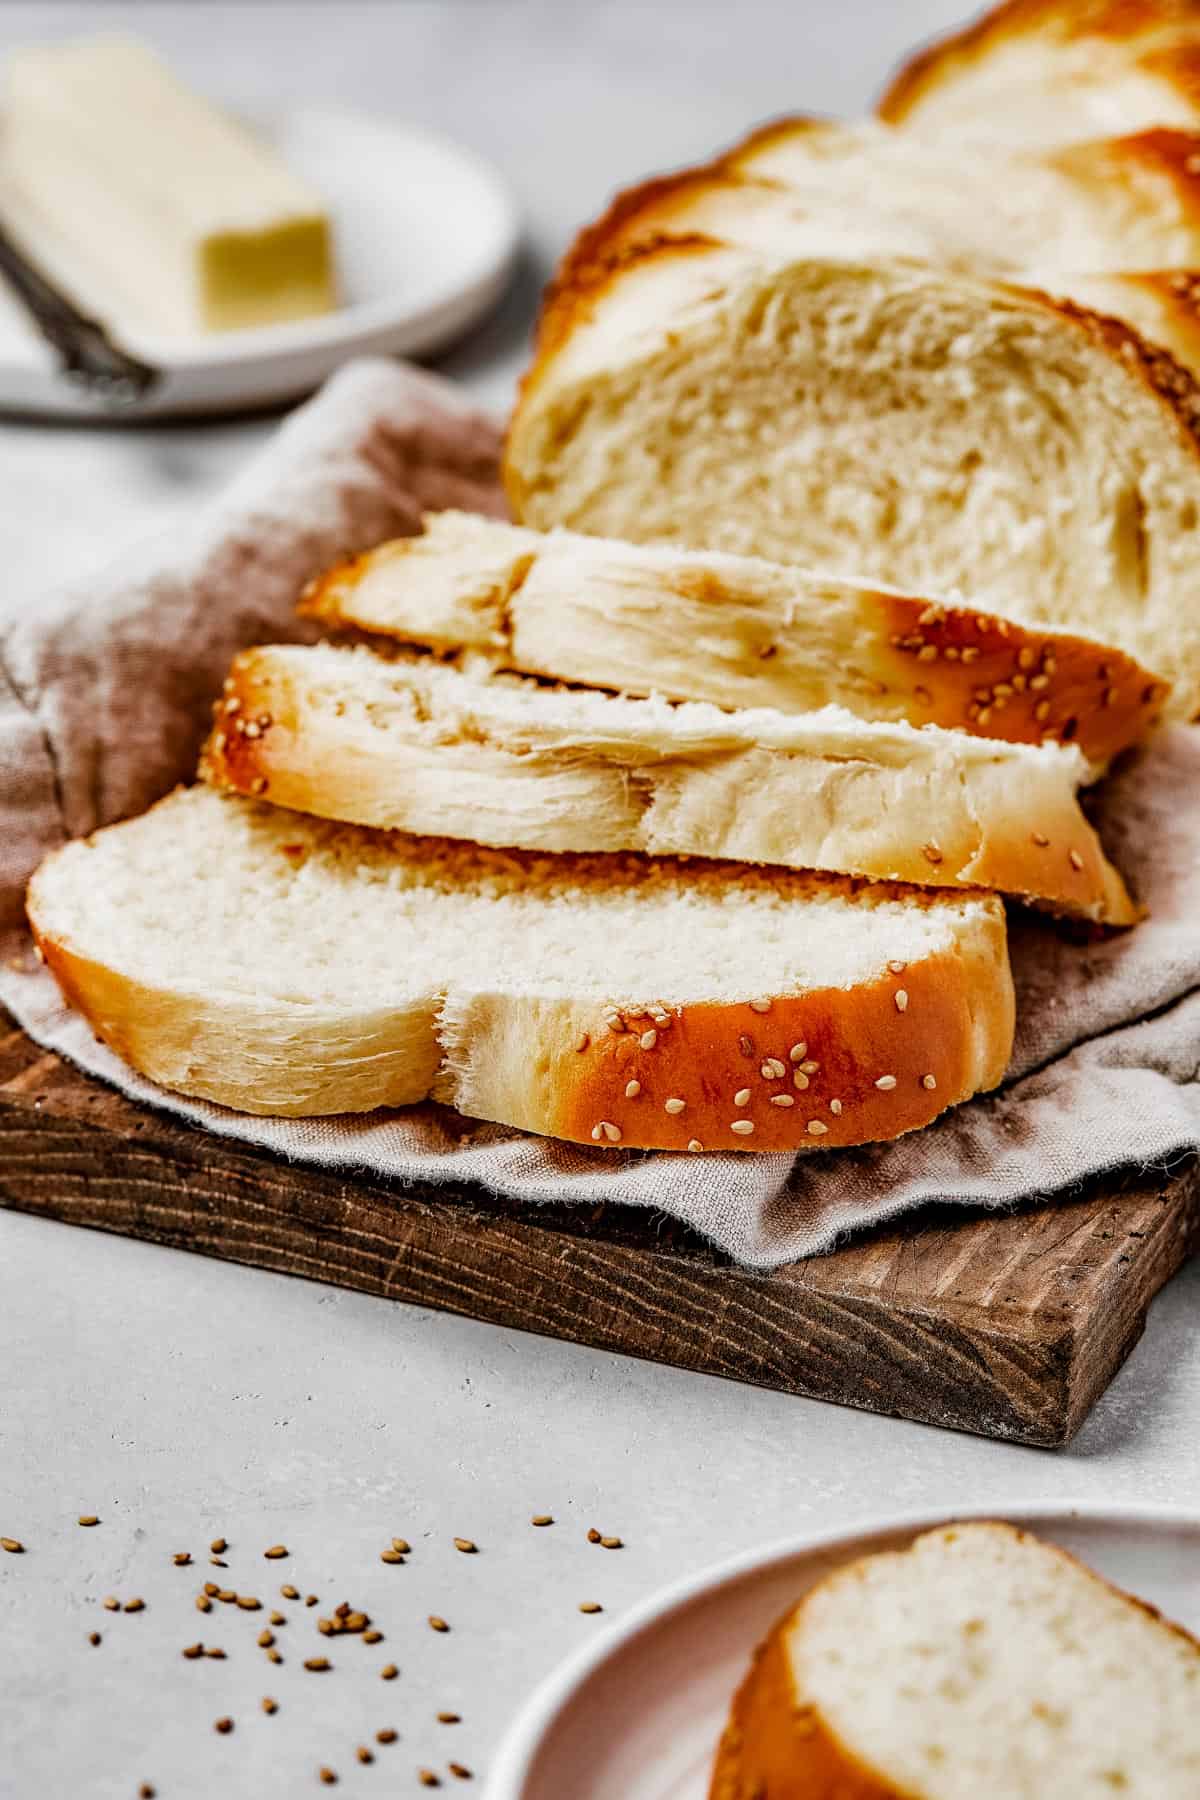
It is typically braided, and very slightly sweet, although you can shape it in many different ways, and reduce the sweetness if you prefer. (Note: reducing the amount of sugar in the recipe may affect the rise, so proceed with caution if you do this!)
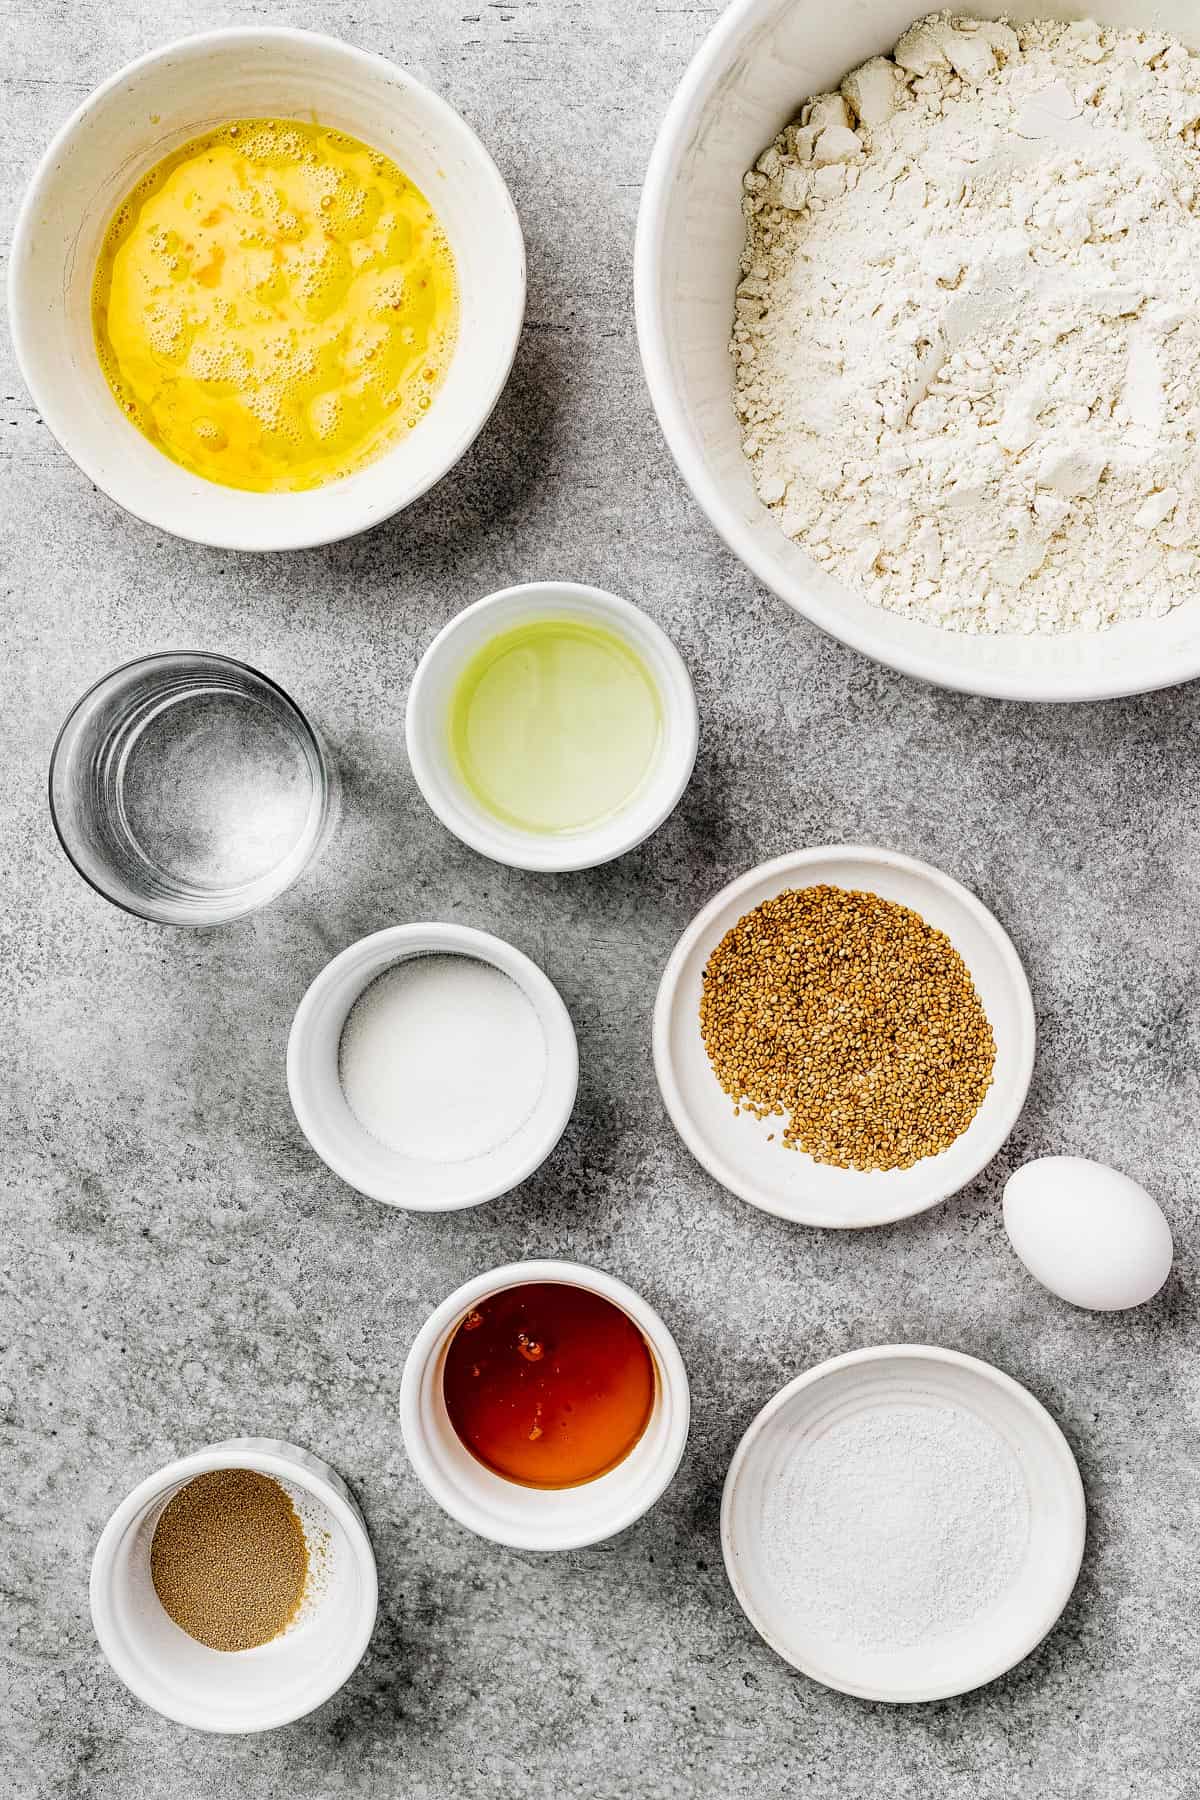
What You’ll Need
This scrumptious challah bread recipe couldn’t be simpler! Here are the things you’ll need to start on your loaf. There are only a few:
For the Bread
- Dry Yeast: I used one packet of active dry yeast.
- Water: The water should be warm, about at your body temperature or just slightly higher. Don’t use hot water, or it will kill the yeast and the bread won’t rise. Cold water won’t let the yeast activate, so avoid that, too.
- Sugar: Sugar lends the bread that slight sweetness, and it helps “feed” the yeast to help the bread rise.
- Honey: Another component that just lightly sweetens your challah, and adds a sunny richness to the flavor.
- Eggs: Room temperature eggs are best for baking, because they don’t cool down the yeast or slow the rise as much.
- Vegetable Oil: While most breads call for butter, challah bread uses oil. I like the neutral flavor of vegetable oil, but you can substitute olive oil if you prefer, or even go with melted butter (note: for those keeping kosher, a buttery challah loaf is no longer pareve).
- Flour: You’ll want to use all-purpose flour or bread flour. If you go with bread flour, you may need to increase the liquid slightly while kneading to get a smooth, elastic dough.
- Salt
For Topping
- Egg: You’ll beat another whole egg in a small bowl, to brush over the top of the challah and get that perfect golden-brown crust.
- Sesame Seeds: A generous sprinkling of sesame seeds is a beautiful, flavorful, and easy optional topping.
Let’s Make Challah!
Time to start on your loaf! If you are already familiar with bread baking, then you will probably find this a fairly simple process. If you are new to bread baking, it’s still easy – but I recommend reading through the instructions a couple of times to familiarize yourself with them before you begin.
- Make Your Dough. Mix the yeast, water, sugar, and honey together in a small bowl, and let it sit until a frothy layer begins to form. Meanwhile, in a stand mixer fitted with a whisk attachment, mix the eggs and oil on low speed. Take off the whisk attachment, and put in a bread hook attachment. Pour in the yeast mixture, flour, and salt, and mix all of that together on medium speed until the dough is smooth, elastic, and not sticky. Sprinkle in more flour if the dough is too wet, one tablespoon at a time as needed. (You can also mix the dough up and then knead it by hand for 5 to 10 minutes, until it’s the right texture!)
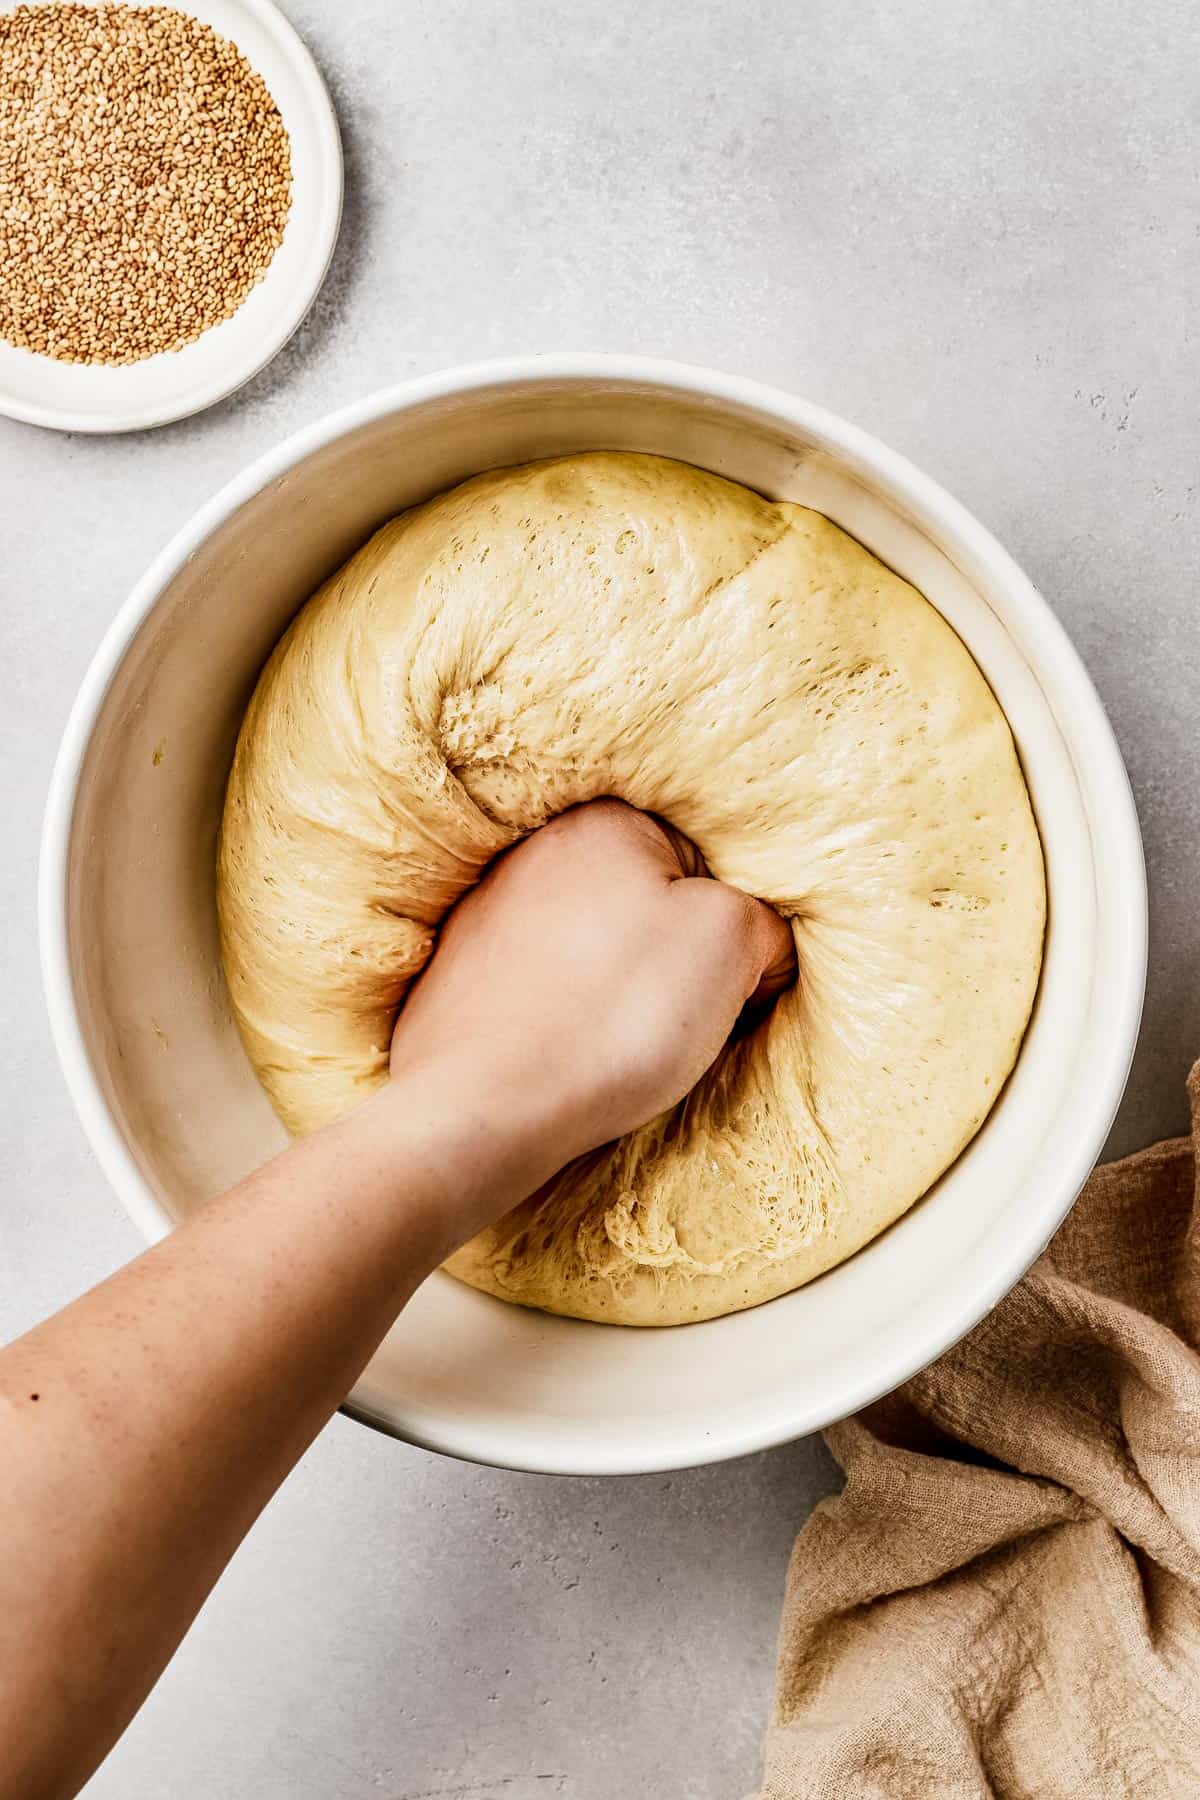
- Let the Dough Rise (First Rise). Once the dough is smooth and elastic, grease a large bowl with oil. Gather the dough out of the mixing bowl, and shape it into a big ball. Place the dough into the greased bowl, and turn it over a couple of times to coat it all over in a layer of oil. Cover with a damp cloth, and let the challah rise in a warm place for 1-2 hours, or until doubled.
- Knead the Dough. When the dough has risen enough, gently punch it down to deflate it. Turn the dough out on a floured surface, and knead it again for about 5 minutes, adding more flour as needed to prevent sticking. Try not to add too much flour, or the dough may end up a little dry.
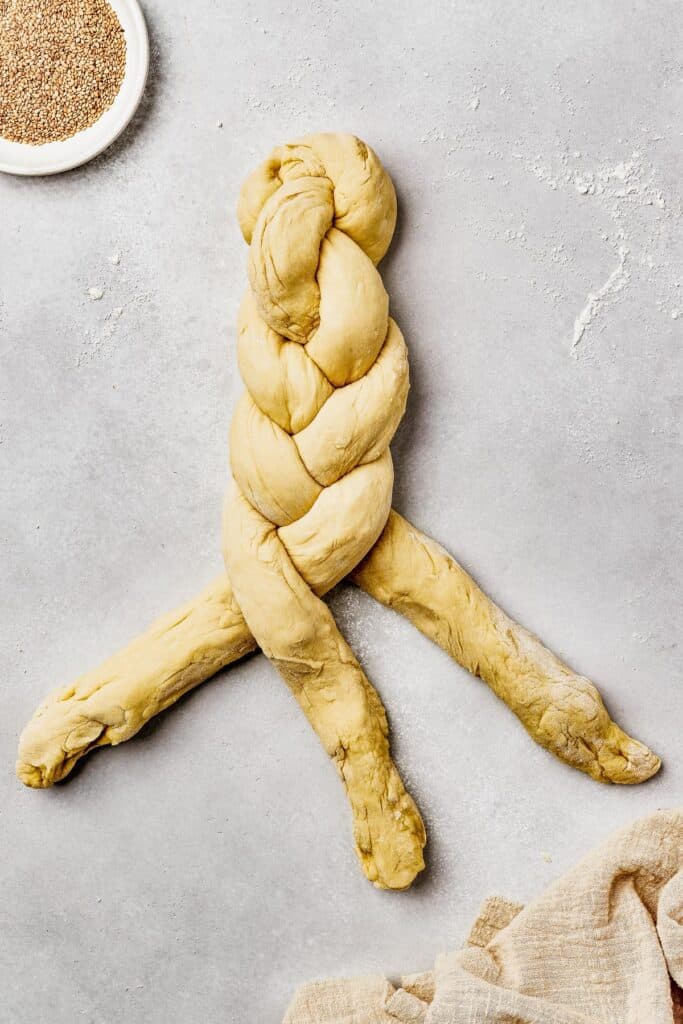
- Braid the Challah Loaf. Divide the kneaded dough into three equal pieces. Roll each piece into a long “snake” shape, about 1 to 2 inches in diameter. Lay the three long pieces of dough parallel to each other, and pinch the top ends together to join them. Now braid the pieces, all the way to the bottom, and pinch the three bottom ends together to make a single loaf.
- Let the Loaf Rise (Second Rise). Lightly grease a baking sheet with a bit more oil, and gently place the braided loaf on top. Cover it with a damp tea towel or kitchen towel, and let it rise for 30 minutes to 1 hour.
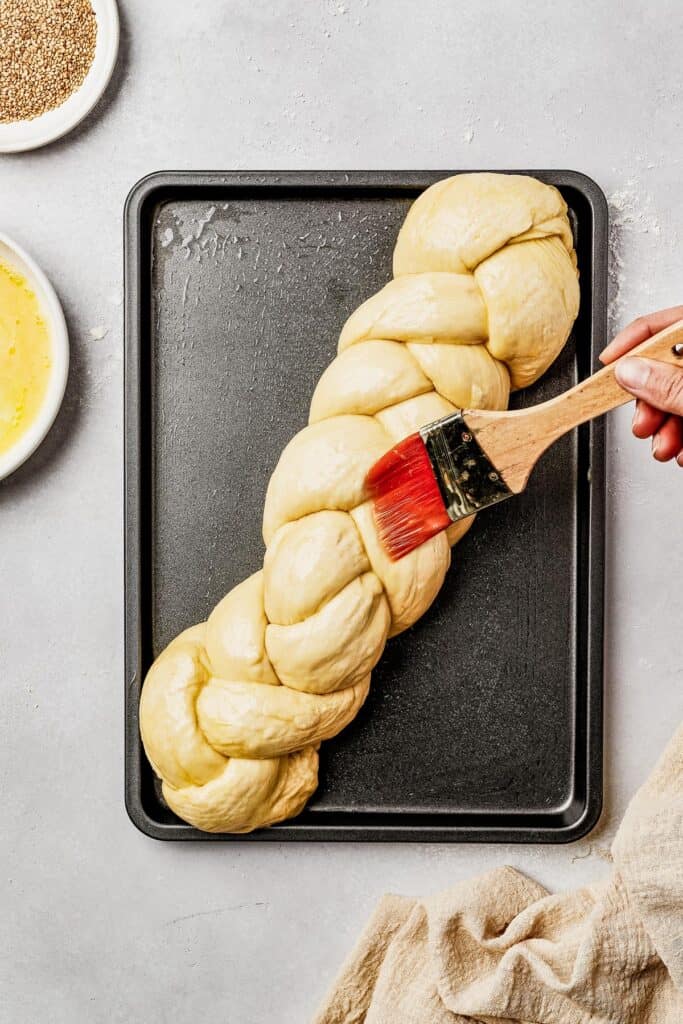
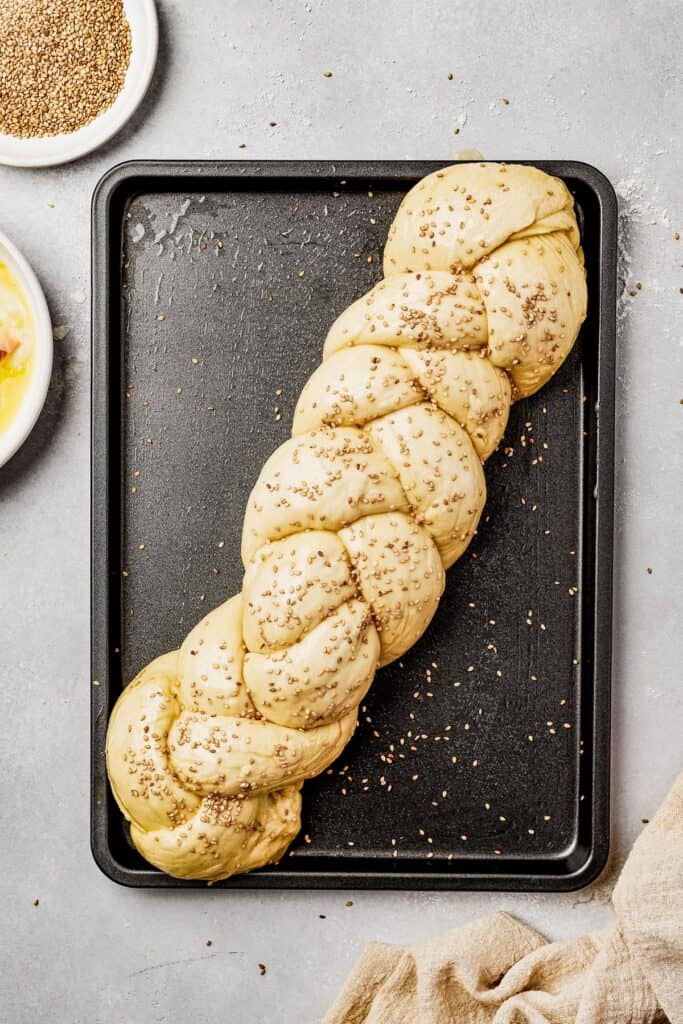
- Bake. When the dough is just about done rising, preheat the oven to 350°F. Whisk an egg in a small bowl, and brush the beaten egg over the top of the loaf. Sprinkle the loaf with sesame seeds, if you are using them, and then bake the challah for 35 to 40 minutes, until it’s golden brown. Let challah cool on a wire rack before slicing and serving.
Helpful Tips
Baking is more like a science than an art, so it’s good to know some helpful tips for making sure it turns out right. These are just a few pointers I have picked up over the years when it comes to baking bread:
- Yeast: If the yeast does not form a slightly frothy layer after 5 to 10 minutes after adding the sugar and warm water, it may have expired. You’ll need to get new yeast.
- Kneading: When kneading the dough, you can do a “poke test” to see if it’s ready. If you poke the dough and it does not spring back or it sticks to your fingers, continue kneading. It’s ready when the dough does not stick and it springs back a bit.
- Warm Rising Environment: When your dough is rising, make sure to keep it in a warm environment to ensure maximum rising. If you don’t have a warm place to keep it, put it in the oven (but don’t turn the oven on) with a bowl or pan of boiling water. The warm steam will help it rise.
- Rising: To decide if it’s risen enough, poke it gently with your finger. If the indentation remains, it is done rising. If the indentation fills back in, the dough is not done rising yet.
- Doneness: The loaf is done baking when it sounds hollow when you tap the bottom. If it doesn’t sound hollow yet, that means there is still too much moisture and not enough air inside. Continue baking in 2 to 4 minute increments.
Easy Variations
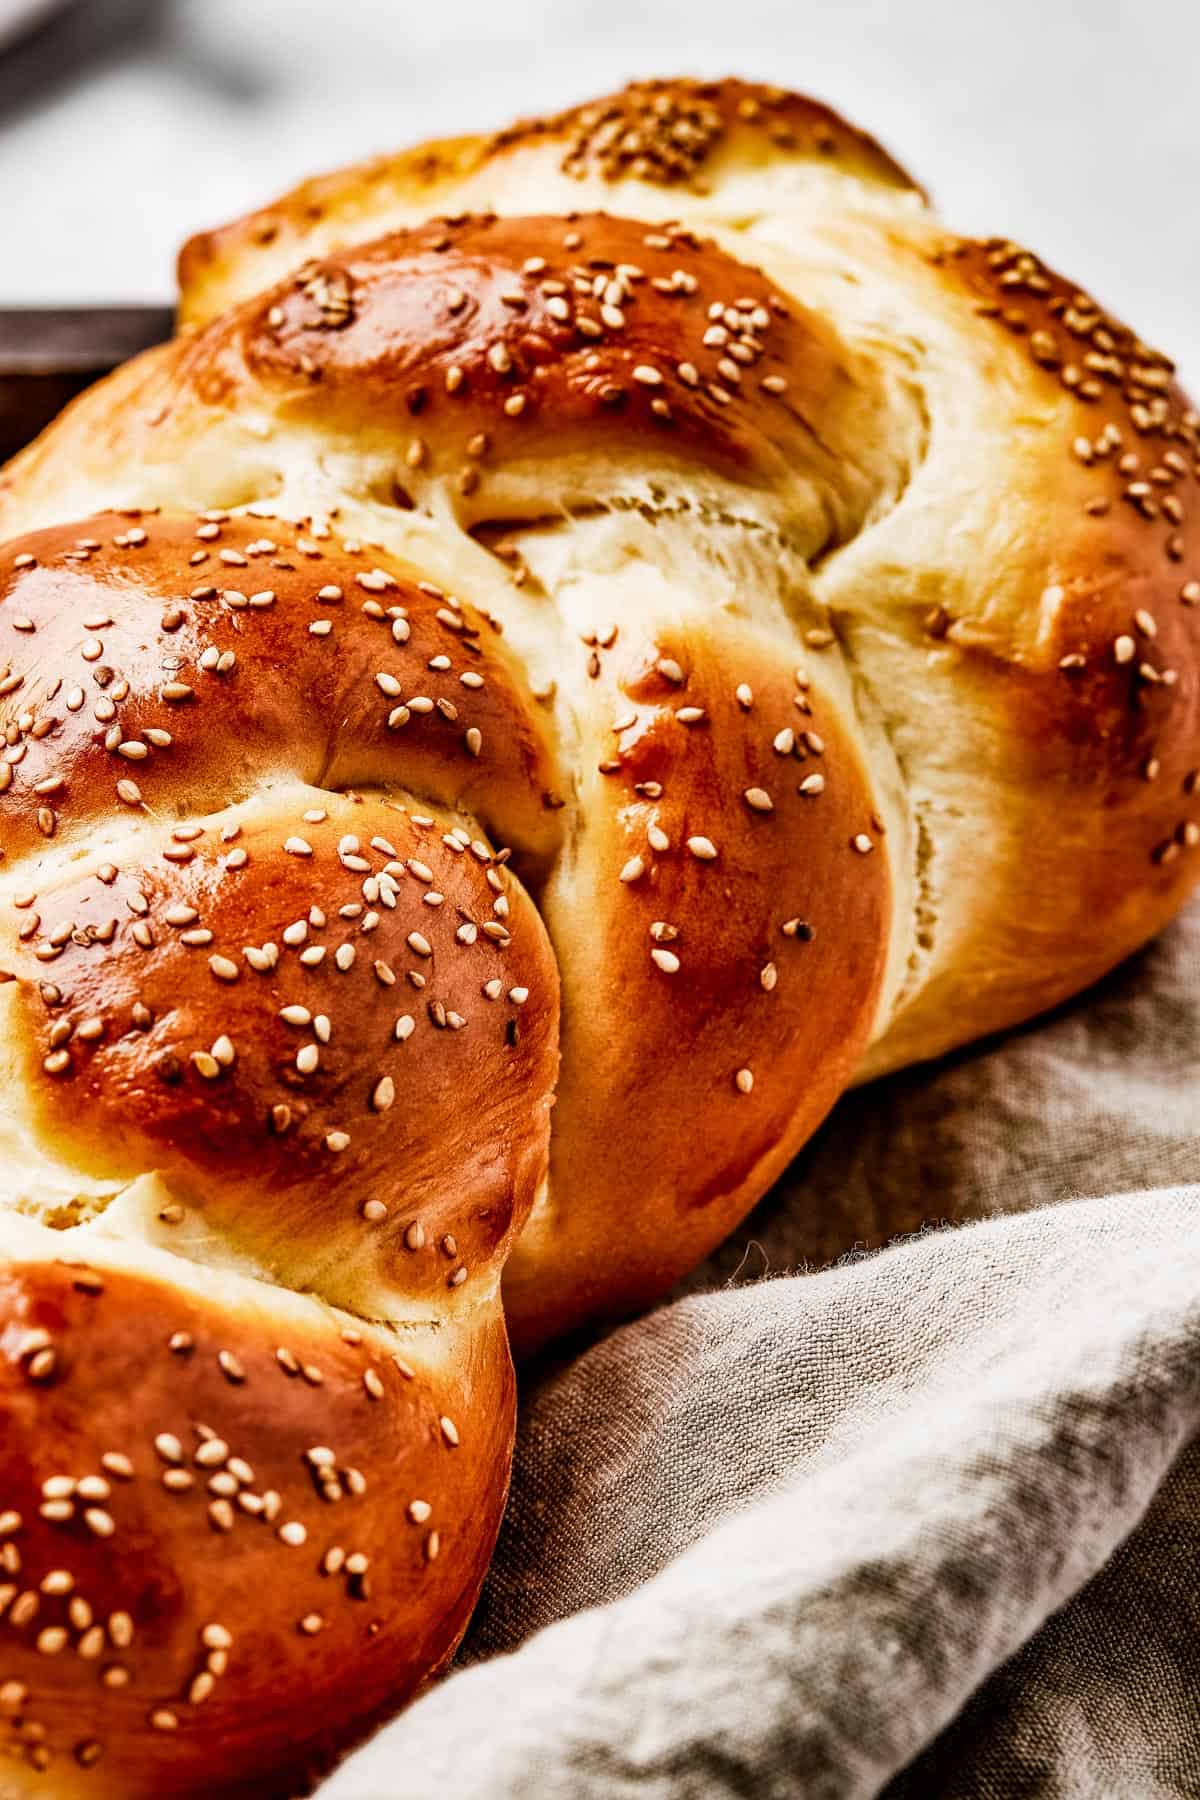
There’s so much more to challah than fluffy bread and sesame seeds! You can make all kinds of fun varieties of this recipe. Here are just a few, for starters:
- Mix-Ins: For a sweet and scrumptious twist on your challah bread, try folding raisins or chocolate chunks into your challah dough after the first rise, while you shape it.
- Shape: Instead of a basic 3-strand braid, you can shape your loaf into small rolls (these will bake faster than a loaf), a 4 or 5 strand braid, a round braided loaf, or even a plain sandwich loaf in a loaf pan!
- Flavor: Try adding different flavors to your bread – a sprinkle of cinnamon sugar, some garlic powder and chives, rosemary and cracked black pepper… all awesome choices.
How to Store and Reheat Leftovers
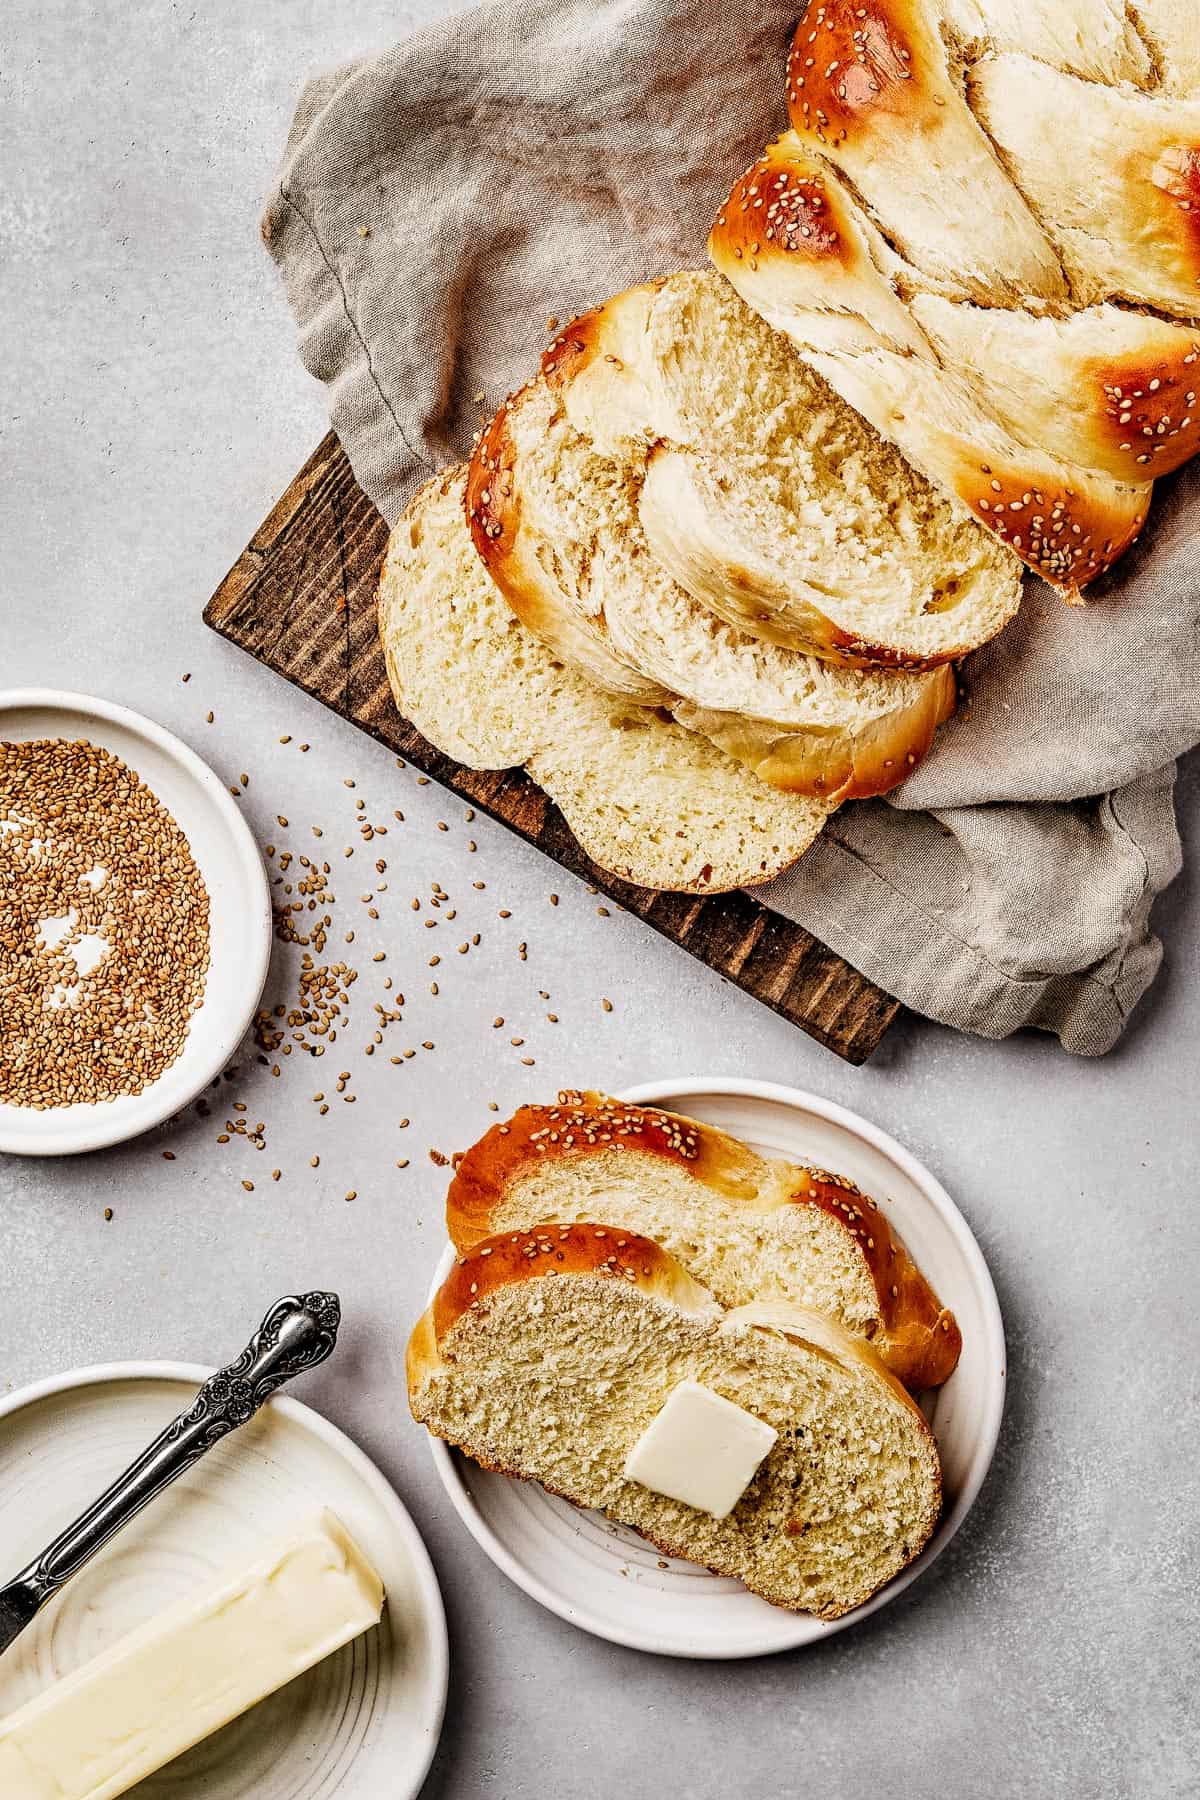
- For easy storage, keep your loaf at room temperature in an airtight container. It will last for up to a week, though it is better if it is consumed within 4 days.
Can I Freeze This?
- Yes! To freeze your loaf, fully cover it in plastic wrap, and then put the whole thing in a freezer bag, pressing out as much air as you can before you seal it. It will keep for up to three months.
- Thaw at room temperature before serving.
The Best Challah Bread
Ingredients
- 2 ¼ teaspoons active dry yeast,, (one packet)
- 1 cup warm water
- ¼ cup sugar
- 3 tablespoons honey
- 3 whole eggs,, room temperature
- ¼ cup vegetable oil
- 5 cups flour
- 1 teaspoon salt
For Topping
- 1 whole egg,, room temperature
- 1-2 tablespoons sesame seeds,, optional
Instructions
- In a small bowl, mix yeast, water, sugar, and honey together and let sit until a frothy layer begins to form.
- In a stand mixer fitted with a whisk attachment, mix together three eggs and oil on low speed until combined.
- Switch to a bread hook attachment and pour in the yeast mixture, flour, and salt. Mix on medium speed until the dough is smooth, elastic, and not sticky. Sprinkle in more flour, one tablespoon at a time, as needed.
- Grease a large mixing bowl with oil. Form the dough into a ball and place it into the greased bowl, rolling it around to cover it in a layer of oil. Cover with a damp cloth and let rise in a warm environment for 1 to 2 hours, or until doubled.
- Gently punch the risen dough to deflate and move to a floured surface. Knead the dough for about 3 to 5 minutes, adding more flour as needed to prevent sticking.
- Divide the dough into three equal pieces. Roll each piece into a long “snake” shape, about 1 to 2 inches in diameter.
- Lay the three long pieces of dough parallel to each other. Pinch the ends on one side together and begin to braid the pieces. Continue braiding until you can pinch the three ends together again, forming a single loaf.
- Grease a baking sheet with oil and place the loaf on top. Cover with a damp towel and let rise in a warm environment for 30 minutes to 1 hour.
- Preheat the oven to 350 degrees Fahrenheit. Whisk the remaining egg and brush over the top of the loaf. Optionally, sprinkle the loaf with sesame seeds.
- Bake for 35 to 40 minutes, or until golden brown. The loaf should sound hollow when you tap the bottom. If it doesn’t sound hollow yet, continue baking in 2 to 4 minute increments.
- Let challah cool on a wire rack before slicing and serving.
Nutrition
Nutritional info is an estimate and provided as courtesy. Values may vary according to the ingredients and tools used. Please use your preferred nutritional calculator for more detailed info.


I am SO making this! I love challah bread, but I’ve always just gotten it from the bakery. I can’t wait to make my own.
I hope you’ll enjoy it! Thank YOU! 🙂
Challah is my favorite kind of bread. I cannot wait to make it at home!
That’s great! I hope you’ll enjoy it! Thank YOU! 🙂
Challah is our family’s favorite! We can’t wait to try this recipe of yours!
That’s great! I hope everyone enjoys it! 🙂 Thank YOU! 🙂
This Challah Bread is such a delicious-looking breakfast!
I really love this gorgeous challah bread!! Thanks for sharing your recipe!
I hope you’ll enjoy it! Thank YOU! 🙂
Mmmmm…. I love the texture of this bread! It looks amazing!
Thank you so much! I hope you’ll enjoy it! 🙂
You aren’t kidding this really is the best!
Thank YOU! I’m very glad you enjoyed it! 🙂
Hi! I’m wondering if this could be made up to the point of completing the braiding, then refrigerate overnight and then bake the next day?
Hi!
I have done that, but up to the point before braiding. However, all things I’ve ever read and been told is that challah dough, braided or otherwise, can sit in the fridge for up to 24 hours, max, before baking.