Freezer Burritos

Dec 14, 2020, Updated Aug 30, 2026
This post may contain affiliate links. Please read our disclosure policy.
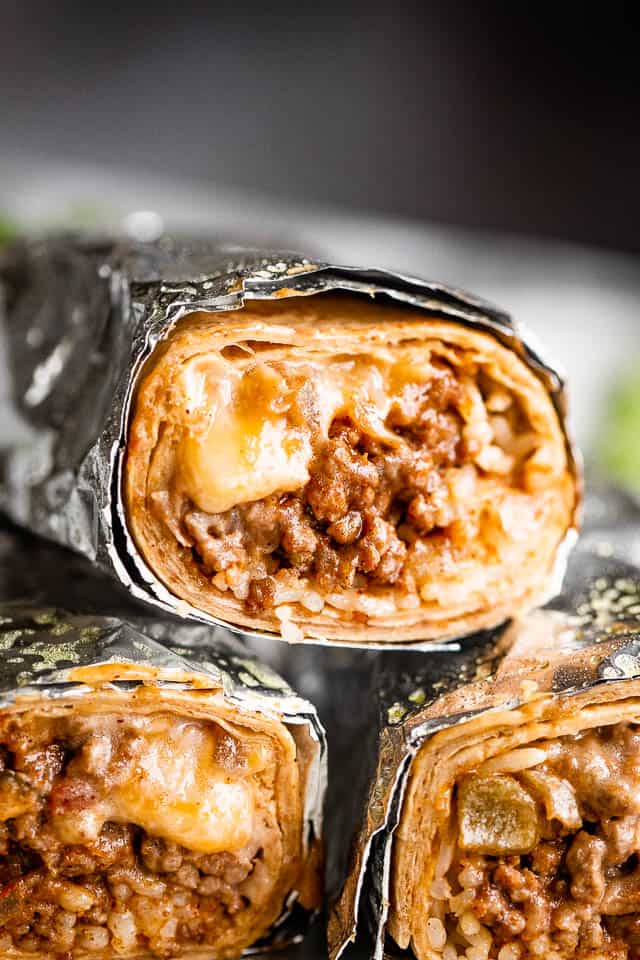
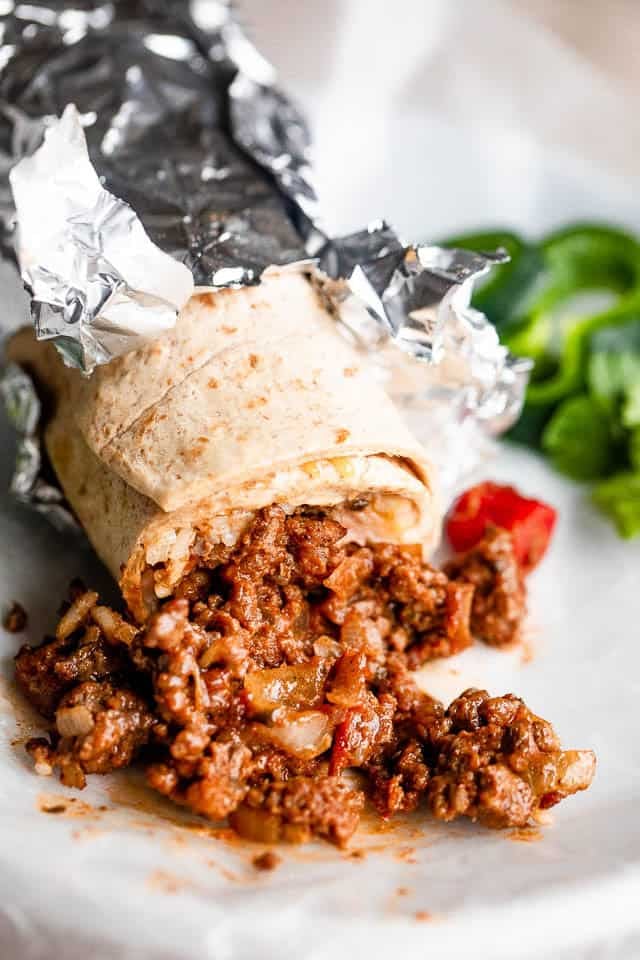
These beef and bean Freezer Burritos are filled with seasoned ground beef, creamy beans, and plenty of cheese. Make a batch ahead of time and freeze them for easy lunches, snacks, or busy weeknight dinners.
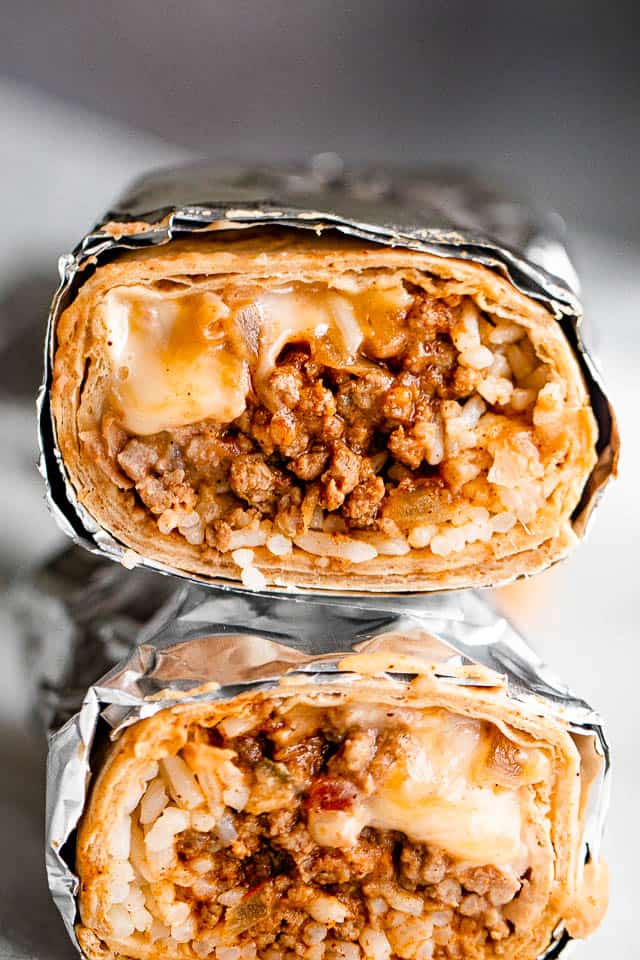
An Easy Make-Ahead Burrito Recipe
Freezer burritos are one of my favorite make-ahead meals to keep on hand for busy days. Assemble a batch when you have time, wrap them individually, and stash them in the freezer so there’s always an easy meal ready to heat up. They’re perfect for quick weeknight dinners, grab-and-go lunches, or afternoon snacks that kids can warm up themselves.
Burrito Ingredients
- Olive Oil: You’ll need a tablespoon of olive oil for sautéeing.
- Ground Beef: I recommend lean ground beef like round or sirloin, but chuck and market blends are also great.
- Grated or Finely Diced Onion & Fresh Garlic: I use ¼ cup of grated yellow onion. You can substitute white or red onions.
- Salsa: You can use any tomato salsa you like.
- Taco Seasoning – Homemade or commercial seasoning blends are fine.
- Pinto Beans: You’ll need 2 cans (15 ounces each) of pinto beans, rinsed and drained. You can also substitute cooked dried beans, if you prefer.
- Beef Broth: I use low-sodium broth or water, but you can also use homemade broth. Chicken or veggie broth is also fine.
- Shredded Cheddar Cheese: Feel free to substitute other shredded cheeses.
- Flour Tortillas
- Cooked Rice
How to Make Freezer Burritos
Making freezer burritos is pretty simple. Prepare the filling and beans, assemble and roll the burritos, then wrap them individually so they’re ready for the freezer.
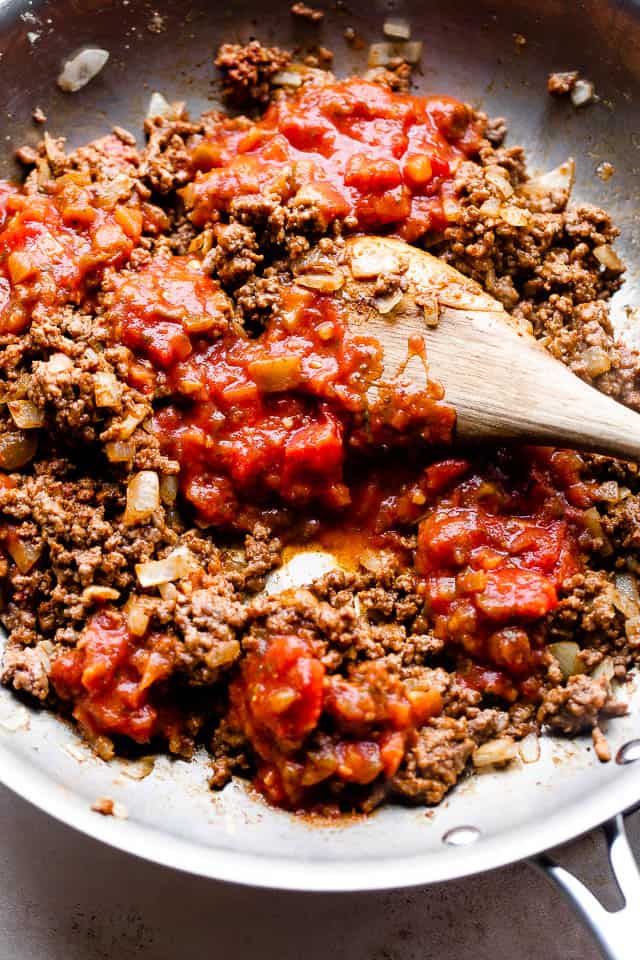
- Cook the beef and onions. Heat the cooking oil in a large skillet over medium heat. Add the ground beef and onions and cook until the meat is browned, breaking it up with a wooden spoon.
- Add the salsa and simmer. Stir in the salsa and seasoning; bring to a boil. Reduce heat to a simmer and cook for 2 minutes, or until heated through and slightly thickened. Remove from heat and set aside.
- Puree the beans. Combine the pinto beans and beef broth in a blender or food processor; process until smooth.
- Combine the beans, beef, and cheese. Add the bean mixture to the beef mixture, and stir until combined. Stir in the cheese. You don’t have to mix it all together, but it speeds up the prep process.
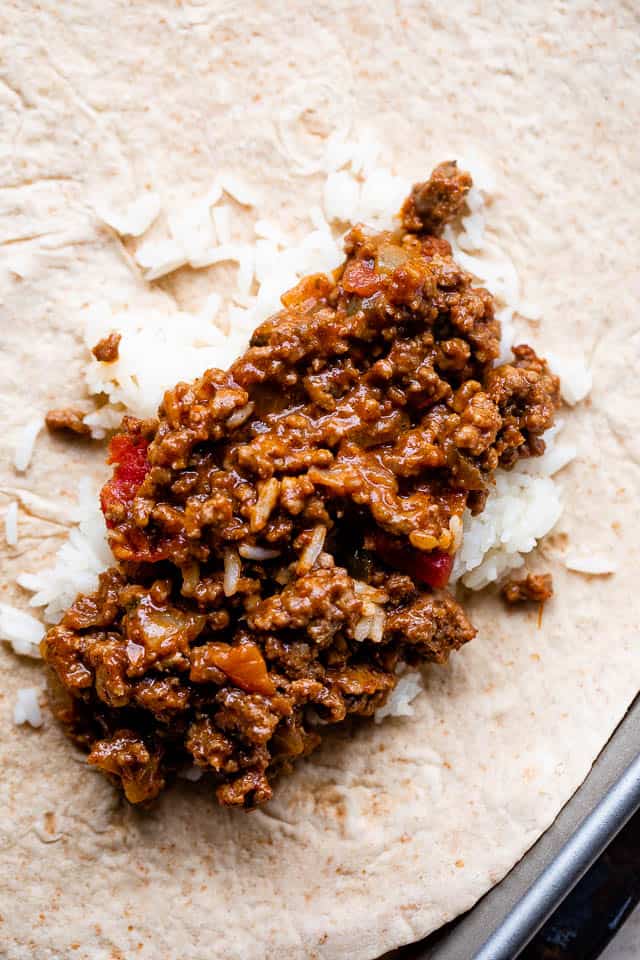
- Assemble the burritos. Add 1/2 cup of the beef mixture down the center of each tortilla. Fold the ends and sides over the filling and roll up.
How To Freeze Burritos
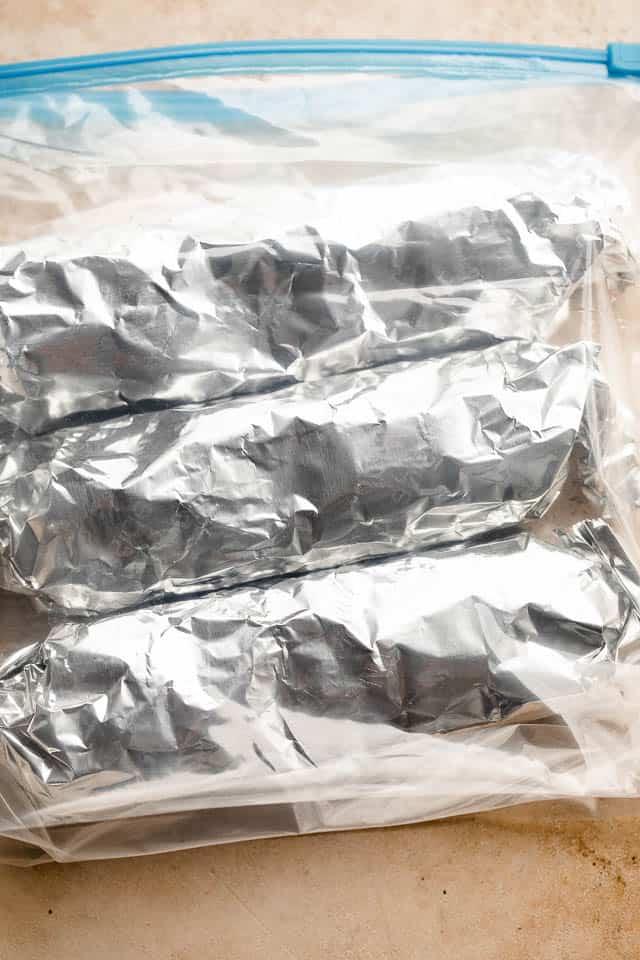
To freeze the burritos, wrap them well in wax paper, and then in foil. Then, stack them inside a gallon-sized Ziploc bags. Label with the date they were made and place in the freezer.
Frozen burritos will keep for up to 2 months.
Tips for the Best Freezer Burritos
- Combine, or not! If you don’t like the idea of mixing the beef and bean mixtures, feel free to add them separately to the burritos! Simply, layer the rice, then the beef, followed up by the beans, and top with cheese.
- Don’t overfill. When filling tortillas, less is more! Too much filling makes them very difficult to wrap.
- Cool the filling. Don’t try to fill the tortillas with a hot filling. Instead, wait for the filling to cool so the burritos are easy to handle. This also helps prevent condensation from steam once you’ve placed the filling in the tortillas.
Tasty Variation Ideas
- Chicken verde: Using the same method as the recipe above, substitute ground chicken (or turkey), white beans, and salsa verde for tomato salsa.
- Veggie variation: Try using canned black beans, cooked brown rice, salsa, and cheese. So good!
- Make breakfast burritos: Substitute scrambled eggs and sausage for the beef mixture.
Serving Suggestions
- Dips and toppings: Definitely serve the burritos with guacamole, sour cream, fresh avocado salsa, and queso!
- Fruit: Add a fresh, cool side with my easy fruit salad.
- Dessert: This mango strawberry frozen yogurt is so easy to make, and its creamy contrast pairs well with the Tex-Mex flavors of the beefy bean burritos.
FAQs
Depending on the ingredients, homemade burritos generally keep for around 2 months in the freezer.
To reheat, unwrap one burrito and place on a microwave-safe plate. Microwave on HIGH for 2 to 2½ minutes, or until the burrito reaches an internal temperature of 165˚F.
Freezer Burritos
Ingredients
- 1 tablespoon olive oil
- ¼ cup grated yellow onion, or finely diced onion
- 3 cloves garlic, finely minced
- 1 pound ground beef
- 2 tablespoons taco seasoning, (you can also use store-bought taco seasoning – comes in a 1-ounce pouch)
- 1 cup tomato salsa
- 2 cans (15-ounces each) pinto beans, rinsed and drained
- ½ cup beef broth
- 2 cups shredded cheddar cheese
- 10 (10-inch) flour tortillas
- cooked white or brown rice, optional
Instructions
- Sauté the aromatics. Heat the olive oil in a large skillet set over medium heat. Add the onions and cook for 2 minutes; stir in the garlic and cook for 20 seconds.
- Cook the beef. Add the ground beef, stir, and cook until browned (about 8 minutes), stirring and breaking it up with a wooden spoon.
- Add the seasoning and salsa, and simmer. Stir in the taco seasoning; then stir in the tomato salsa. Reduce heat to a simmer and cook for 2 minutes, or until the mixture is heated through and slightly thickened. Remove from heat and set aside.
- Blend the beans. Combine the pinto beans and broth in a blender or a food processor; process for about a minute, or until the mixture is creamy and smooth.
- Combine. Add the bean mixture to the beef mixture and stir until combined. Stir in the shredded cheese.
- Assemble the burritos. Add two tablespoons of cooked rice (if using) to the center of each tortilla. Add ½ cup of the beef mixture over the rice. Fold the ends and sides over the filling and roll up. Wrap each burrito in wax paper; then wrap in foil.
- Freeze. Place the burritos in a gallon-size freezer bag, remove as much air as possible, and seal. Label the bag with the date and freeze for up to 2 months.
To Reheat
- Microwave: Remove the foil and wrap the frozen burrito in a damp paper towel. Microwave for 2 to 3 minutes, turning halfway through, until heated through. Let it rest for a minute before serving.Oven: Keep the burrito wrapped in foil and bake at 350°F for about 30 to 40 minutes, or until hot in the center.From the fridge: If you thaw the burrito overnight in the refrigerator, microwave it for about 1 to 2 minutes, turning halfway through.
Notes
- Assembling options: You don’t have to mix the beans and beef together. You can combine the cooked beef mixture with the cheese, add it down the center of the flour tortilla, then, spread some of the bean mixture over the beef, and roll up the tortillas.
Nutrition
Nutritional info is an estimate and provided as courtesy. Values may vary according to the ingredients and tools used. Please use your preferred nutritional calculator for more detailed info.









4.5 stars! Loved it!
Thank YOU! I’m very glad you enjoyed it! 🙂
I keep these stocked in my freezer for easy lunches and dinners ( and occasionally breakfast)! My family absolutely loves them.
How did you come up with the nutritional count on this? Seems like it is way higher than 16 grams of carbs.
This will definitely depend on the brand of flour tortillas you use. I used Market Pantry tortillas for this recipe, but if you opt for the low-carb flour tortillas, they yield about 2 grams of net carbs.
My family of 3 absolutely LOVES these! At least once a month I make a triple batch to stock the freezer. Sometimes I make them with ground turkey and black beans (for me the others won’t eat turkey) and they are equally delicious. When I make something new for dinner and they love it, they always ask if it was a Katerina recipe and 9 times out of 10 it is!
That’s so awesome to hear! It sounds like you’ve really found a family favorite. I love how you make it work with turkey and black beans too—such a great idea! Thank YOU! 🙂
If I was going to save some in the refrigerator instead of freezing, how long would I bake them in the oven?
These are great! Really good with avocado or my homemade green chili on the side, for breakfast, lunch or dinner. Portable, they freeze & reheat great! Can you tell I love them? Making them for the 4th time as we speak…These are a winner!!
These are great! Really good with avocado or my homemade green chili on the side, for breakfast, lunch or dinner. Portable, they freeze & reheat great! Can you tell I love them? Making them for the 4th time as we speak…These are a winner!!
This makes me so happy! 😍 I can definitely tell you love them! Love the avocado and green chili pairing too—and the fact that you’re making them for the 4th time says it all. Thanks so much! 💛
Easy! Delicious! Great idea!
Thank you so much! I hope you enjoy it! 🥰