Red Velvet Crinkle Cookies
Mar 24, 2021, Updated Dec 10, 2024
This post may contain affiliate links. Please read our disclosure policy.
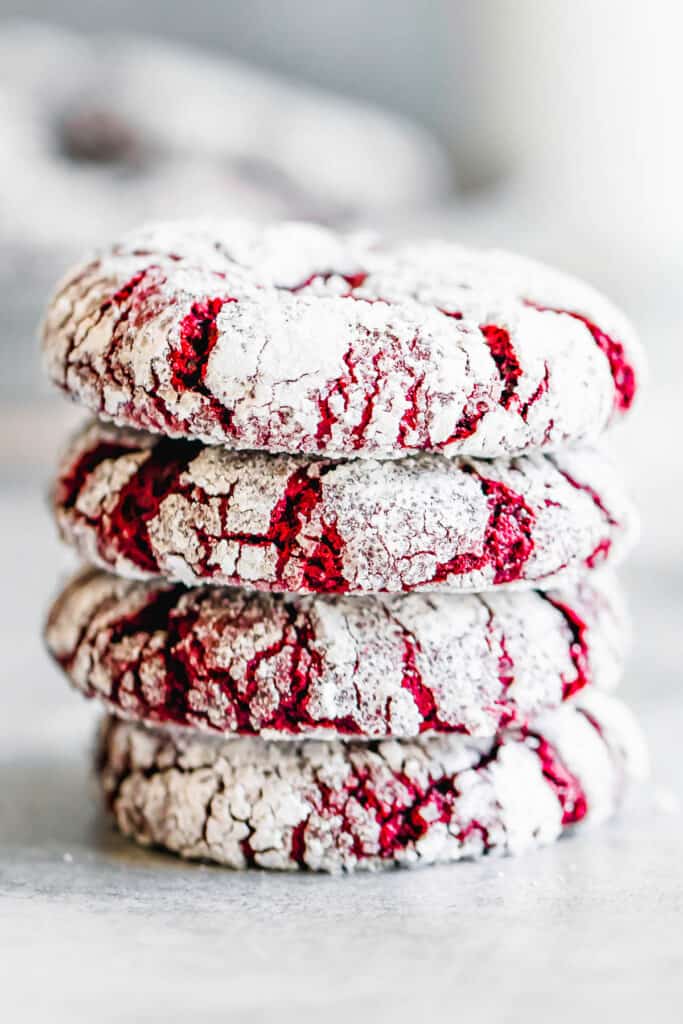
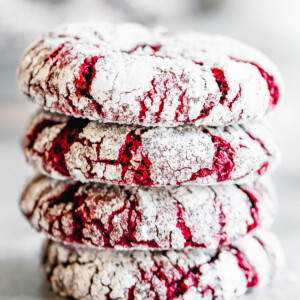
Snowy white on the outside and beautifully red on the inside, these Red Velvet Crinkle Cookies look like a million bucks! They taste like it, too, thanks to the light chocolatey flavor and classic crinkle cookie texture.
Festive Red Velvet Crinkle Cookies
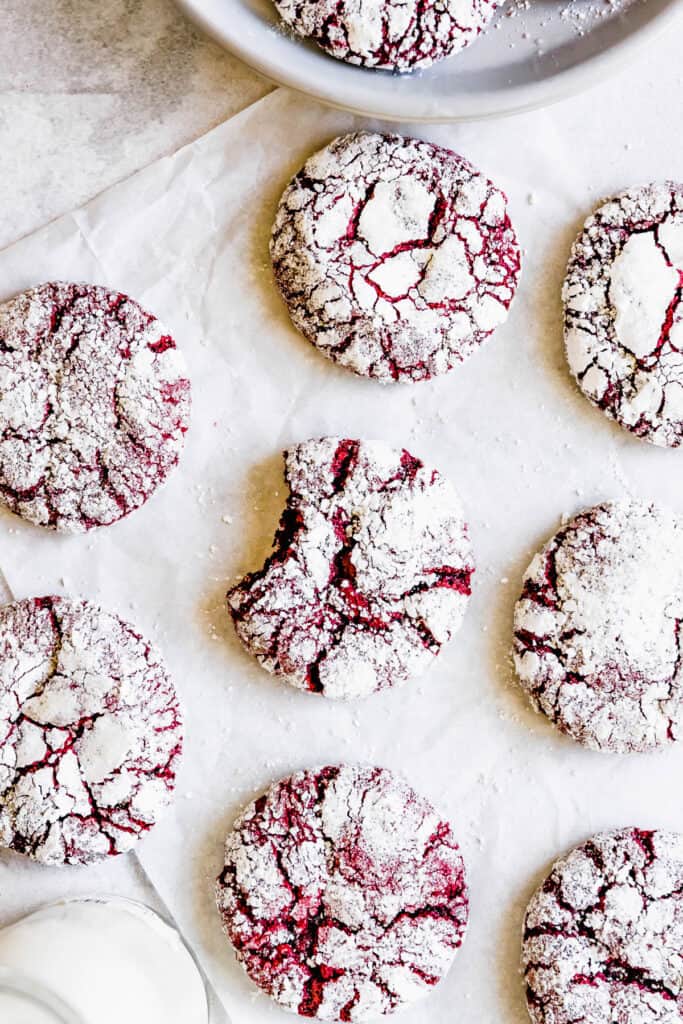
Some foods are just beautiful, and I think these gorgeous cookies belong in that category. The cookie dough itself bakes up to a ravishing pinkish red, thanks to food coloring and some cocoa powder. But, there’s a twist! Before baking, I coat each piece of dough in a blend of powdered and granulated sugar. Then, while they bake, the cookies crinkle, crackle, and settle.
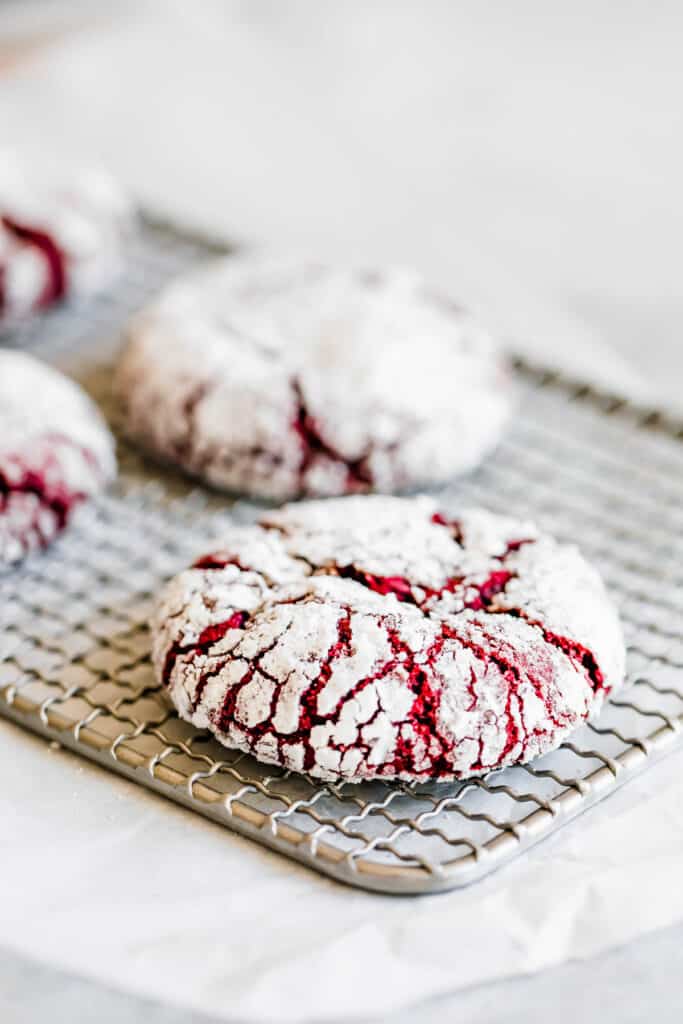
The result? Snowy white cookies with crinkles and crackles of red peeping through.
Plus, they’re really easy to make! Kids can help roll the dough into balls and dip ’em into the powdered sugar. Creaming together the ingredients is very easy, especially in a stand mixer, and I like to bake my cookies on parchment for easy cleanup and no sticking.
The Red Velvet Cookies look and taste so good, you’ll wonder where they’ve been all your life! I like mine with a cup of hot coffee, while my girls enjoy having one or two with ice cold milk. They’re a really nice treat for a special occasion, like Christmas or Easter, or maybe a romantic but simple anniversary dessert.
What is Red Velvet?
I just love red velvet! You’re probably familiar with classic red velvet cake; it gets its unique name thanks to the deep scarlet color of the cake itself, usually created with red food coloring. And, let’s not forget my gorgeous Red Velvet Cheesecake! 😍
The flavor of red velvet is also special. Cocoa powder gives it a chocolatey richness, while buttermilk (and sometimes a bit of vinegar) is often used to add tanginess. Red velvet cake is often topped with cream cheese frosting to add a little more of that taste.
These cookies have that classic taste of red velvet, thanks to a nice pop of cocoa powder. They also have a texture very similar to a chocolate chip cookie, and a sweet powdered-sugar coating.
What You’ll Need
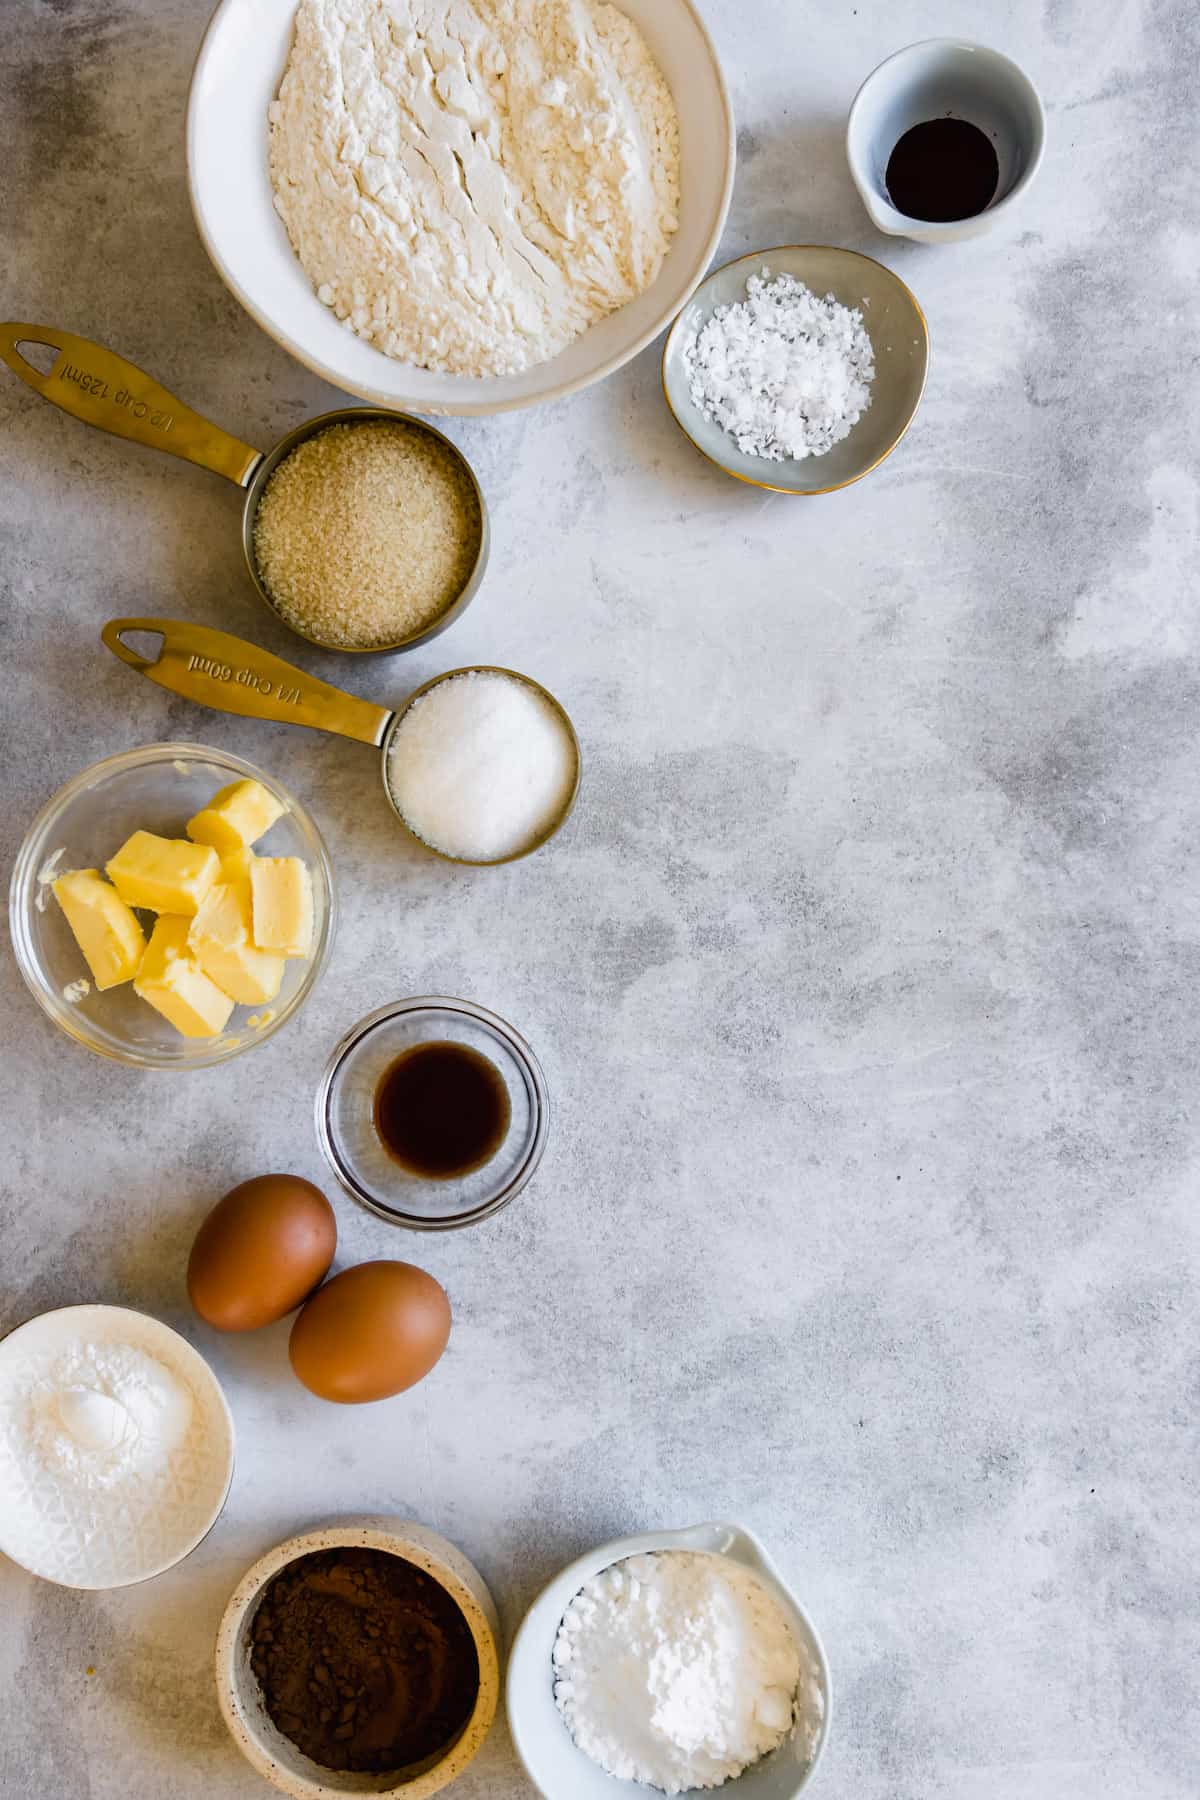
The ingredients for this recipe are simple things that I usually have on hand. Which is why it’s always easy to whip up a batch on short notice. Another point in favor of these easy cookies, right?
- Butter: You’ll need one stick (½ cup) of butter, at room temperature.
- Brown Sugar: This helps give the cookies that chocolate-chip cookie texture. I used ¾ cup of brown sugar, packed.
- Granulated Sugar: You’ll need ½ cup of granulated sugar; you can also use raw sugar.
- Eggs: For this recipe I used two whole eggs. Room temperature is best.
- Vanilla: For the best flavor, use one teaspoon of pure vanilla extract.
- Food Coloring: I like the gel food coloring, and I used one teaspoon to get a rich, red color. Regular food coloring also works!
- Flour: You’ll need two cups of your favorite all-purpose flour.
- Cocoa Powder: To get the red velvet taste, add ¼ cup cocoa powder to the batter; I find it’s best to sift it.
- Baking Powder: Make sure to use baking powder, not baking soda; this recipe uses 1 ½ teaspoons of baking powder.
- Salt
- Sugar Mixture: To coat the cookies, I used ½ cup each of granulated sugar and powdered sugar.
How To Make Red Velvet Crinkle Cookies
This is such a fun recipe to make. I love rolling the dough into balls and rolling them in the sugar, and so do my kids. Plus, if you have a window in your oven door, watching them crinkle and crackle is so satisfying! No?! Just ME?! 🤷♀️
- Cream Butter & Sugar: In a large mixing bowl, use an electric mixer set to medium speed to cream together the butter, brown sugar and granulated sugar (not including the granulated sugar for coating) until fluffy and creamy.
- Beat in Eggs, Vanilla & Food Coloring: To your creamed butter and sugar mixture, add the eggs, vanilla extract and food coloring and mix well.
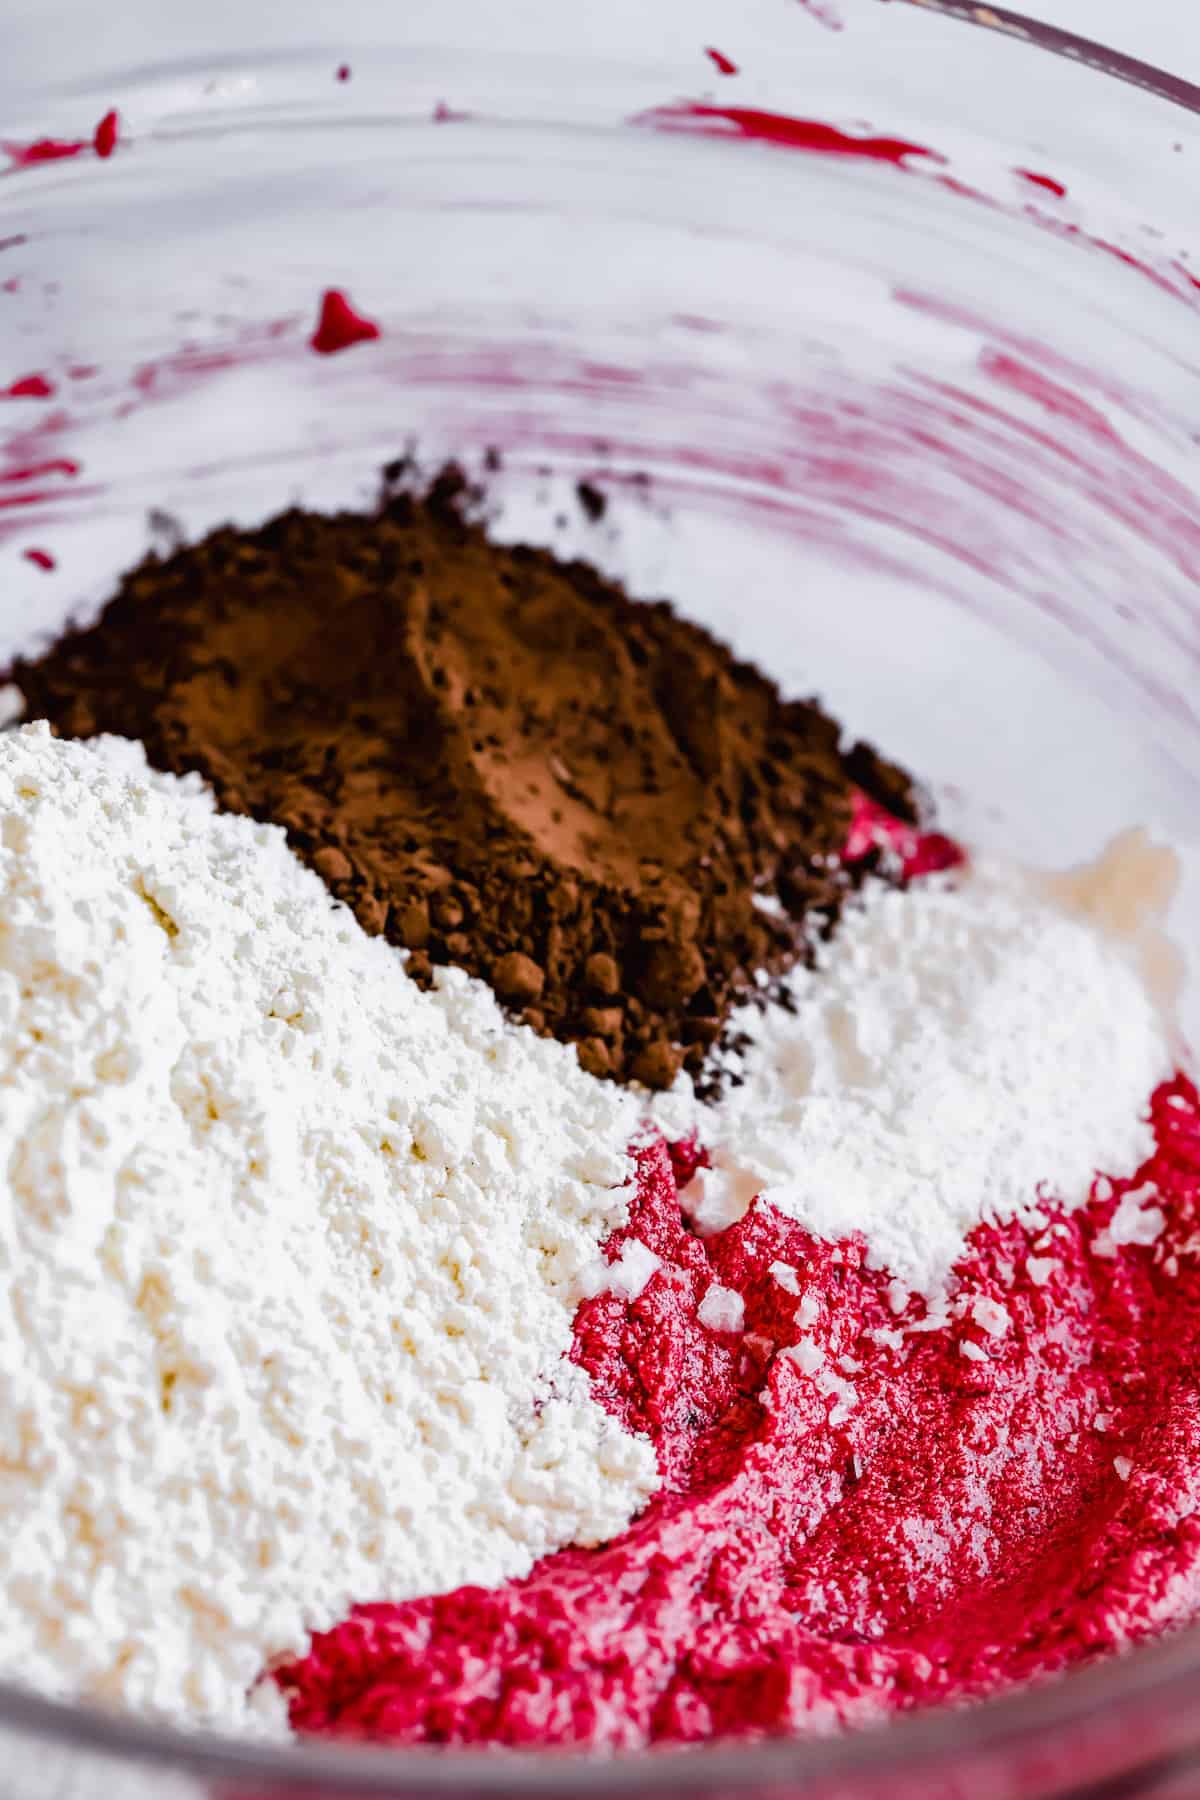
- Add Dry Ingredients: Sift in the flour, cocoa powder, baking powder and salt. Mix until well combined.
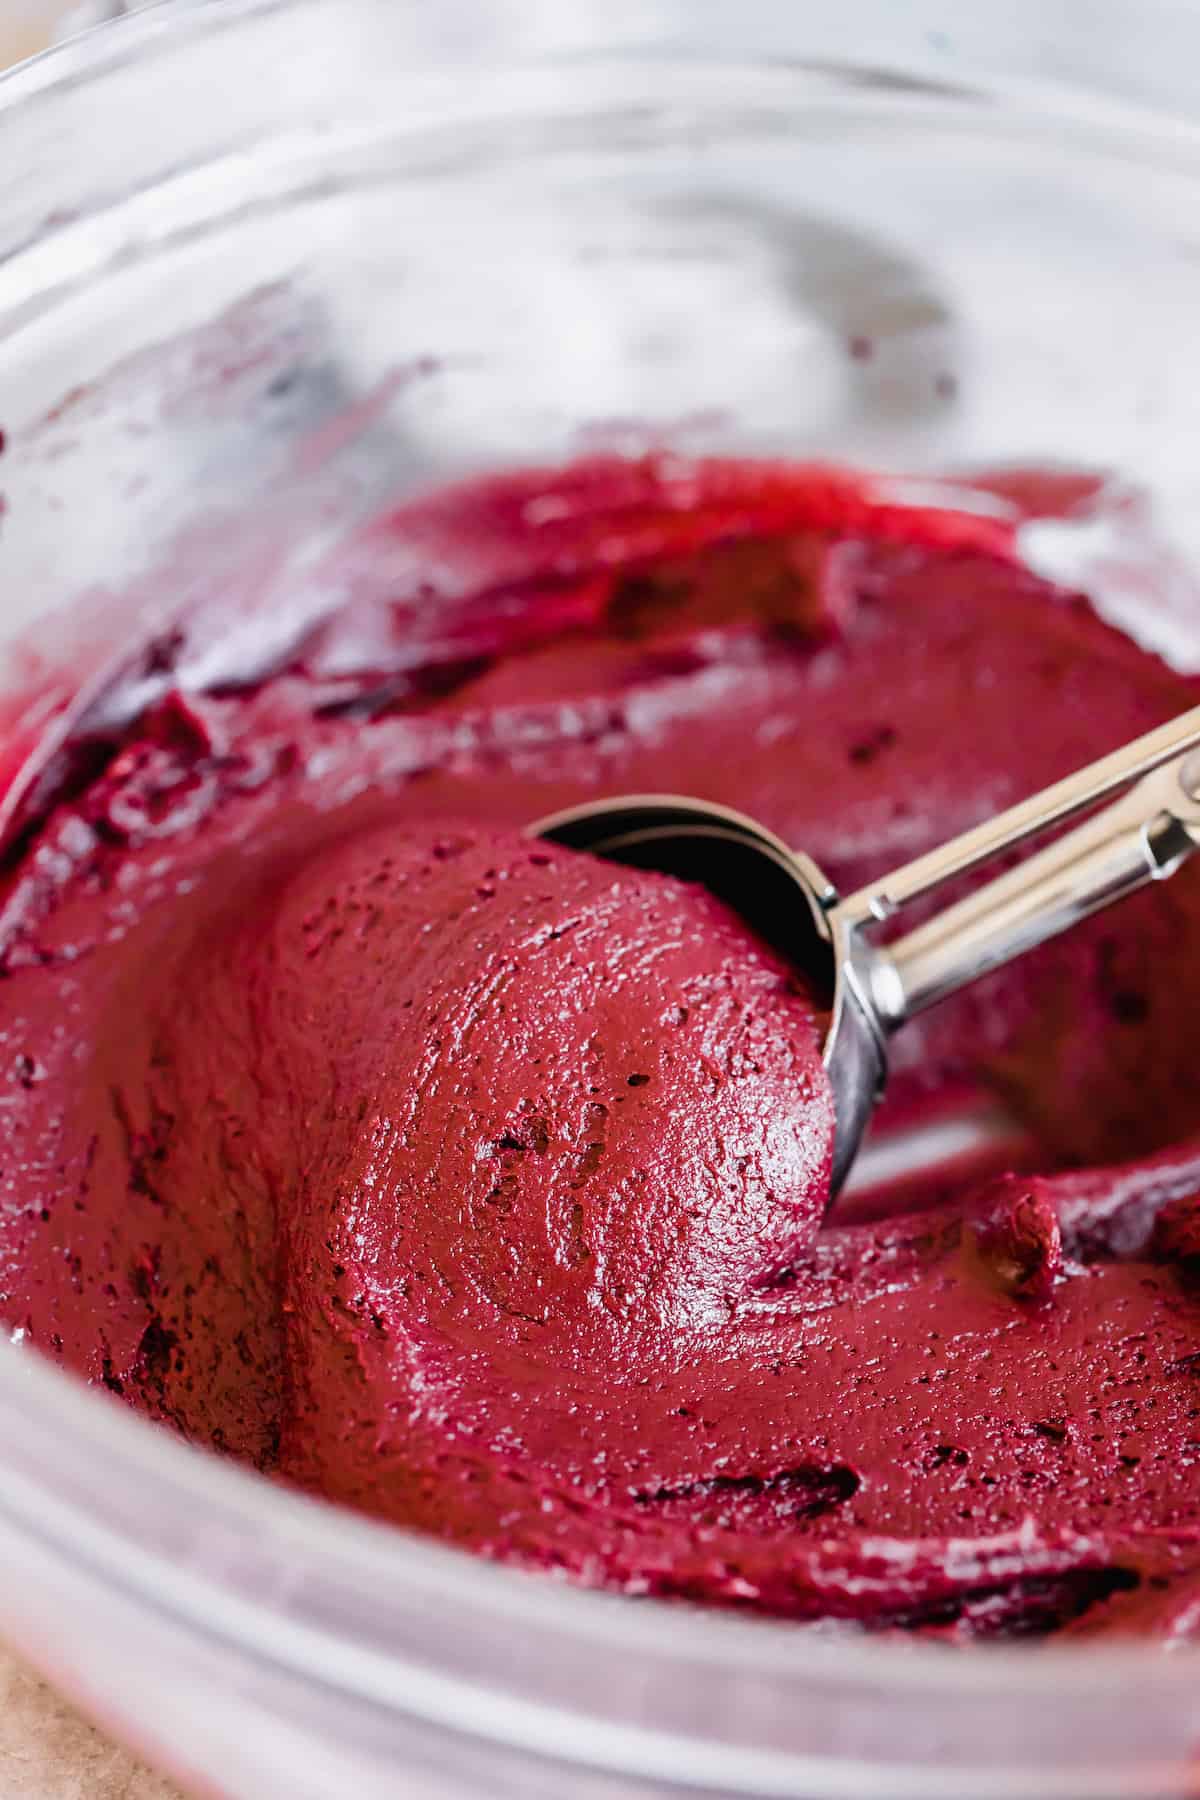
- Chill: Cover the mixture with cling wrap and refrigerate for at least 30 minutes.
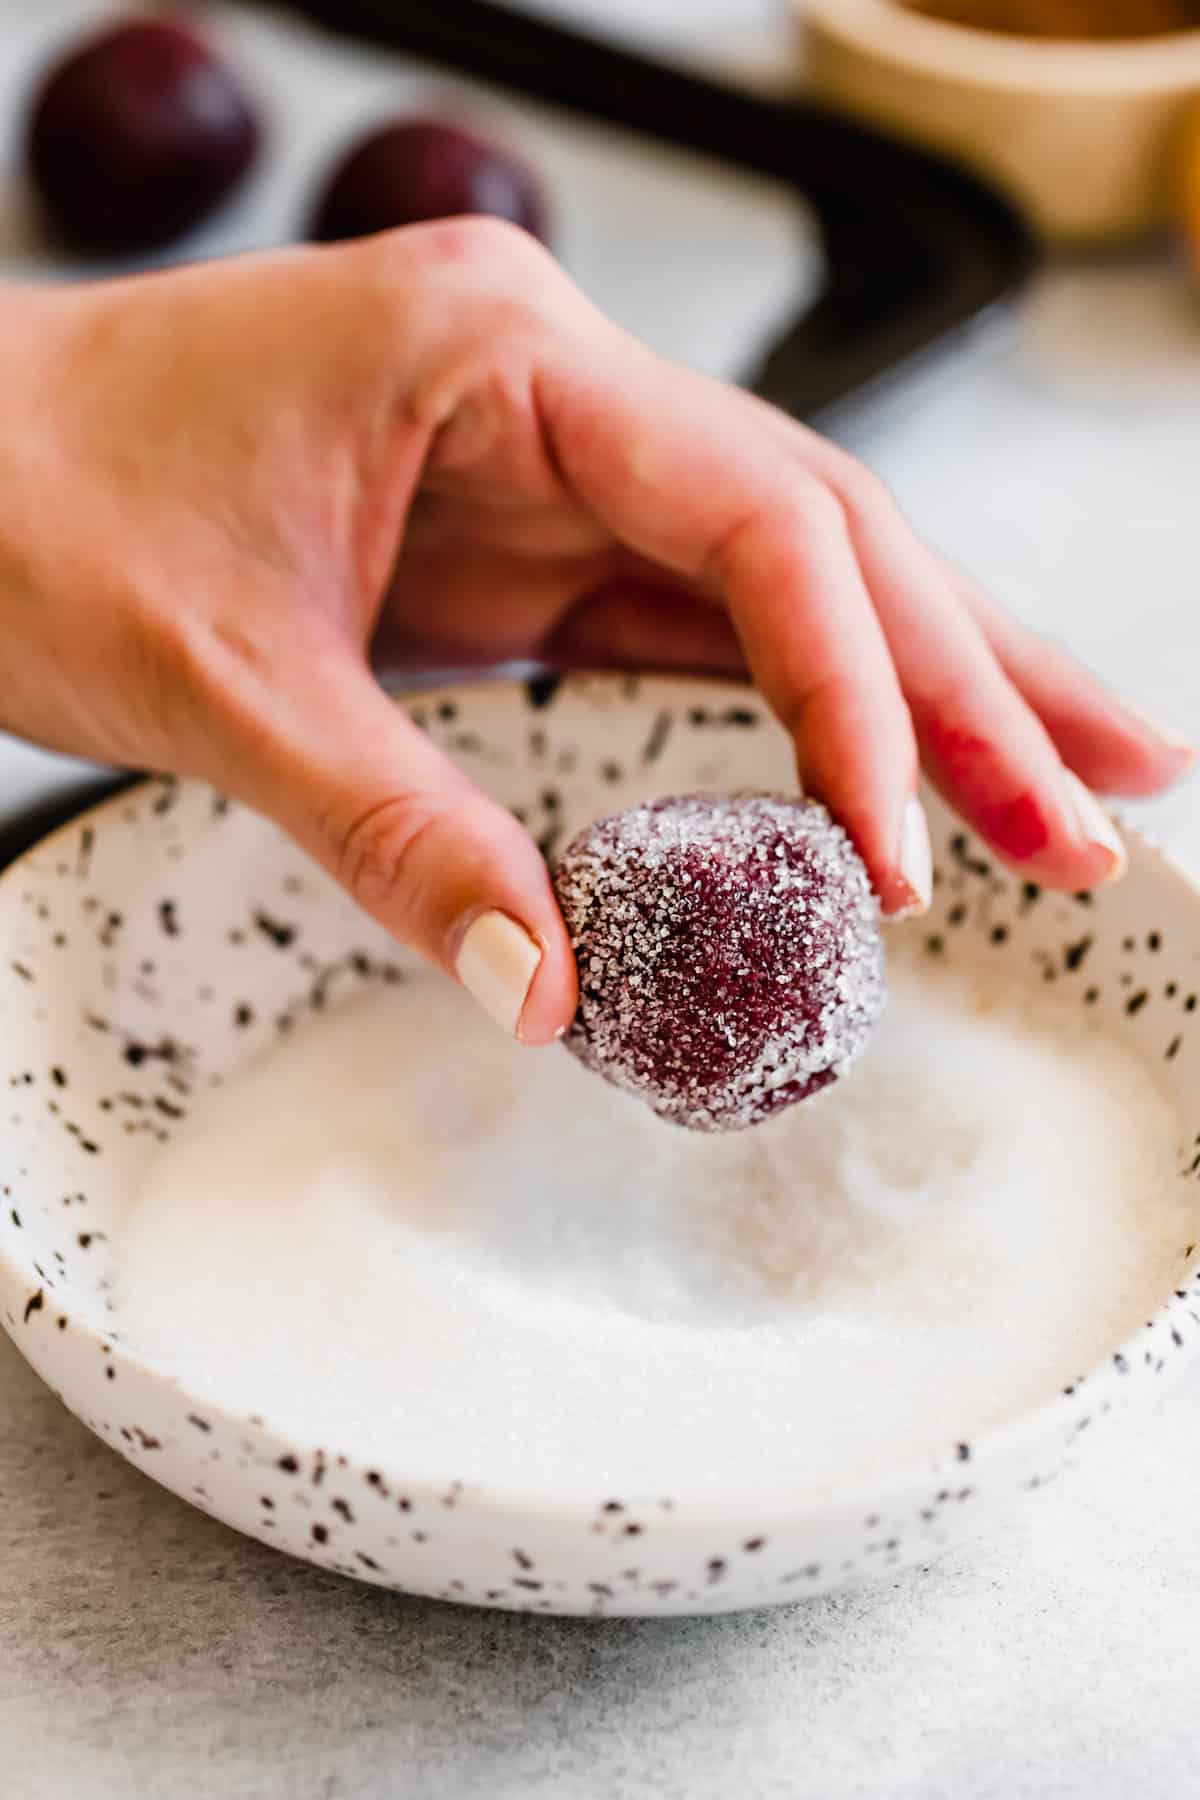
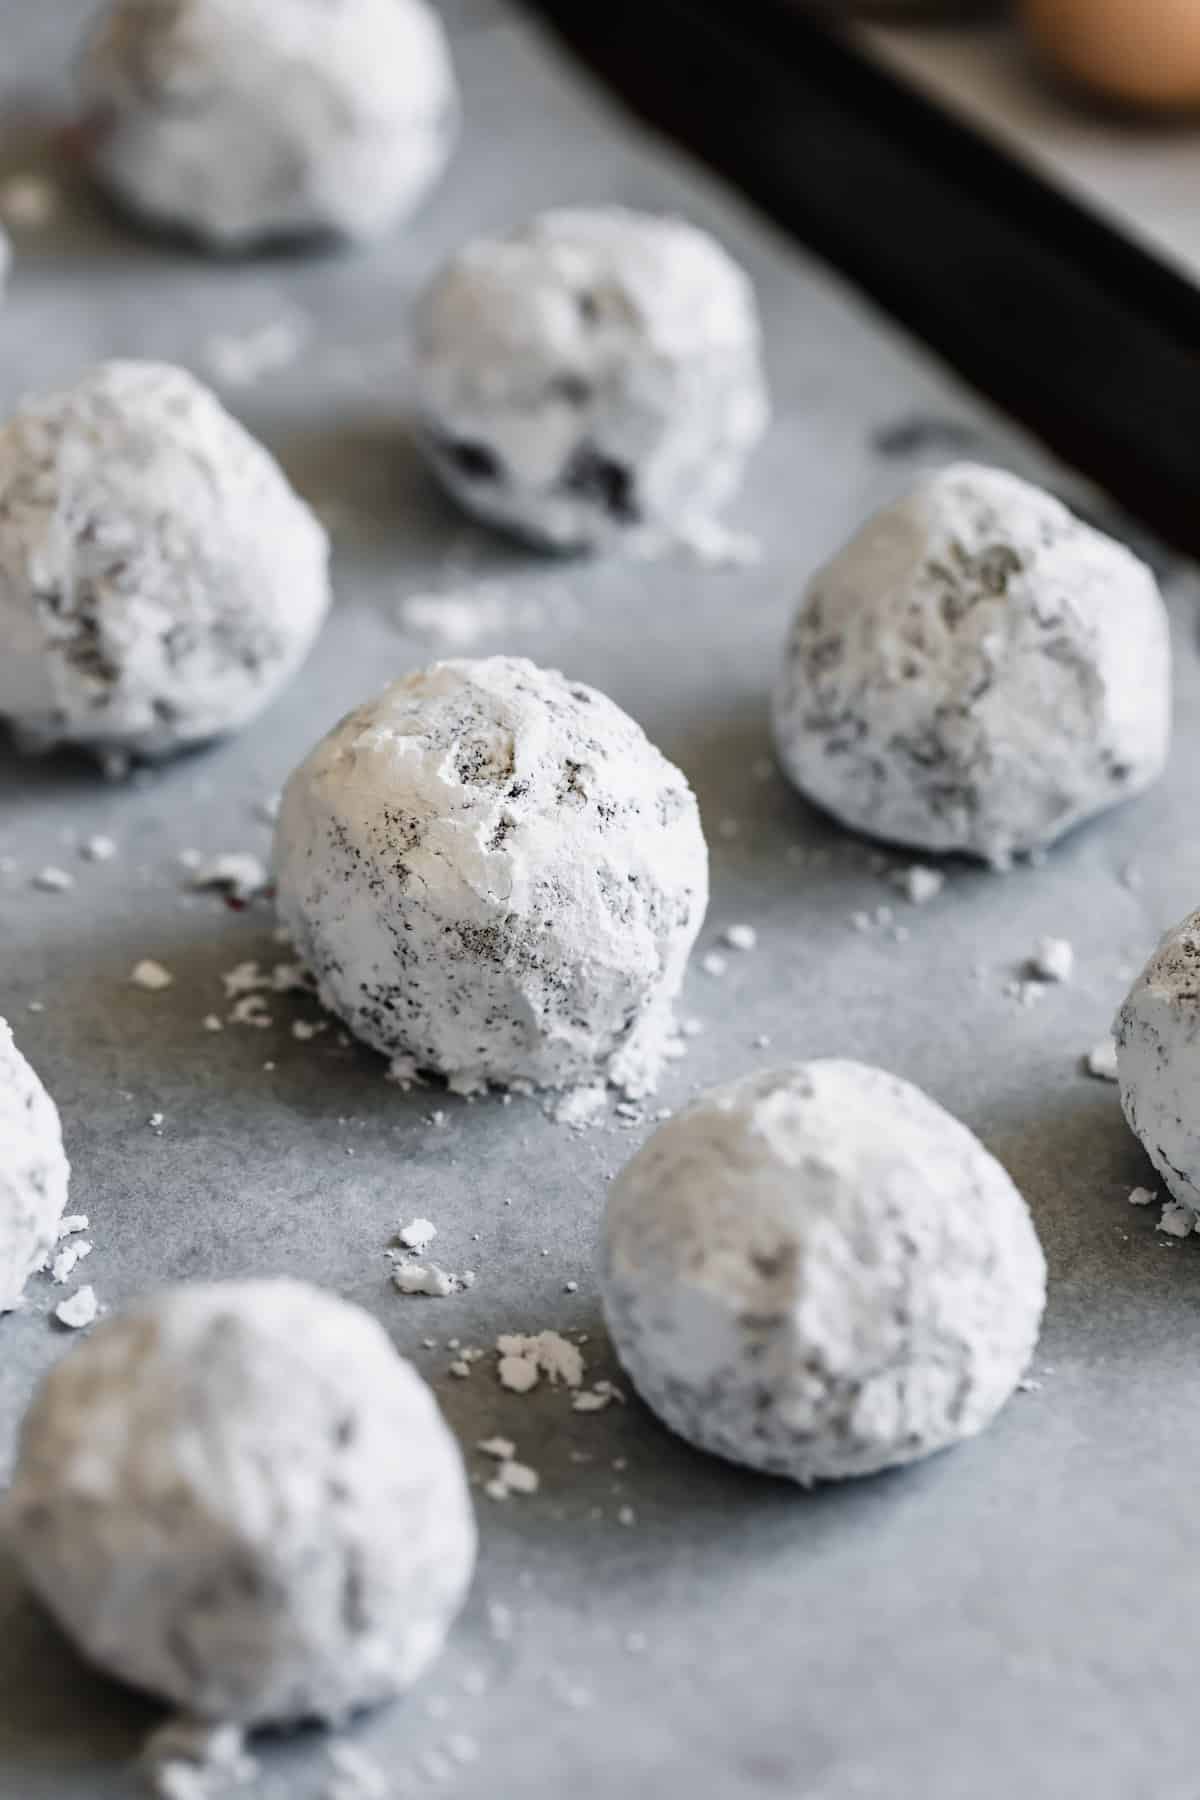
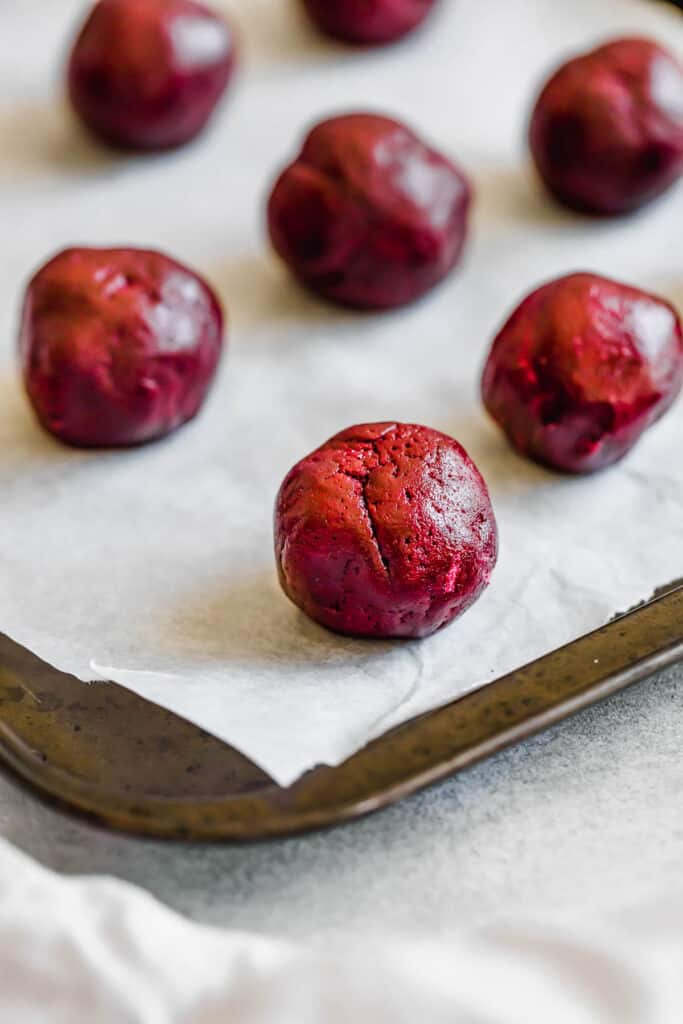
- Shape Cookies: When ready to bake, preheat the oven to 350°F and line two baking sheets with baking paper. Put the granulated sugar in a small bowl, and the powdered sugar in another small bowl. Scoop 2 tablespoon-sized balls of the mixture and roll into a ball. Roll the balls in the granulated sugar and then in the powdered sugar.
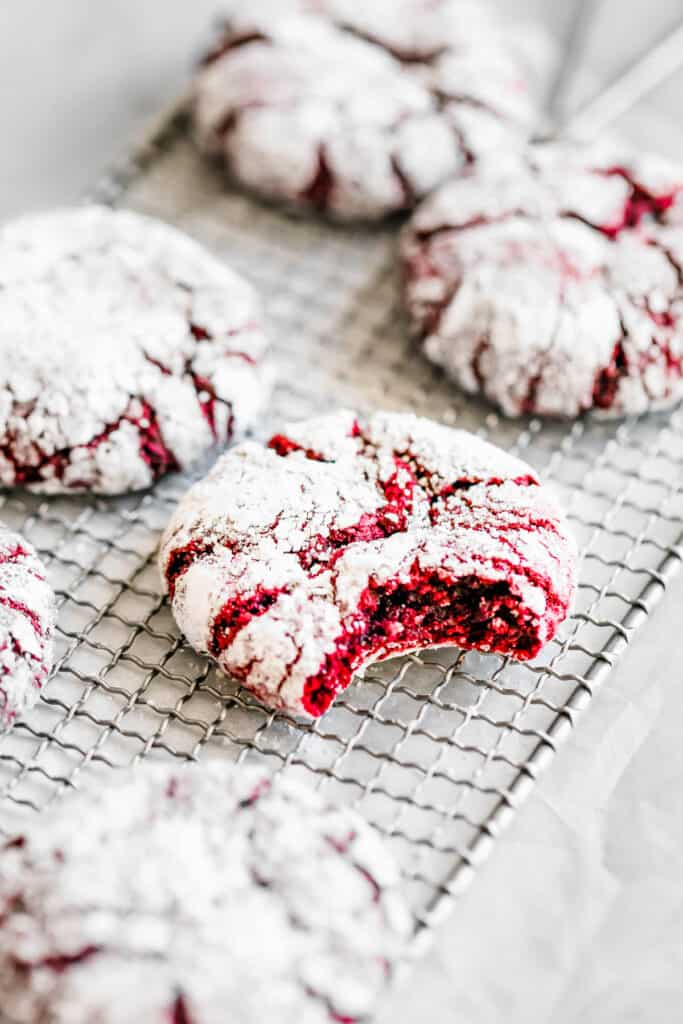
- Bake: Place the coated dough balls onto the prepared baking sheet and bake for 10-12 minutes, or until the cookies have puffed and cracked but are still a little bit gooey inside.
- Cool & Serve: Allow the cookies to cool on a cooling rack and enjoy!
Tips for the Best Crinkle Cookies
Making red velvet crinkle cookies may be new to you, so I’ve collected some easy tips to help you make sure they turn out great. Happy baking!
- Don’t Skip the Chill: It’s important to chill the dough. Otherwise, it will be sticky and hard to roll. Also, the chilling process helps the cookies bake correctly.
- White Sugar for Rolling: While you can play around with sweetener options in the dough itself, I advise using plain white granulated and powdered sugars for the outer coating. Large crystals of raw sugar or ultra-powerful powdered sweeteners may not work for coating the cookies.
- Don’t Overbeat: As with many baked treats, it’s important to avoid overbeating the dough after you add the flour. Overmixing can result in a tough, bread-like texture.
How To Store and Freeze Red Velvet Crinkle Cookies
These crimson crinkle cookies are so easy to make ahead of time! Just follow the storage instructions below.
- To Store on the Counter: Place leftover cookies in airtight containers at room temperature for up to 5 days.
- To Chill: You can refrigerate these cookies in airtight containers for up to a week, but they may lose some of their texture in the last couple days.
- To Freeze: These cookies freeze well in a freezer-safe container and keep in the freezer for 3 months.
More Easy Cookie Ideas
Homemade cookies are always a special treat, particularly when it comes to these recipes!
- No Bake Oatmeal Cookies
- Brown Butter Chocolate Chip Cookies
- Hot Chocolate Sugar Cookies
- Chewy Chocolate Chip Cookies
Red Velvet Crinkle Cookies
Ingredients
- 1/2 cup unsalted butter,, room temperature
- 3/4 cup brown sugar
- 1/2 cup granulated sugar
- 2 large eggs
- 1 teaspoon pure vanilla extract
- 1 teaspoon red gel food coloring
- 2 cups all-purpose flour
- 1/4 cup cocoa powder
- 1½ teaspoons baking powder
- 1/2 teaspoon salt
- 1/2 cup granulated sugar
- 1/2 cup powdered sugar
Instructions
- In a large mixing bowl, use an electric mixer set to medium speed to cream together the butter, brown sugar, and granulated sugar until fluffy, smooth, and creamy.
- Add the eggs, vanilla extract, and food coloring and continue to mix until incorporated.
- In a separate mixing bowl whisk together the flour, cocoa powder, baking powder, and salt. Add flour mixture to the butter mixture and continue to mix on medium speed until thoroughly combined.
- Cover the mixture with cling wrap and refrigerate for 30 minutes.
- Preheat oven to 350°F and line a couple of baking sheets with parchment paper.
- Add the granulated sugar to a small bowl and the powdered sugar to another separate small bowl.
- Scoop 2 tablespoon-sized balls of the cookie dough mixture and roll into a ball.
- Roll the balls in the granulated sugar and then in the powdered sugar.
- Place the coated cookie dough balls onto the prepared baking sheet.Bake for 10 to 12 minutes, or until cookies have puffed and cracked, but are still a little bit gooey inside.
- Remove from oven and transfer to a cooling rack.
- Let cool completely. Serve.
Equipment
- Oven
Notes
Nutrition
Nutritional info is an estimate and provided as courtesy. Values may vary according to the ingredients and tools used. Please use your preferred nutritional calculator for more detailed info.


Wow, these cookies did NOT last long once my boys saw them on the counter! So delicious and super easy to make. The hardest part is waiting for the 30 min chill time.
Anything red velvet and I am in, I need to try this asap!
These cookies are so soft, delicious and very pretty! Definitely making again!
These Red Velvet Crinkle Cookies are on my must-make list!
I love crinkle cookies. I need to try your Red Velvet cookies. They look amazing!
Thank YOU! I hope you enjoy them! 🙂
Love this twist on crinkle cookies!
Thank YOU! I hope you enjoy them! 🙂
Yum! These look so delicious! My family is going to be all over these cookies!
Thank you so much! I hope you and your family enjoy it! 🙂