This post may contain affiliate links. Please read our disclosure policy.
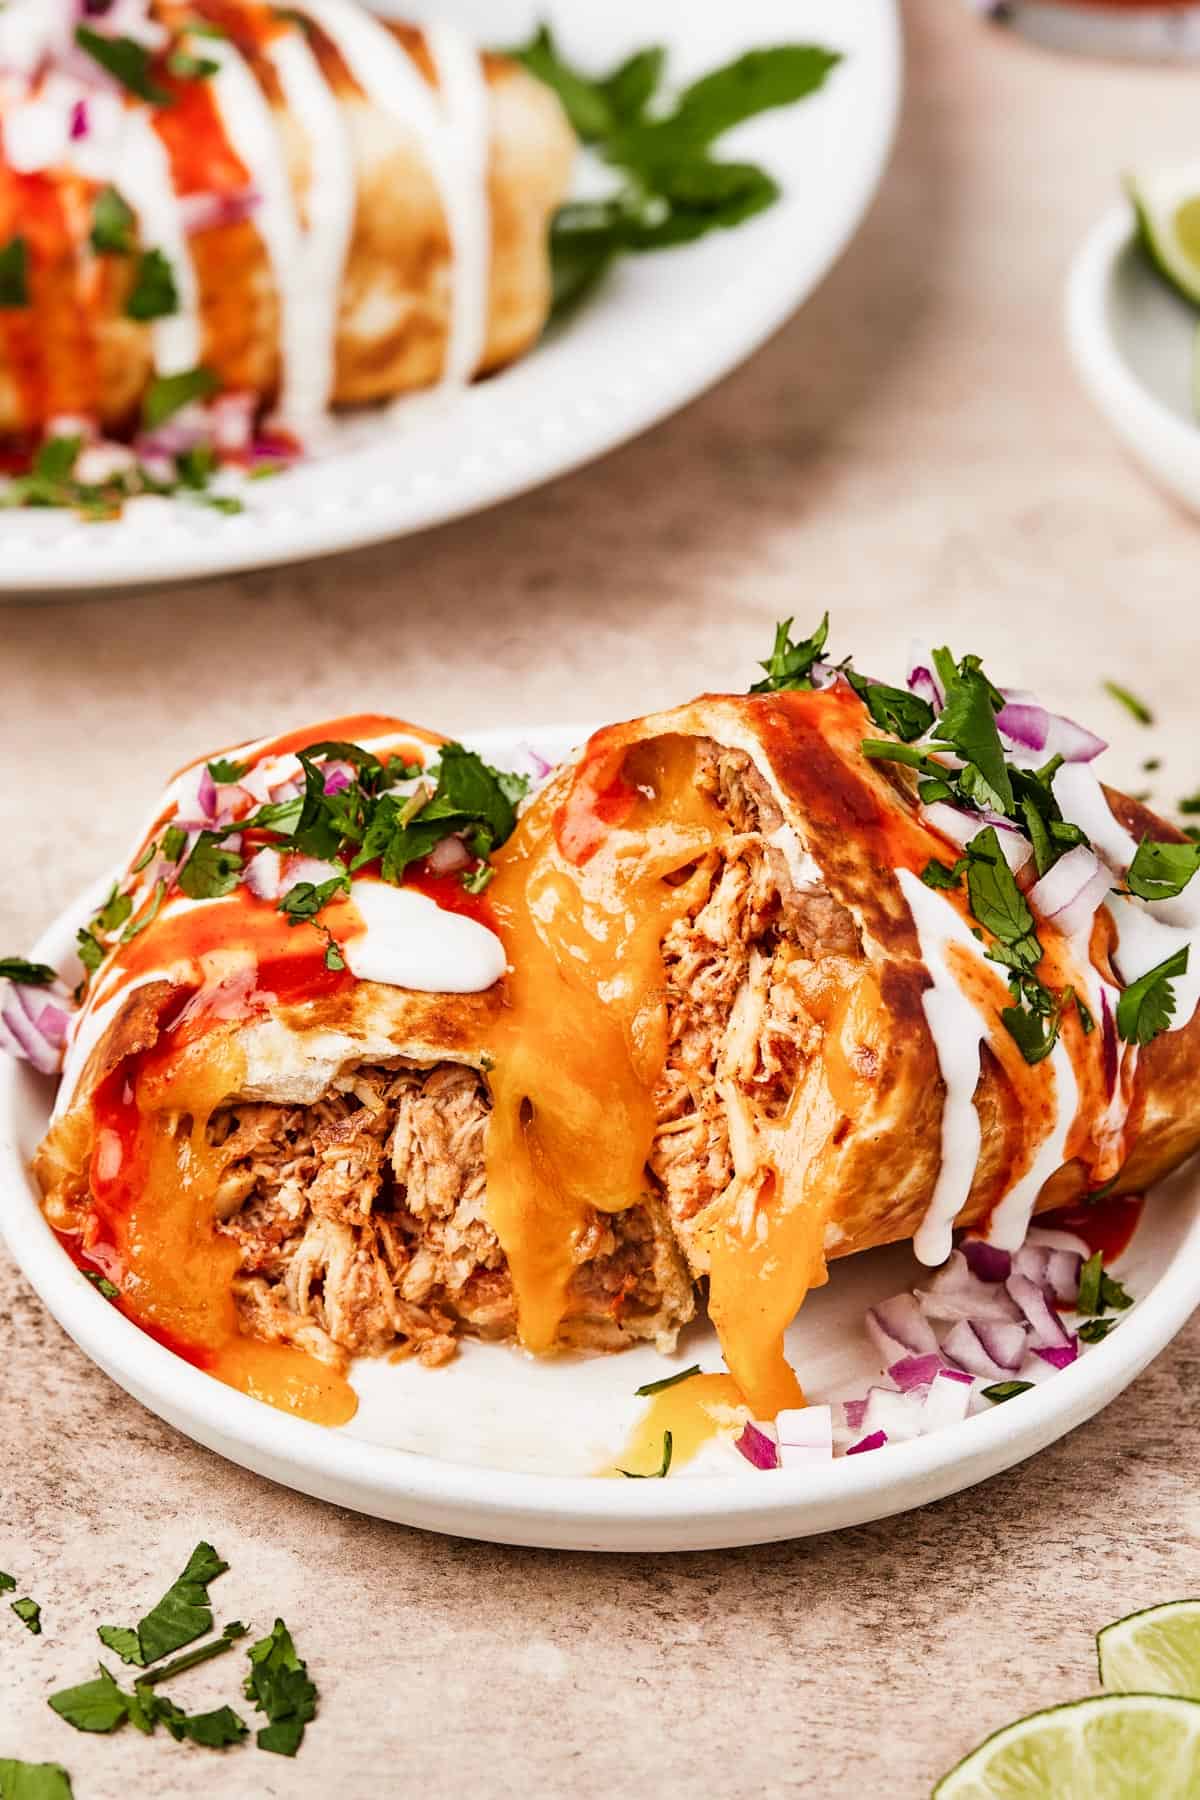
These easy homemade Chicken Chimichangas are quick to make, and full of hearty Tex-Mex flavor! You’ll love the mouthwatering combo of chicken, beans, and cheese in a crispy, fried tortilla.
Jump To
- Homemade Chimichangas!
- What’s the Difference Between a Chimichanga and a Burrito?
- The Ingredients You’ll Need
- How to Make Chimichangas, Step by Step
- Tips, Tricks, and Variations
- Serving Suggestions
- Storing and Reheating Your Leftovers
- Can I Freeze These?
- Homemade Chicken Chimichangas Recipe
- More Easy Tex-Mex Recipes
Homemade Chimichangas!
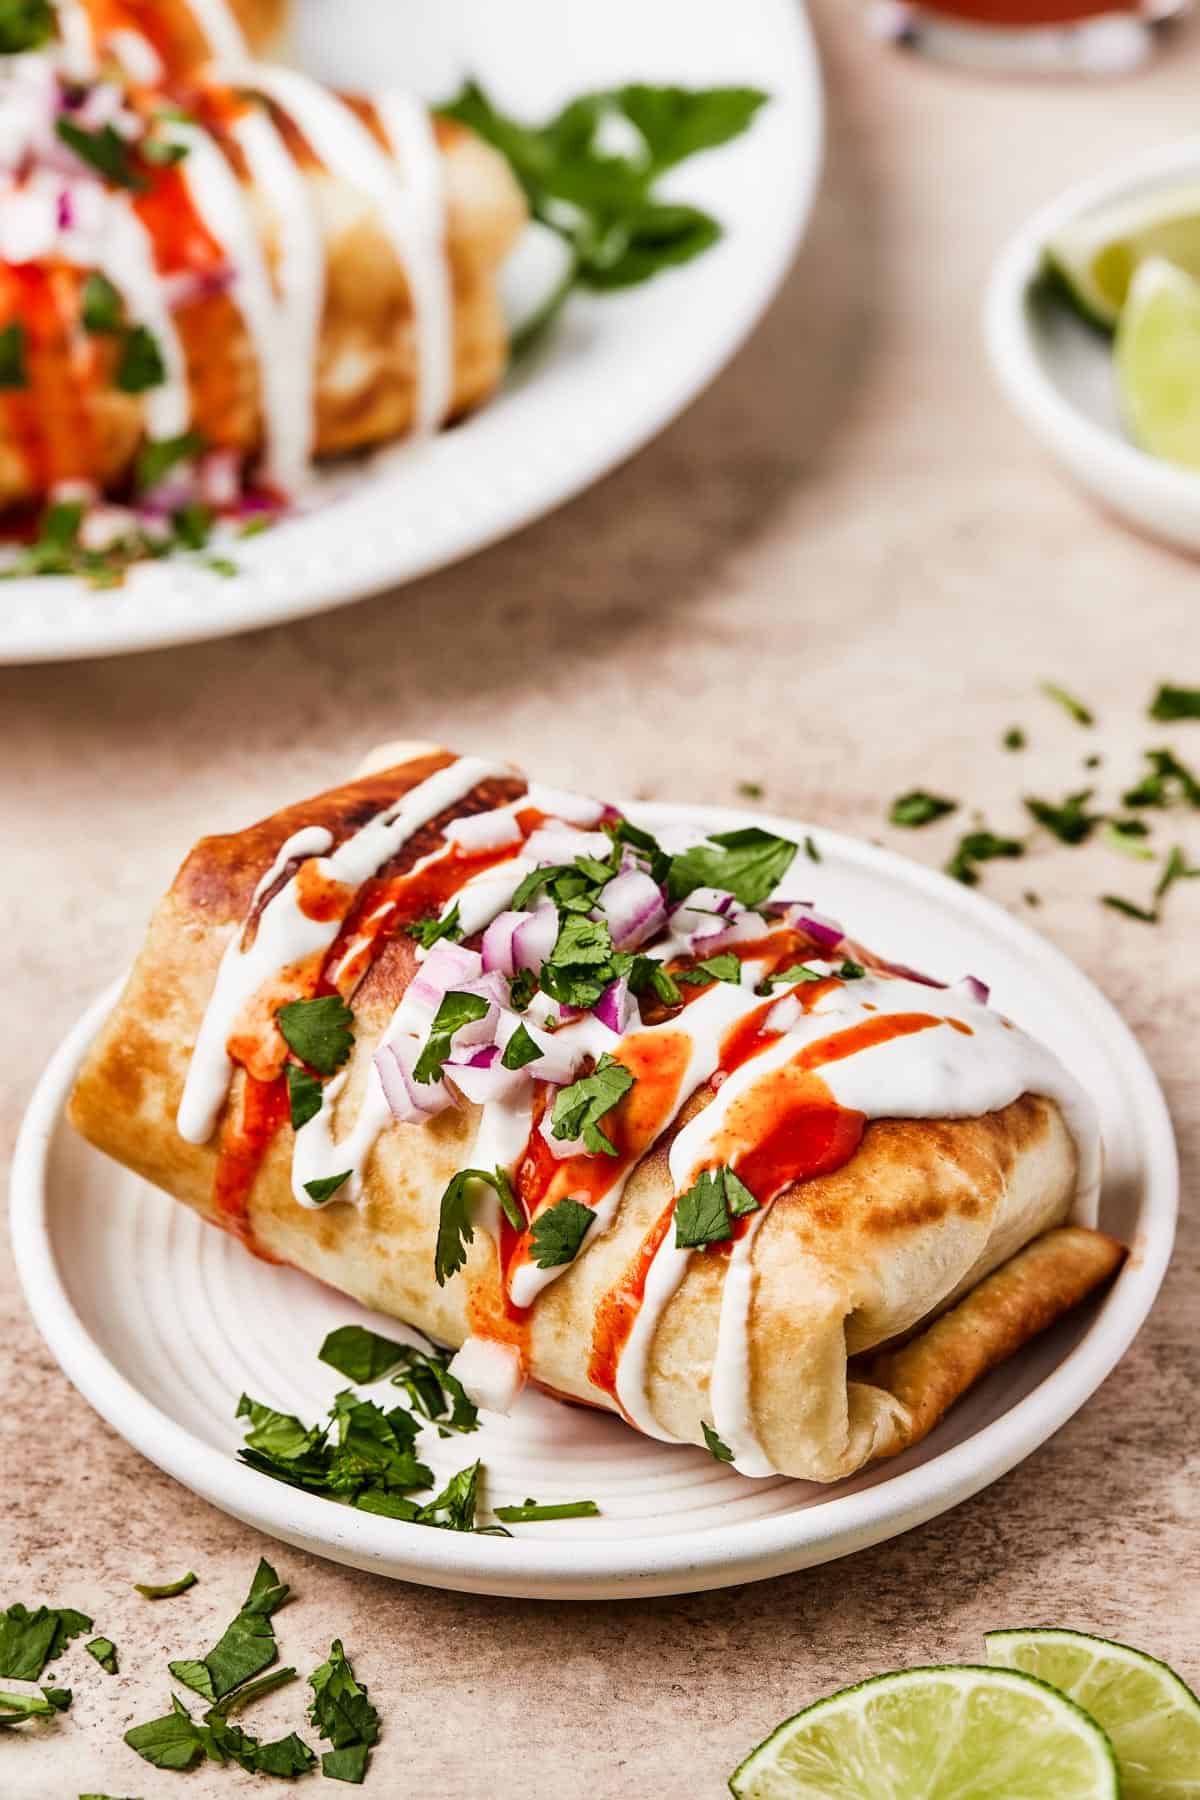
Have you ever tried a chimichanga? Chimichangas are tasty fried burrito-like tortilla wraps, filled with cheese, meat, and other goodies. These easy chicken chimichangas come together in under half an hour, but taste like something from your favorite Tex-Mex restaurant!
Each crispy little bundle is a delight of melted cheese, salsa-flavored shredded chicken, refried beans, and seasonings.
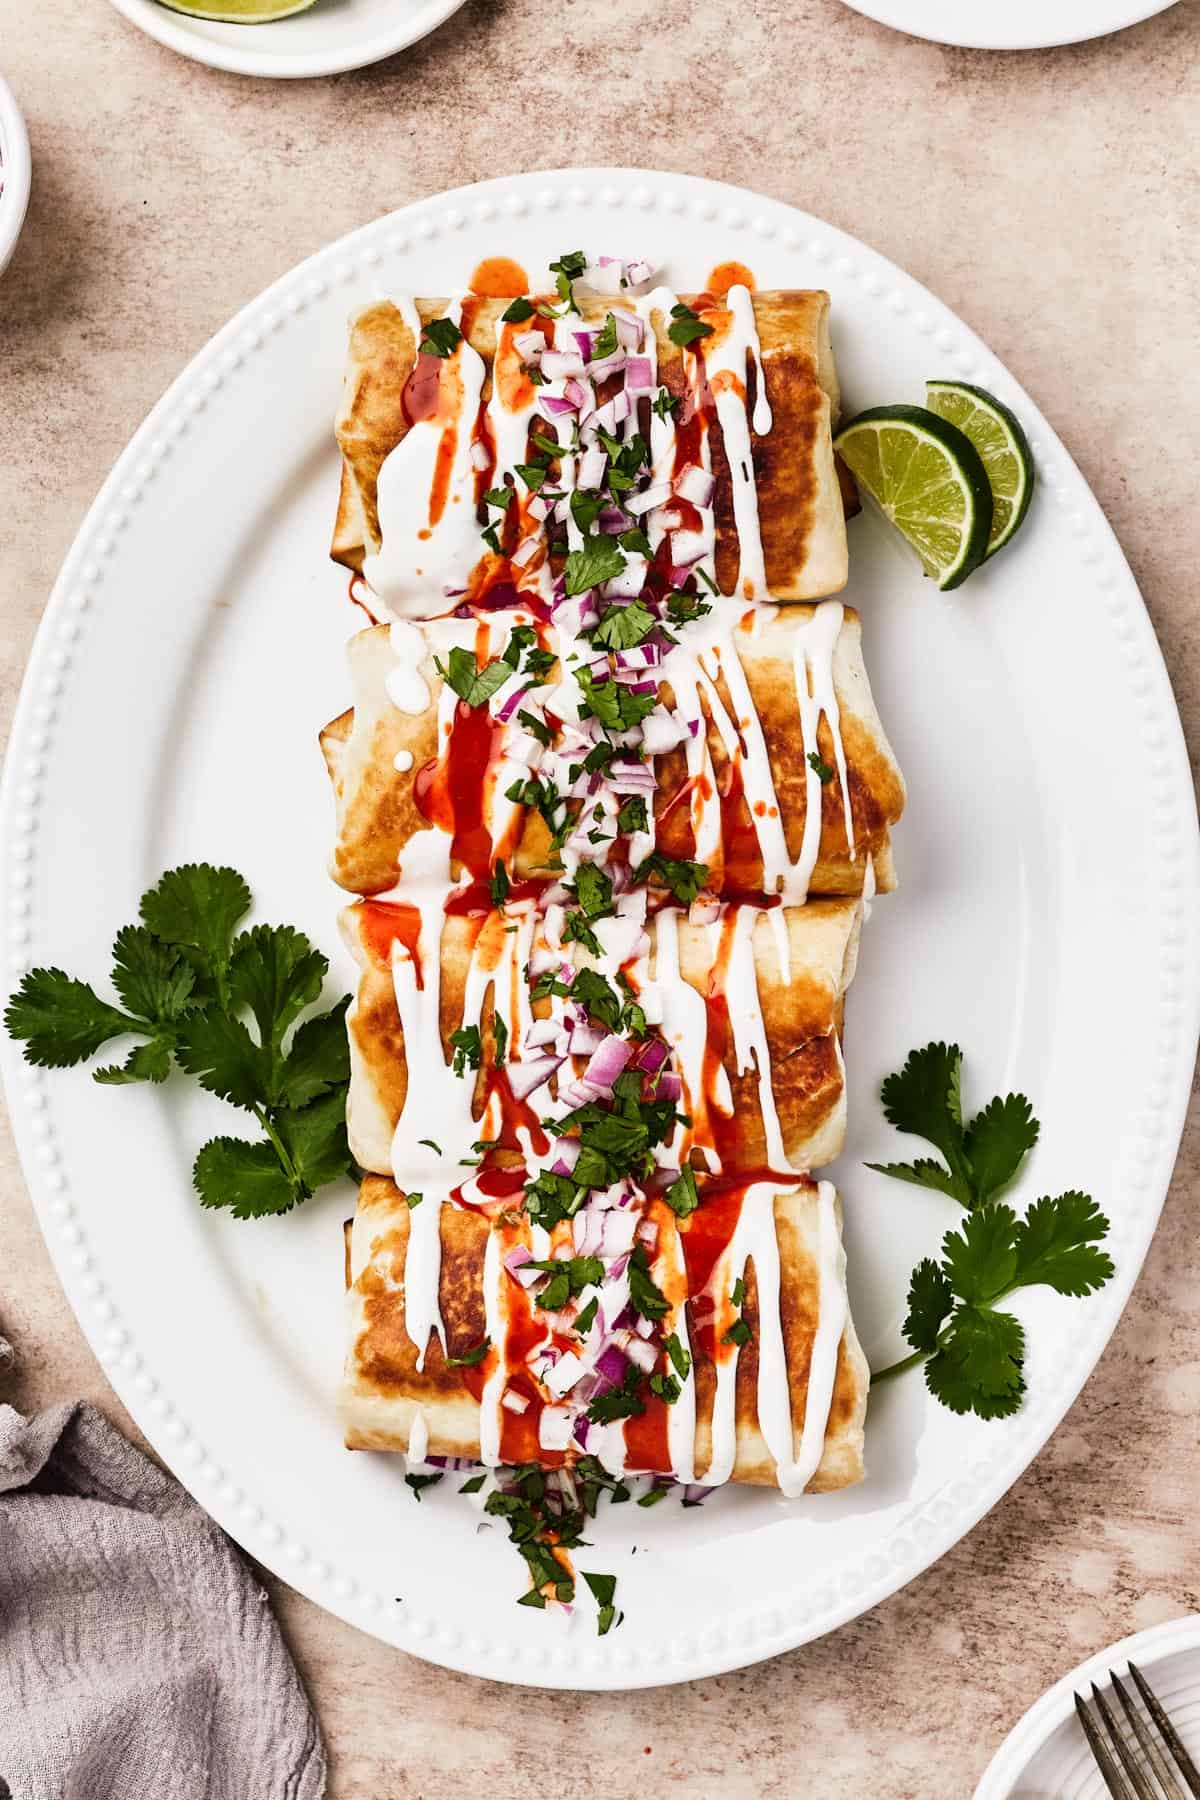
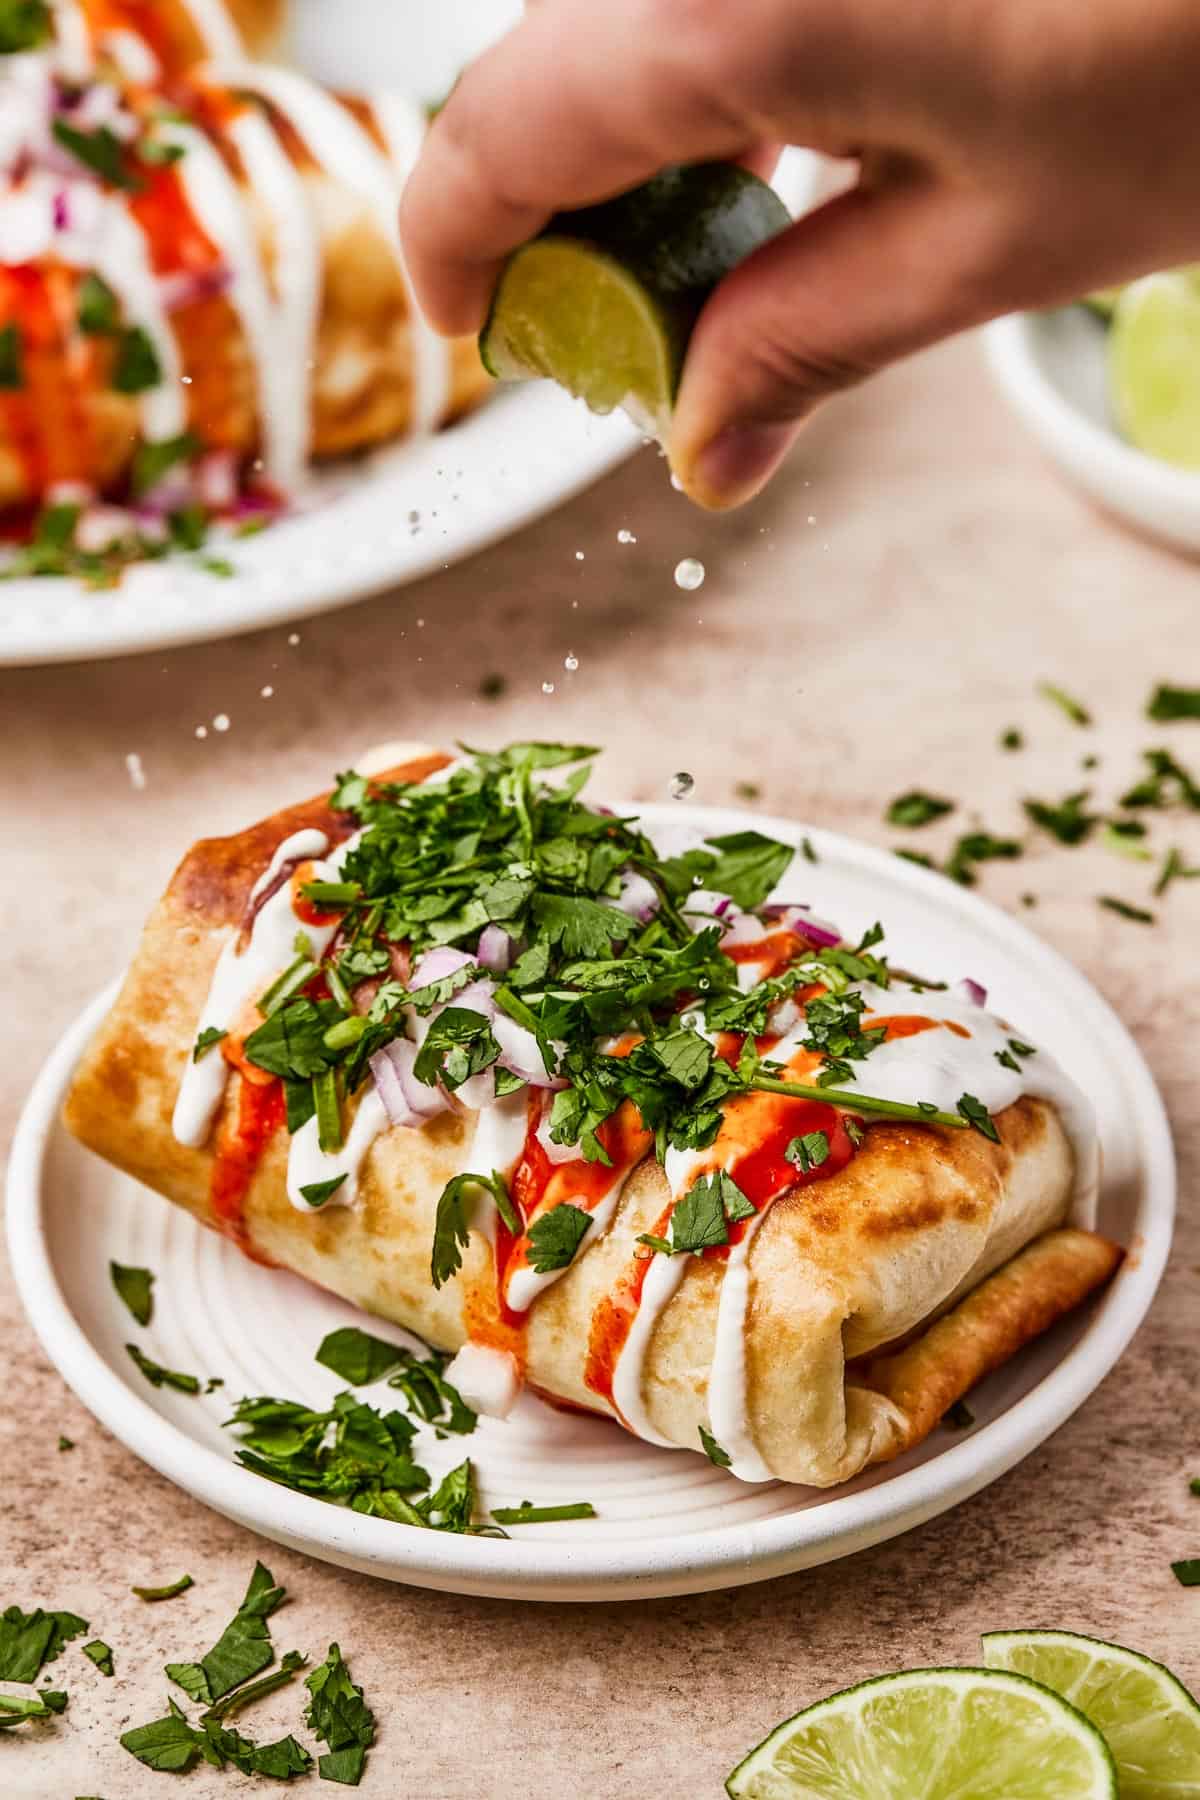
Perfect for a quick hot lunch or a family-pleasing dinner, chimichangas are even better when served with a few fresh toppings, like sour cream or pico de gallo. The freshness of the toppings makes a nice contrast with the hearty, cheesy flavor of the chimichanga.
What’s the Difference Between a Chimichanga and a Burrito?
There are basically two main differences between these chimichangas and a typical burrito: first of all, and most obvious when you look at them side by side, a burrito is not fried! Chimichangas are fried until golden brown. Some chimichangas are also baked, but either way, they are not the same as burritos, which are simply rolled up in the tortillas and then served as-is.
Another difference is that burritos often include rice, while these chimichangas do not. If you would like to include rice, you can definitely do that! But, they are great without rice, thanks to the savory blend of beans, chicken, and cheese.
The Ingredients You’ll Need
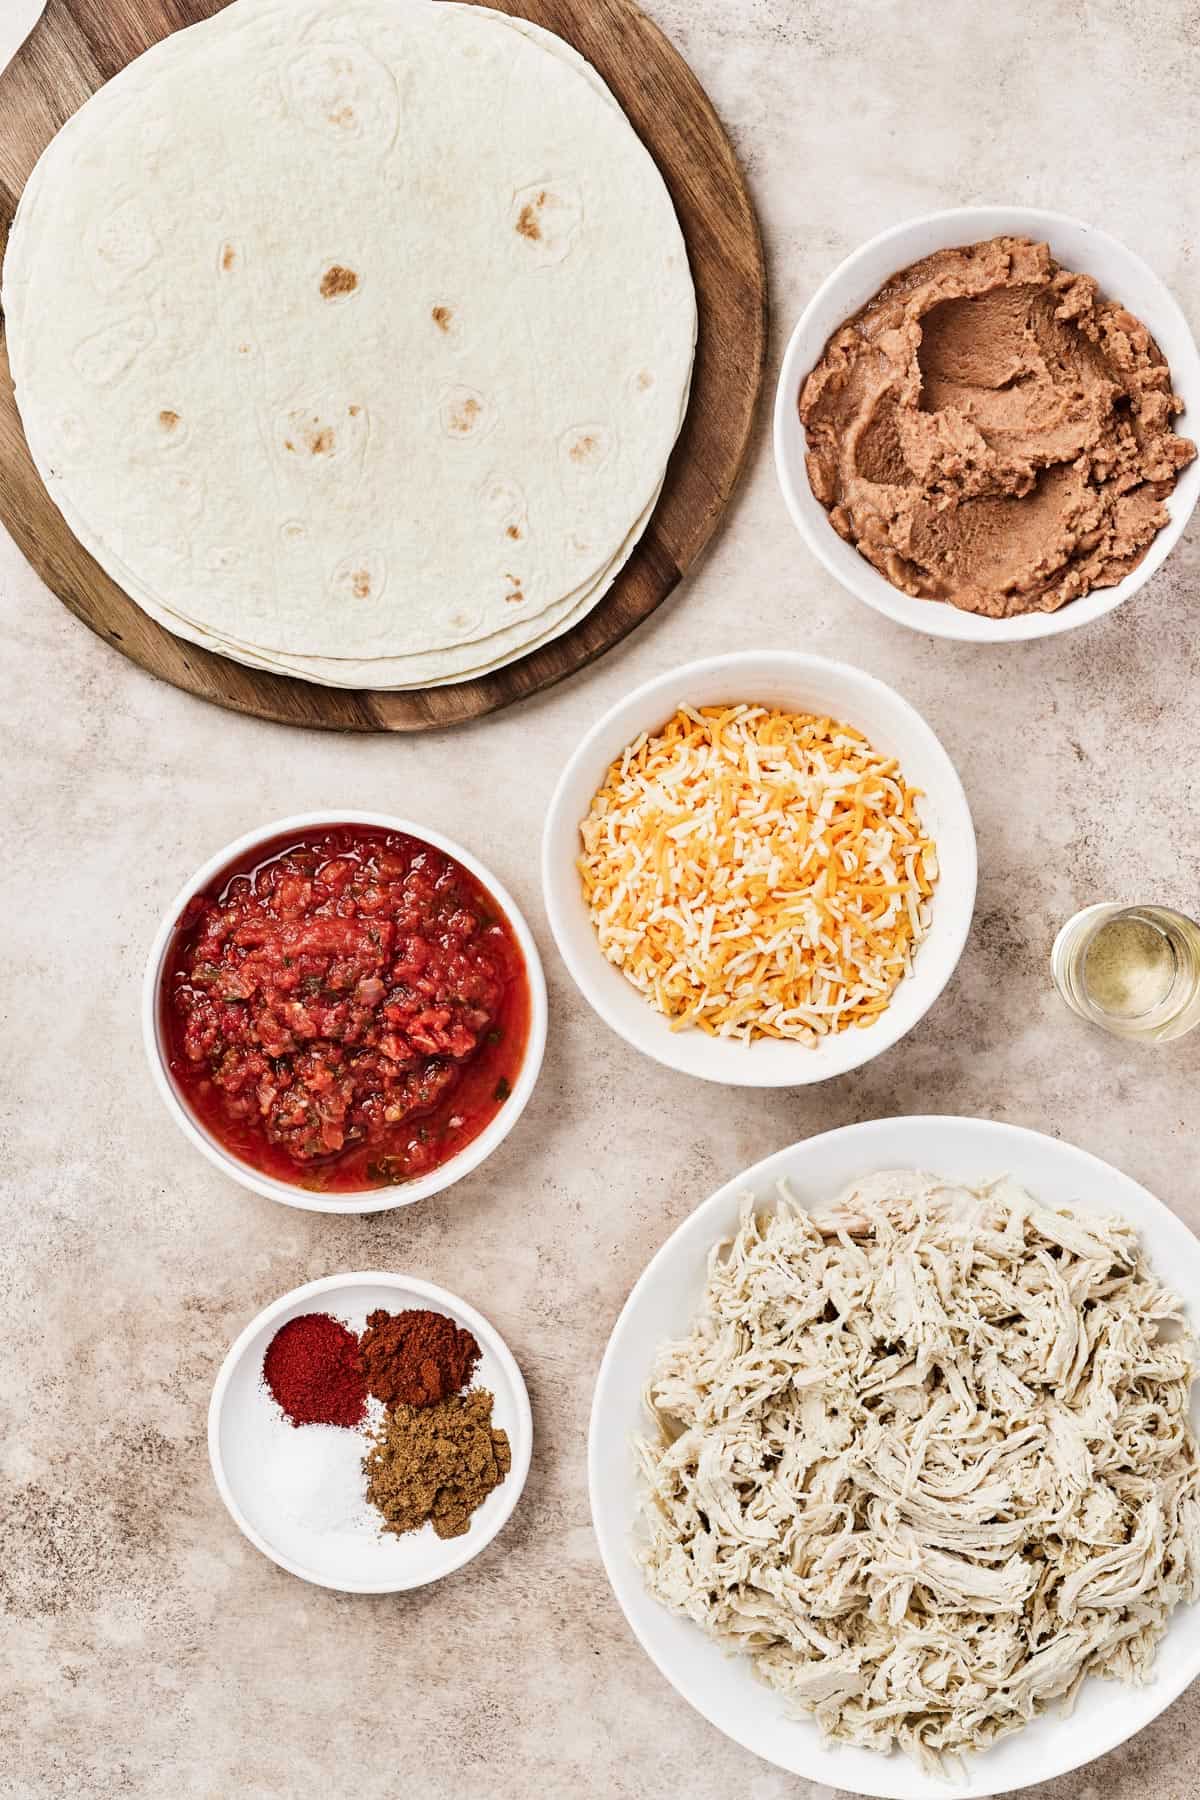
This recipe is so simple, and it comes together so quickly! Pre-cooked, shredded chicken makes it extra easy. You can make your own, if you prefer, or just use the chicken from a store-bought rotisserie chicken.
- Shredded Chicken: Use white meat, dark meat, or a mix – whatever you like.
- Salsa: You’ll need a small amount of your favorite tomato salsa.
- Seasonings: Cumin, chili powder, smoked paprika, and a bit of salt give the filling a well-seasoned, Tex-Mex taste.
- Tortillas: Large burrito-size flour tortillas are perfect for making chimichangas.
- Refried Beans: I use canned refried beans, but you can also make your own if you prefer. If you don’t like refried beans, feel free to leave them out.
- Cheese: Shredded Mexican blend cheese is my go-to.
- Oil: Just a small amount of high heat oil (such as vegetable oil or peanut oil) is all you need.
Toppings for Chimichangas
You can use any toppings that you like! I recommend one (or more, or all) of the following:
- Sliced avocado
- Pico de gallo
- Sour cream
- Hot sauce
- Chopped cilantro
- Chopped red onion
- Lime wedges
How to Make Chimichangas, Step by Step
So just how do you make your own chimichangas? It’s easy! Don’t feel intimidated by the thought of frying your own burritos. Here’s just how you make your own homemade chimichangas, step by step.
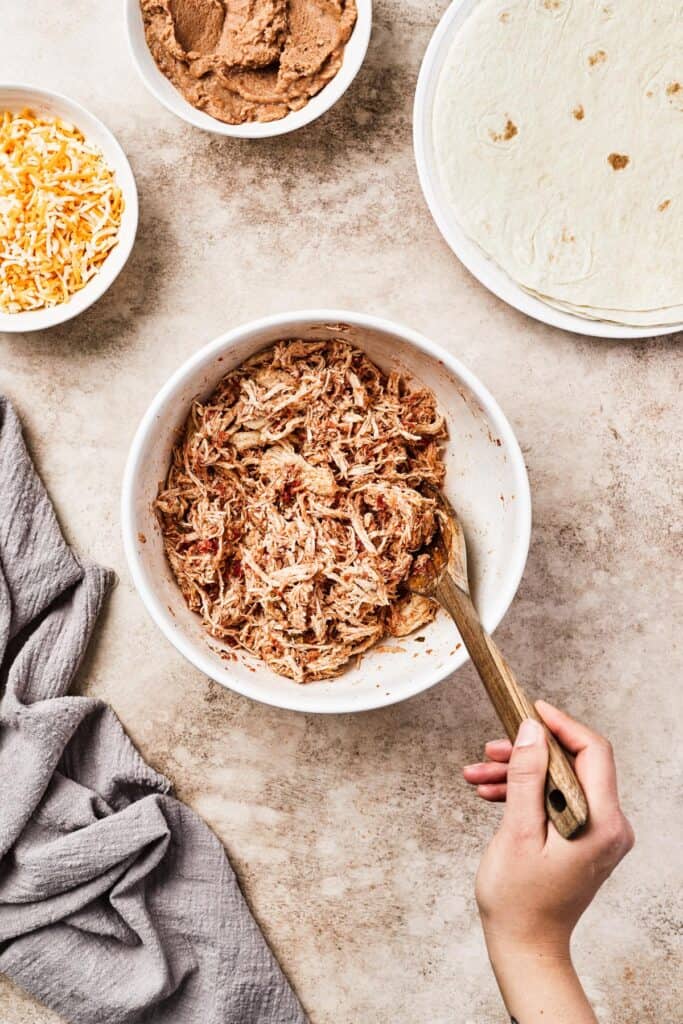
- Make the Chicken Filling Mixture. First, get a large mixing bowl and combine the shredded cooked chicken, salsa, cumin, chili powder, salt, and smoked paprika in it. Mix gently until evenly combined.
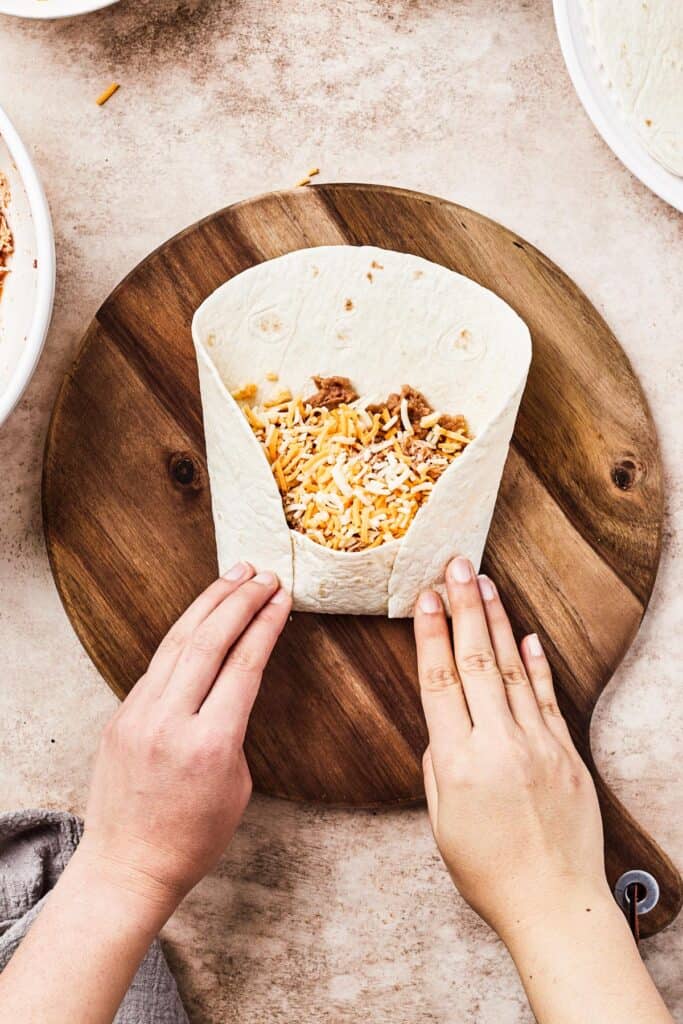
- Layer and Roll Up the Chimichangas. In each tortilla, layer a few spoonfuls of refried beans, a generous amount of the chicken mixture, and about ¼ cup cheese. Lift the bottom of the tortilla over the filling, fold in both sides, and then roll it into a burrito shape.
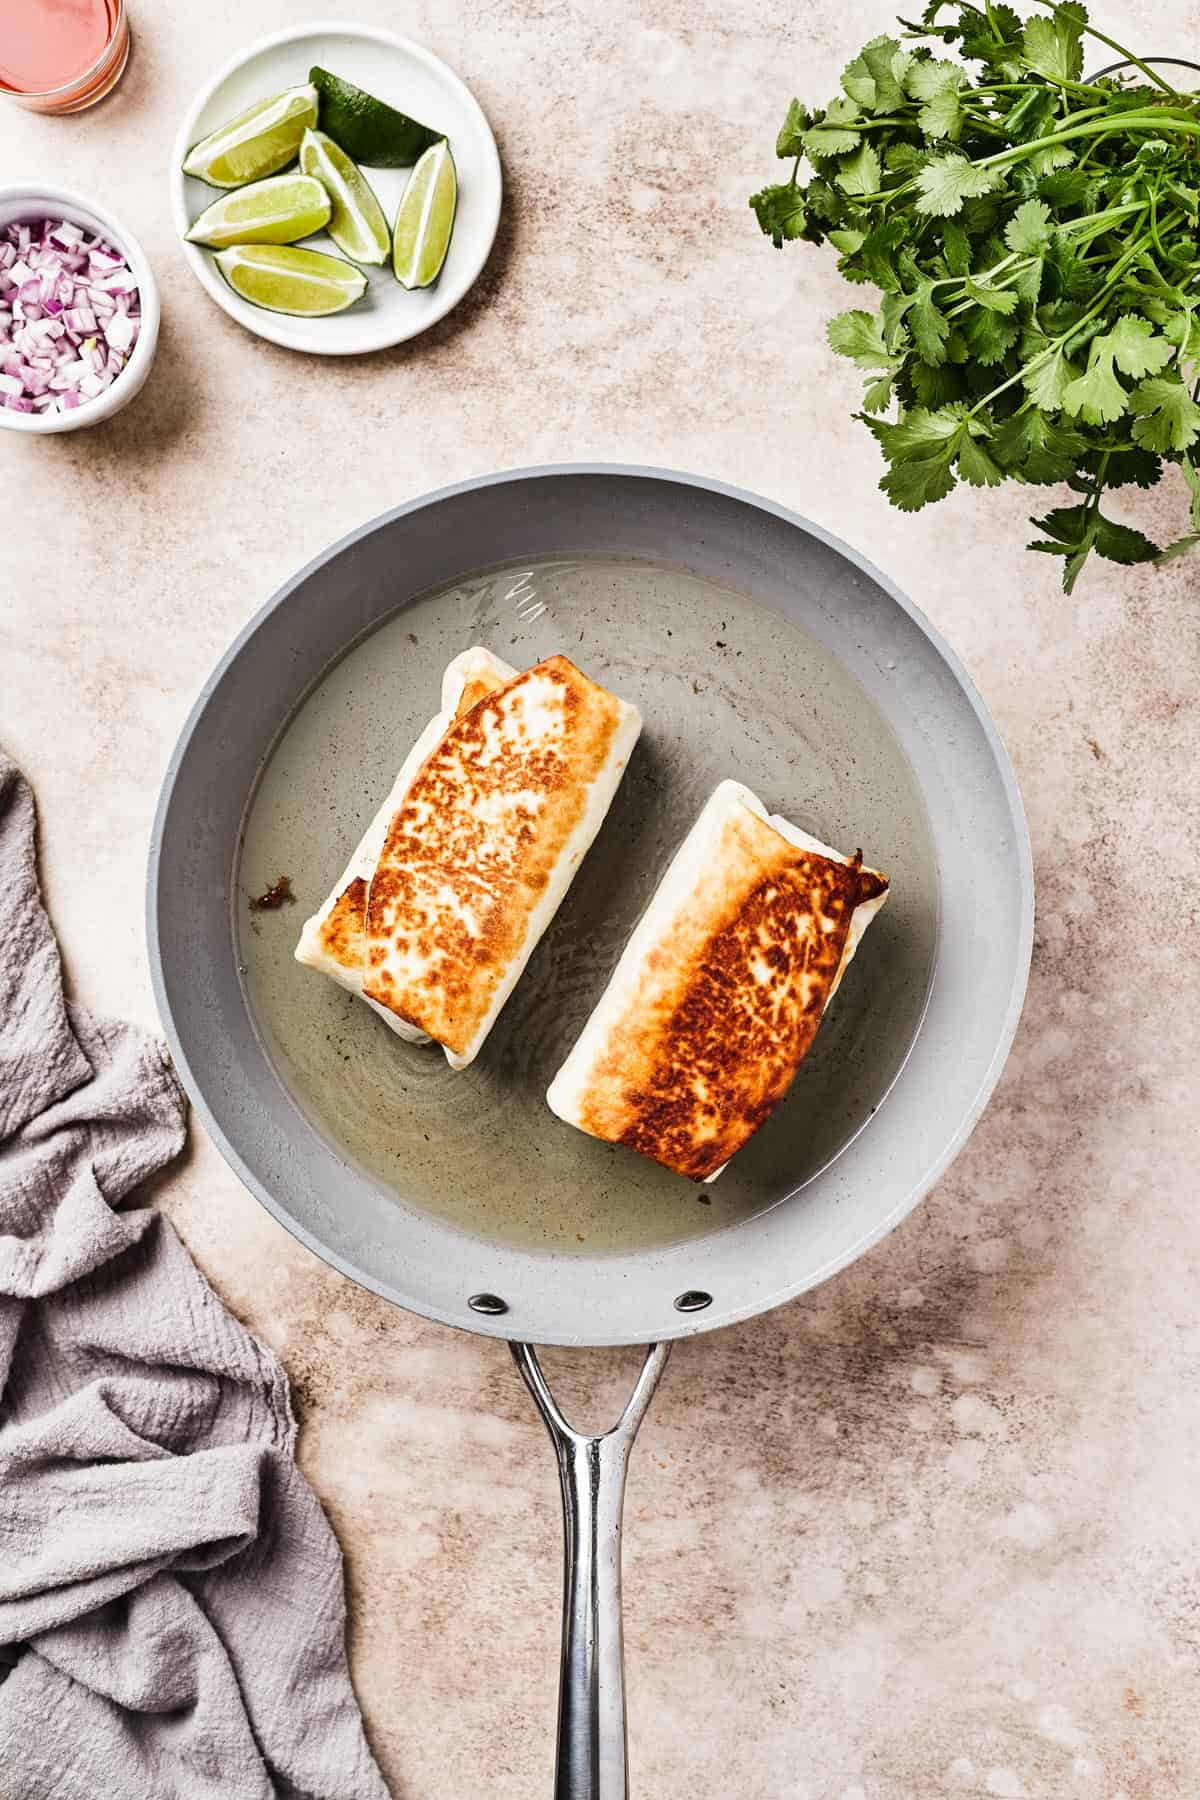
- Fry the Chimichangas Quickly in Oil. Time to fry! First, heat the oil over medium heat in a large pan or skillet. Once the oil is heated and shimmering, place the chimichangas in the pan, seam-side down. Fry the chimichangas for a minute or two on each side, until they’re golden-brown all over.
- Drain and Serve. Once the chimichangas are done, place them on a paper towel-lined plate to drain. Place them on a serving platter, garnish with any optional toppings, and serve immediately.
Tips, Tricks, and Variations
Before you get started making your fried burritos, take a second to check out these easy tips for success! They’ll help you guarantee a perfectly crispy, melty, drool-worthy meal.
- Baked Chimichangas: Instead of frying, you can also line up the chimichangas in a baking dish and bake them, covered, at 350°F for 30 minutes. Then uncover, and bake 10 more minutes. Let them cool for 5 minutes or so, and then serve.
- Cheese Options: The Mexican blend cheese can be substituted with cheddar, colby jack, or pepper jack cheese – use what you love!
- Meat Options: You can also make this recipe with shredded pork, cooked ground beef, or even mixed sauteed veggies (think mushrooms, peppers, onions, or even eggplant).
- Checking the Oil Temperature: If you are unsure whether or not your oil is ready for frying, you can cut a small piece of tortilla and carefully place it in the pan. If it begins to gently sizzle, the oil is ready. If not, let the oil heat for another minute or two and try again.
- Managing the Oil Temperature: Cooking in oil that is too hot can result in an overly-crunchy tortilla with unmelted cheese inside. If you think your chimichanga is frying too quickly, remove the burrito and turn down the heat. Once the oil cools down slightly, place the chimichanga back in the pan and continue frying until done.
Serving Suggestions
Looking for some simple sides to make with your homemade chicken chimichangas? Try one (or more) of these savory side dishes. Each one is easy to make, and sure to please!
- Rice: Who can resist a big bowl of seasoned rice? This Instant Pot Mexican Rice is a flavorful blend of tomato sauce, long-grain white rice, peas, carrots, corn, and more.
- Potato Wedges: Crispy Grilled Potato Wedges may not be a Tex-Mex classic, but they are incredibly satisfying and easy to make! Just throw them on your grill or grill pan, and you’ll be devouring scrumptious, seasoned, crispy-skinned potato wedges in no time.
- Cowboy Caviar: Whether you serve it as a salsa, a dip, or a salad, there’s no doubt that this crunchy, fresh, and flavorful blend of veggies is a winner! Cowboy Caviar is made with fresh avocado, tomatoes, and bell peppers, plus corn, beans, and an incredible tangy dressing. Yum!
Storing and Reheating Your Leftovers
- Chimichangas that are already rolled and fried are best enjoyed fresh, but if you have leftovers to store, they will keep for up to 3 days in the refrigerator. Drain them well on paper towels to keep them as crisp as possible, and store in airtight containers in the fridge.
- To reheat, bake your chimichangas at 350°F until heated through. You could also reheat in the air-fryer to help crisp them up!
- Additionally, if you’d like to make these ahead, try making just the filling and storing it well-covered in the refrigerator for up to 3 days. When you’re ready to cook, just roll them and fry the chimichangas fresh.
Can I Freeze These?
- Yes, these freeze very well! Just make the filling, roll up the chimichangas, and store them in freezer bags or containers for up to 6 months.
- Fry or bake directly from frozen, increasing the cook time as needed to heat completely through.

Homemade Chicken Chimichangas
Ingredients
Ingredients:
- 1 pound cooked chicken and shredded
- ½ cup salsa
- 2 teaspoons cumin
- 1 teaspoon chili powder
- 1 teaspoon salt
- ½ teaspoon smoked paprika
- 4 burrito-size flour tortillas
- 1 can (16 ounces) refried beans
- 1 cup shredded mexican blend cheese
- ¼ cup oil
Toppings:
- Sliced avocado
- Sour cream
- Hot sauce
- Chopped cilantro
- Chopped red onion
- Lime wedges
Instructions
- In a large bowl, mix the chicken, salsa, cumin, chili powder, salt, and smoked paprika until evenly combined.
- In each tortilla, add ¼ cup refried beans, ½ cup chicken mixture, and ¼ cup cheese. Lift the bottom of the tortilla over the filling, fold in both sides, and then roll up into a burrito.
- Heat oil over medium heat in a large pan or skillet. Once the oil is heated and shimmering, place the chimichangas in the pan seam-side down. Fry on each side for 1 ½ to 2 minutes, or until crispy and golden brown. Set aside on a paper towel-lined plate or cooling rack to drain any excess oil.
- Top with any optional toppings and serve immediately.
Nutrition
Nutritional info is an estimate and provided as courtesy. Values may vary according to the ingredients and tools used. Please use your preferred nutritional calculator for more detailed info.


Looks amazingly delicious! Can’t wait to have this for our dinner!
Thank you so much, Erin! I hope you’ll enjoy it! 🙂
Love these chicken chimichangas for lunch! It hat everything I love! So good!
That’s great! I hope you’ll enjoy it! Thank YOU! 🙂
Wonderfully satisfying, so much better than ordering at a restaurant!
Thank YOU! I hope you’ll enjoy it! 🙂
Thank you so much! I hope you’ll enjoy it! 🙂