This post may contain affiliate links. Please read our disclosure policy.
Topped with caramelized onion and crispy bacon, this easy Homemade Pierogi Recipe features a traditional cheese and potato filling, perfect as an appetizer, side dish, or a light and savory dinner.

Jump To
An Authentic Pierogi Recipe with Cheesy Potato Filling
Pierogi are a beloved dish you’ll find everywhere in Eastern Europe, Central Europe, and beyond. Especially popular at Christmas time, these fun little dumplings come in all kinds of flavor combinations, including sweet dessert pierogies!
This recipe will show you how to make classic pierogi ruskie, AKA savory pierogies with mashed potato and cheese filling.
Like a lot of dumpling recipes, pierogies can take time to assemble – but they also freeze well, so it’s a great opportunity to make extras and stock your freezer. Create an assembly line, maybe grab a helper or two, and let’s make some pierogi!

The Ingredients You’ll Need
First, you’ll want to make sure you have all of the ingredients. Here’s the list (and be sure to check the recipe card at the bottom of the post for amounts and nutrition info):
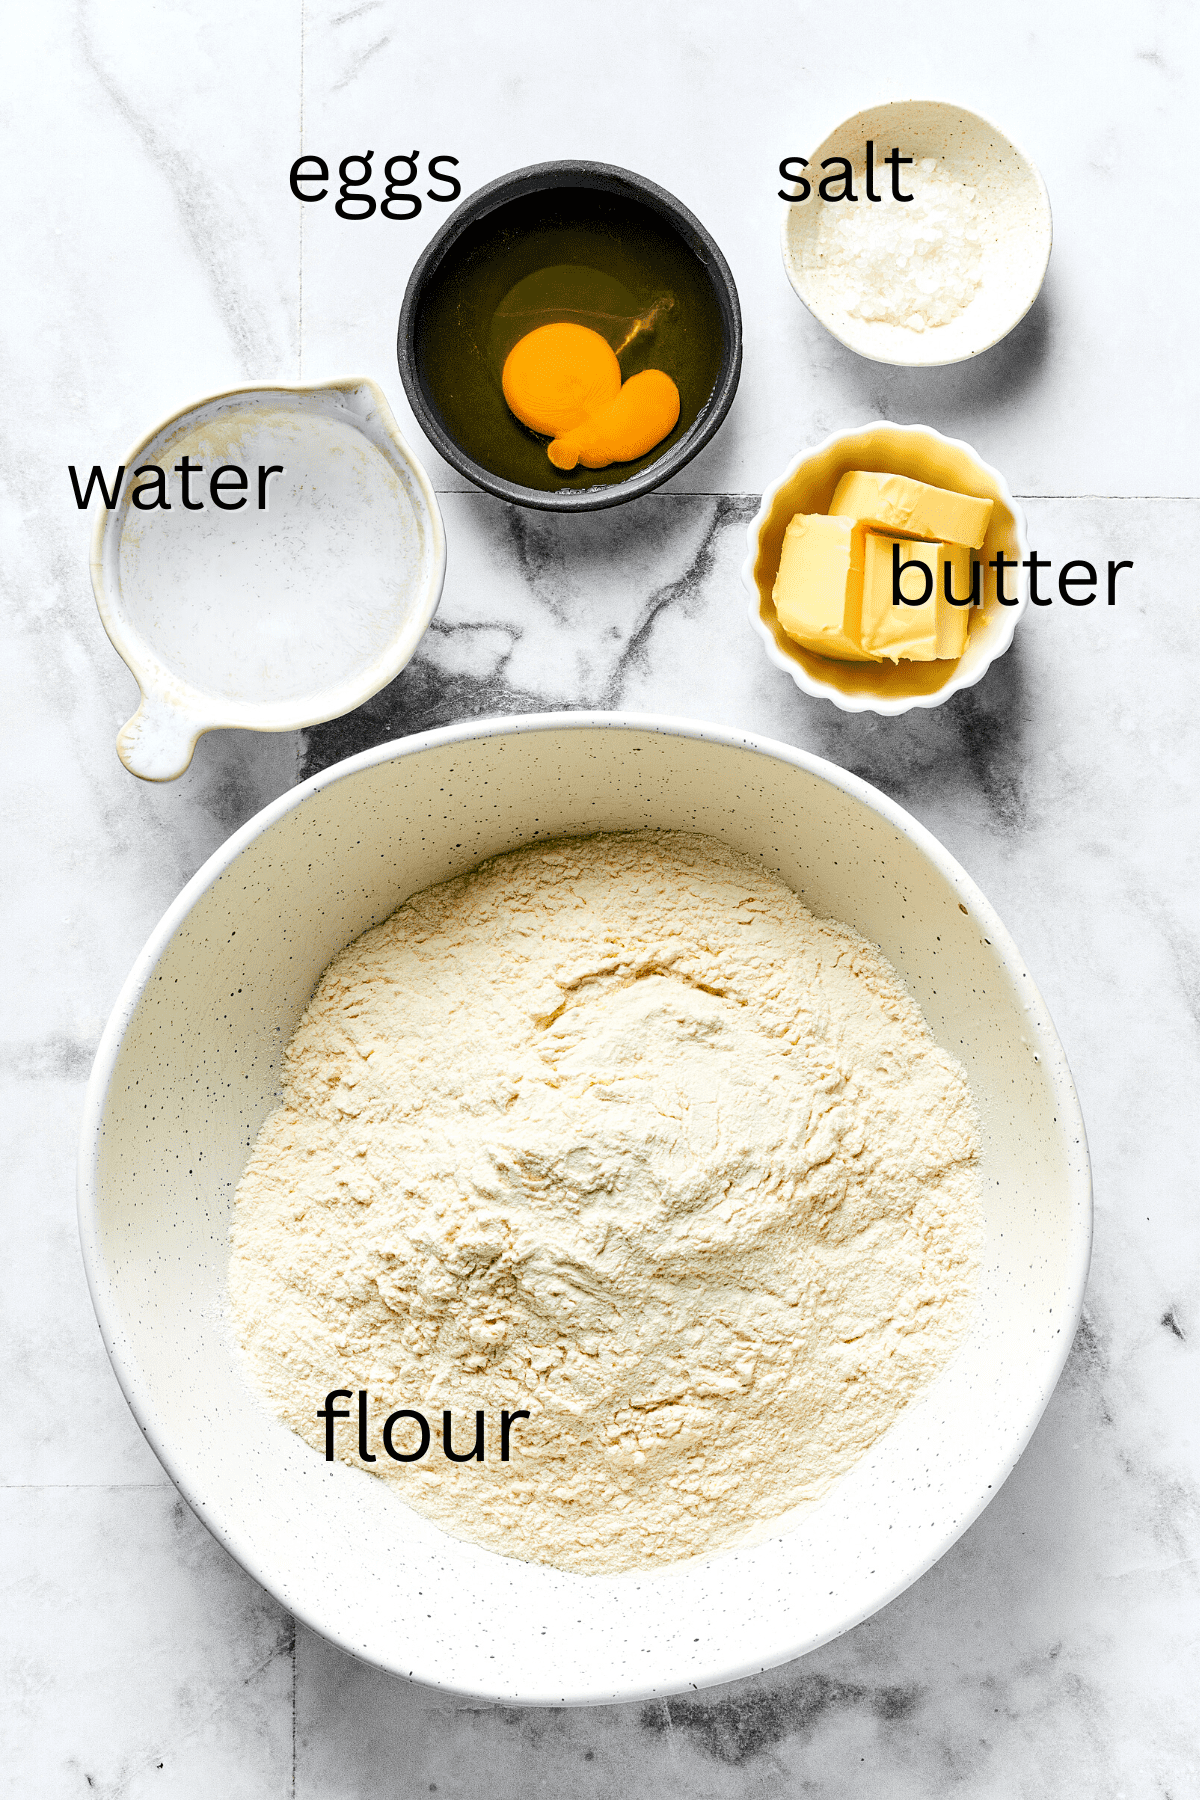
For the Pierogi Dough
- Flour: Regular all-purpose flour is perfect here.
- Salt
- Butter: I use unsalted butter.
- Water: Warm, but not hot.
- Egg: One large egg helps bind the dough together.
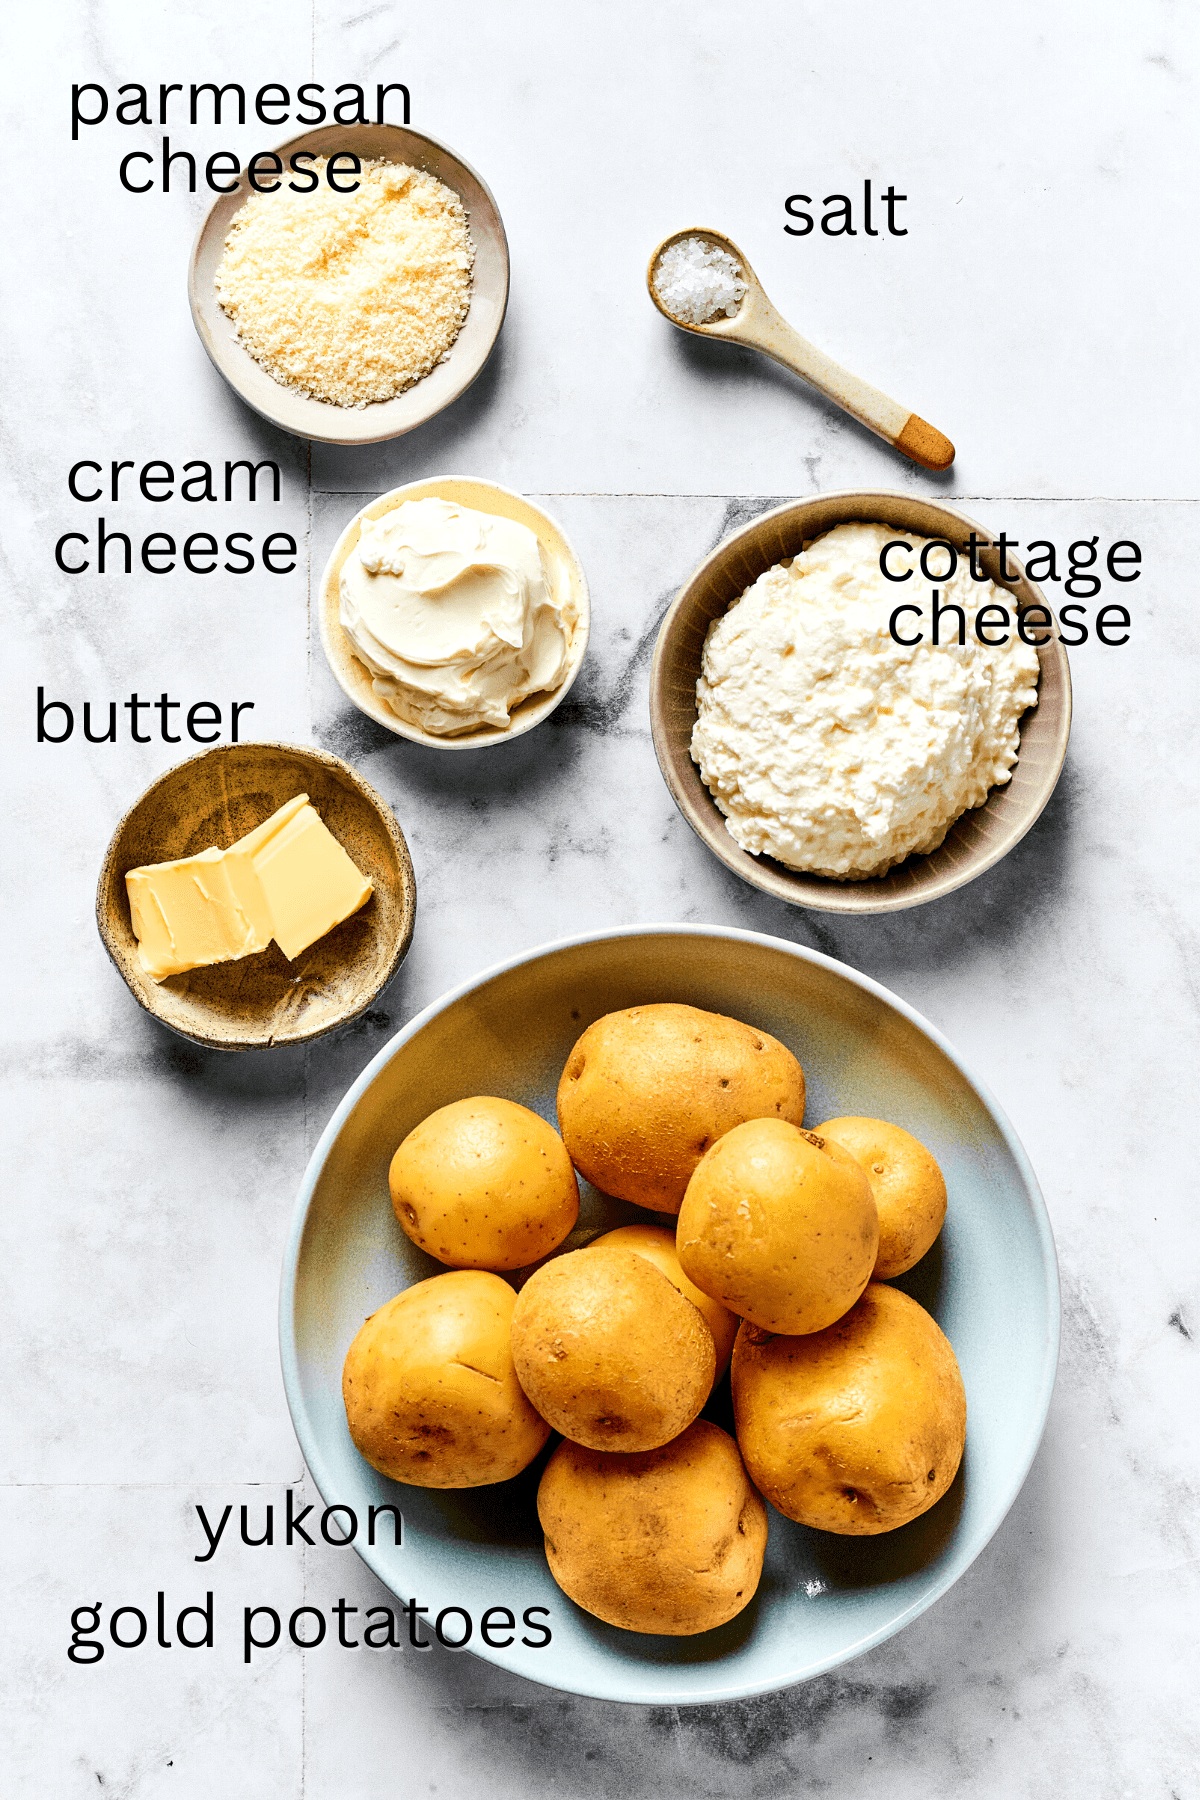
For the Potato-Cheese Filling
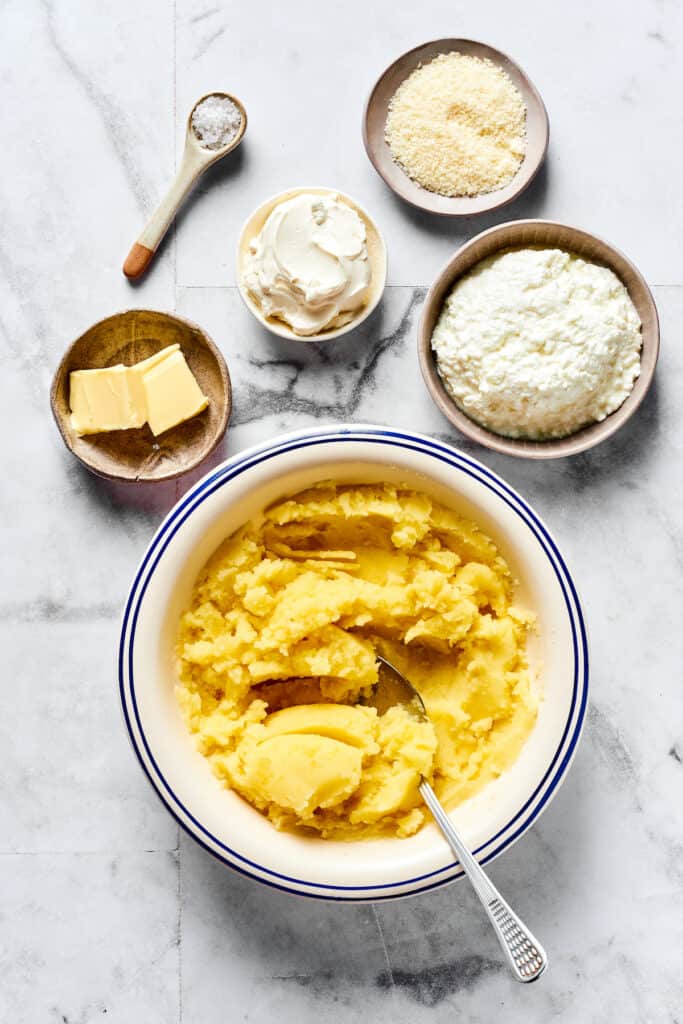
- Potatoes: I like Yukon Gold potatoes, but Russet or other mashing potatoes also work well.
- Sea salt: Or regular salt.
- Butter: Unsalted butter, or you can use salted butter and reduce the amount of sea salt.
- Cheese: A combination of cream cheese, cottage cheese, and Parmesan cheese make the filling irresistibly cheesy and creamy.
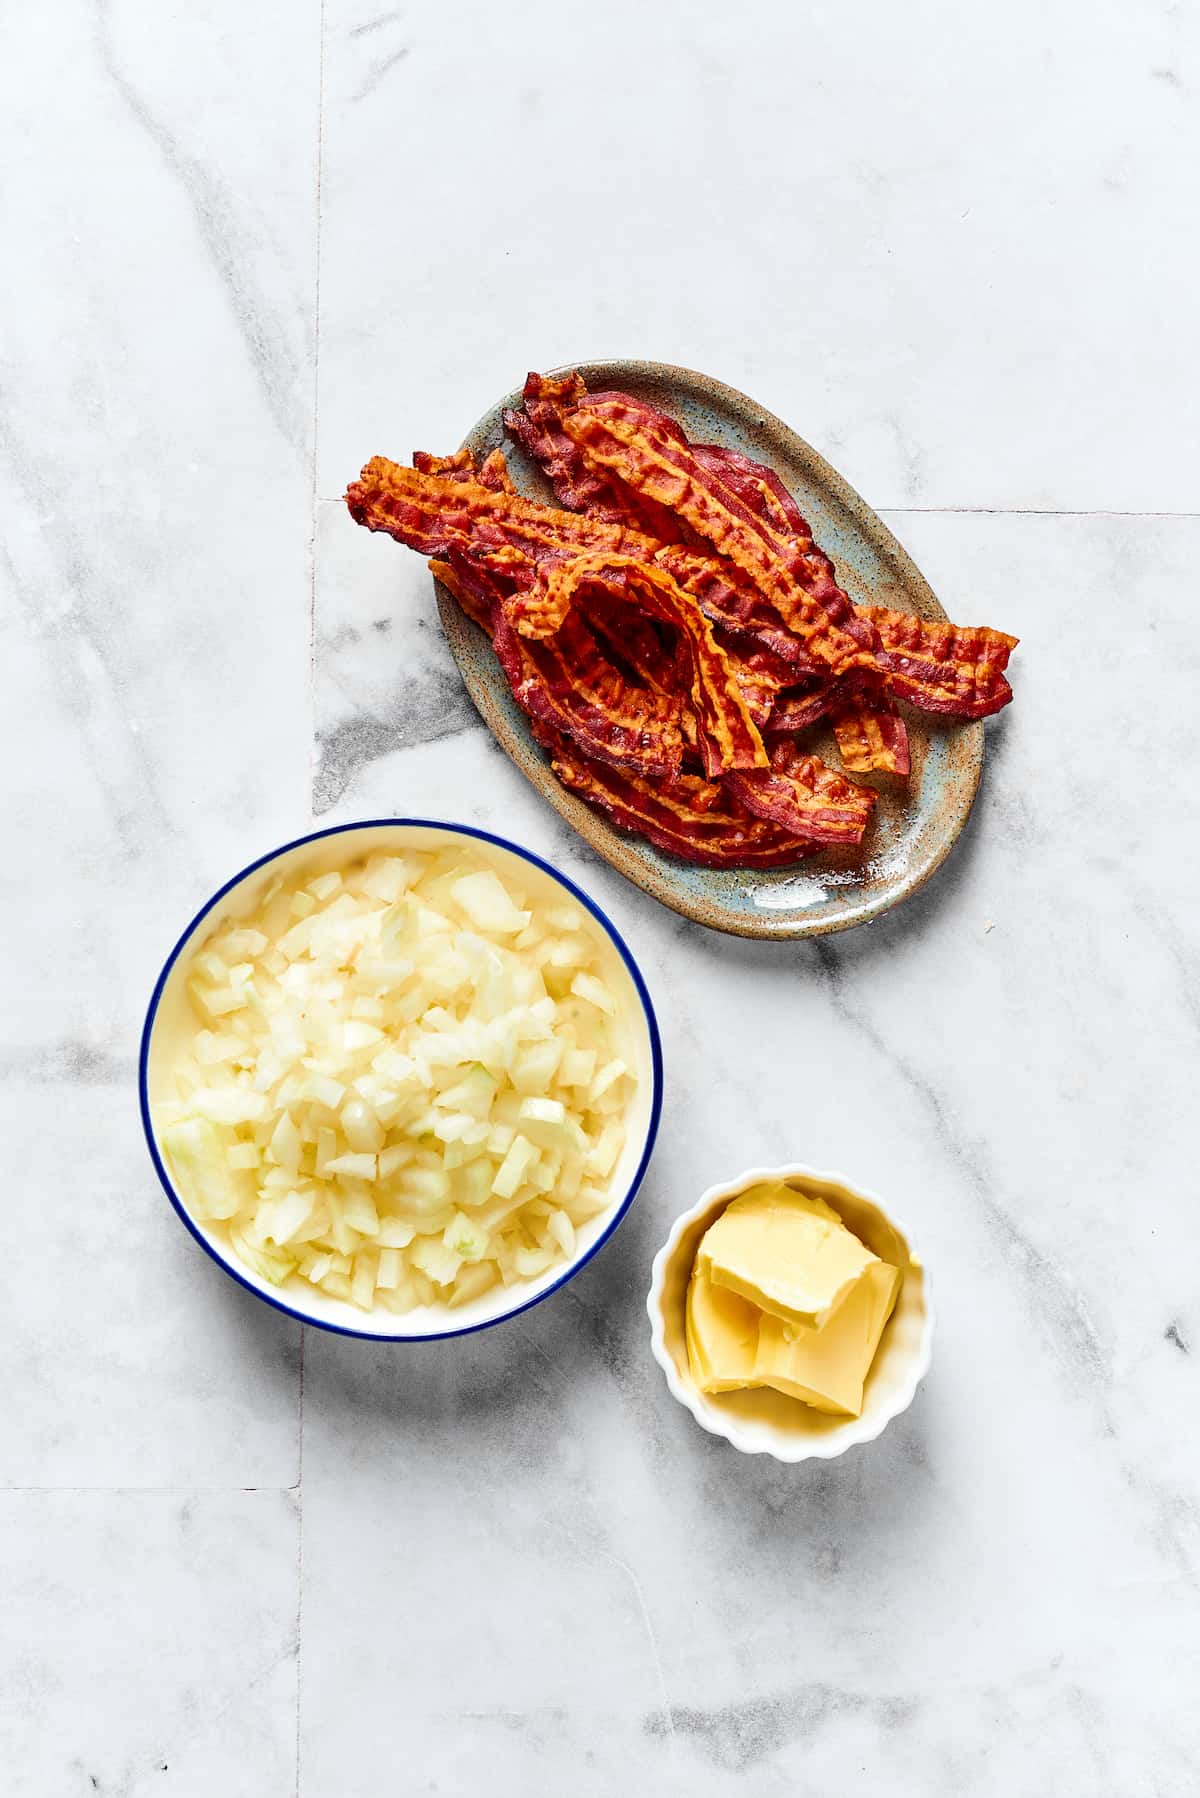
For the Topping
- Bacon: Cooked until crisp, and then crushed into small bits.
- Butter
- Onions: Chop up a couple of yellow onions, or substitute white onions.
- Fresh Parsley: Chopped.

Let’s Make Pierogies!
Note that we’ve covered the ingredients, it’s time for the fun part: cooking! Here’s how to do it, step by step.
Make the Potato Filling
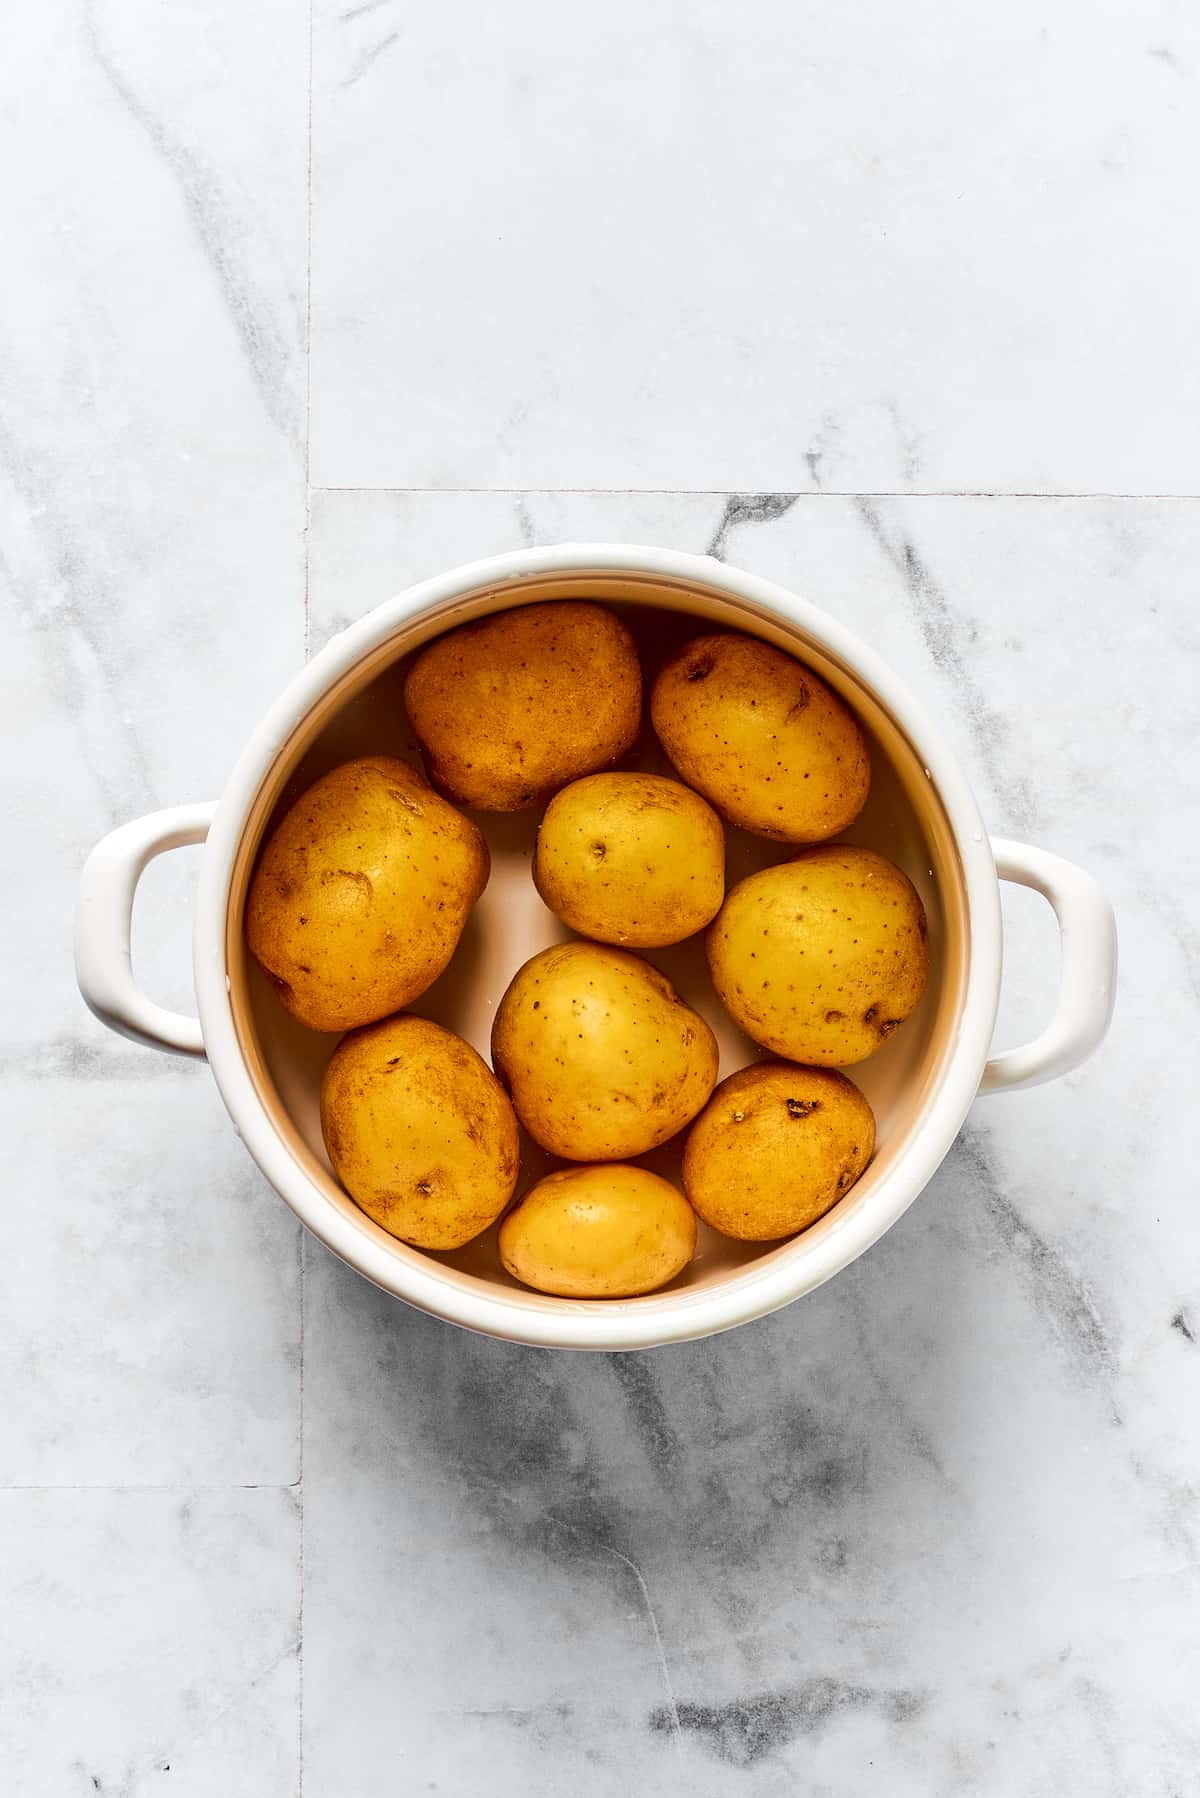
- Cook the Potatoes. First, place the potatoes in a pot with a lid, and cover them with water. Bring to a boil over medium heat, and set the lid on the pot, slightly ajar to let some steam escape. Cook until the potatoes are tender, about 25 minutes.
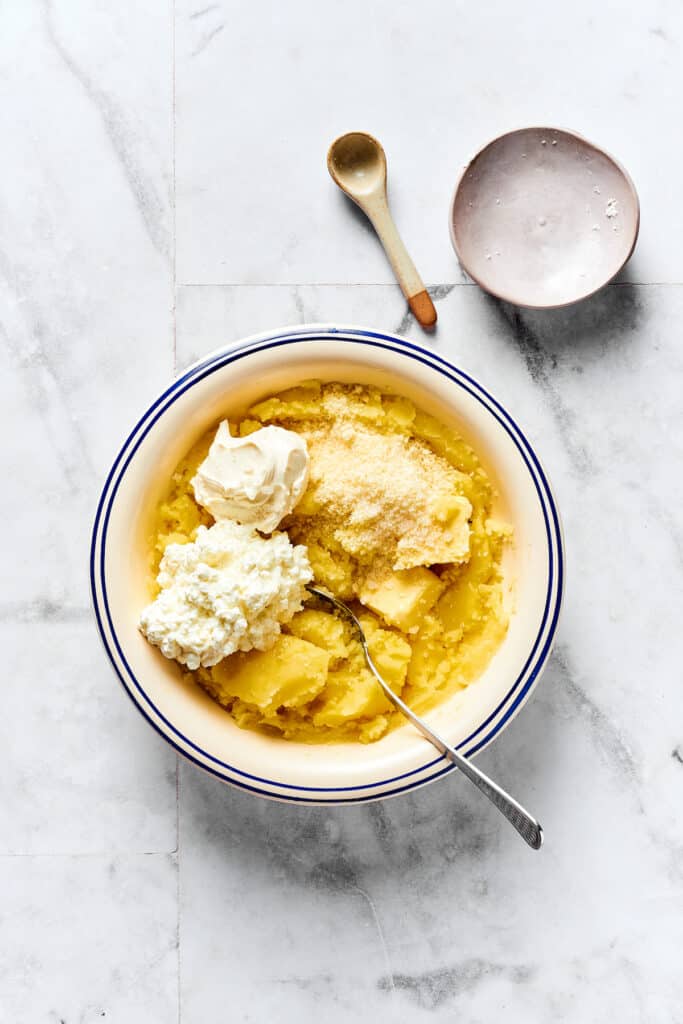
- Make the Filling. Once the potatoes are cooked, use a potato masher to mash the potatoes until they’re smooth and free from lumps. Add the cottage cheese, cream cheese, Parmesan cheese, butter, and salt. Mix together, and set aside.
Make the Pierogi
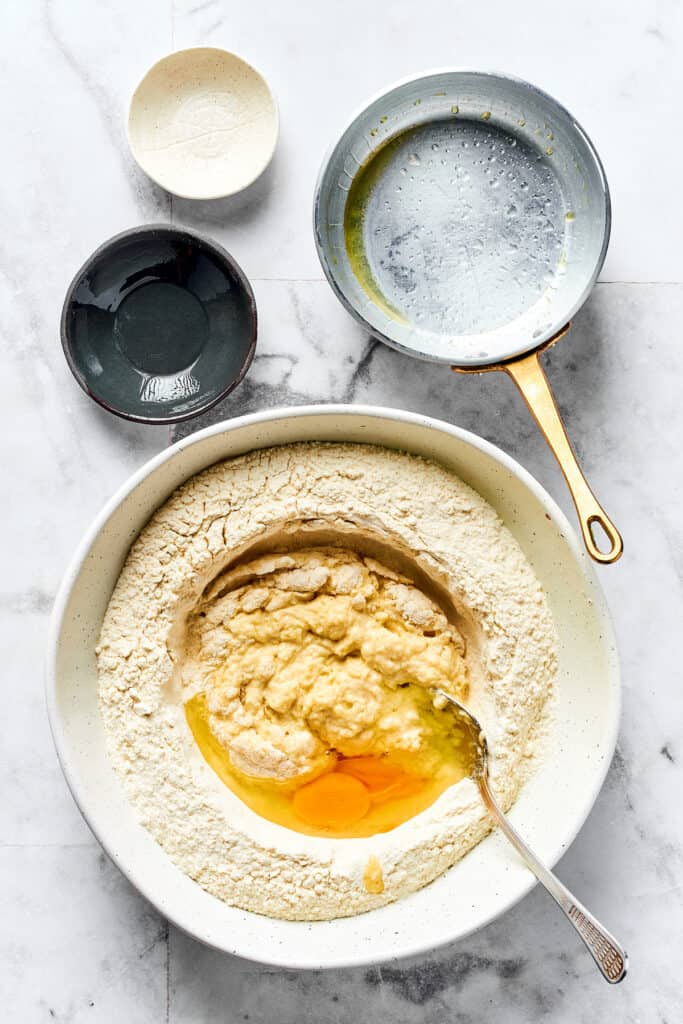
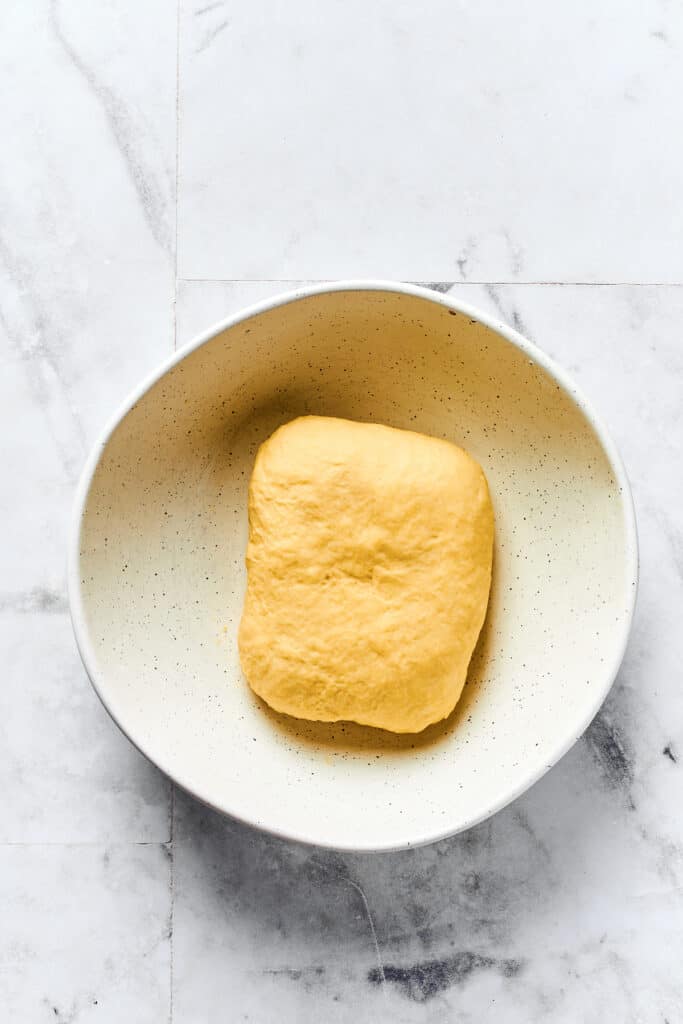
- Make the Dough. In a medium bowl, whisk together the flour and salt. Warm the water and butter in a small pot or in the microwave, until the butter is melted. Don’t let the mixture get too hot. Add this to the flour mixture, stir to combine, and then add the egg. Knead by hand or in a mixer for 5 minutes.
- Rest the Dough. Cover the dough with a clean kitchen towel or some plastic wrap, and let it rest at room temperature for 40 minutes.
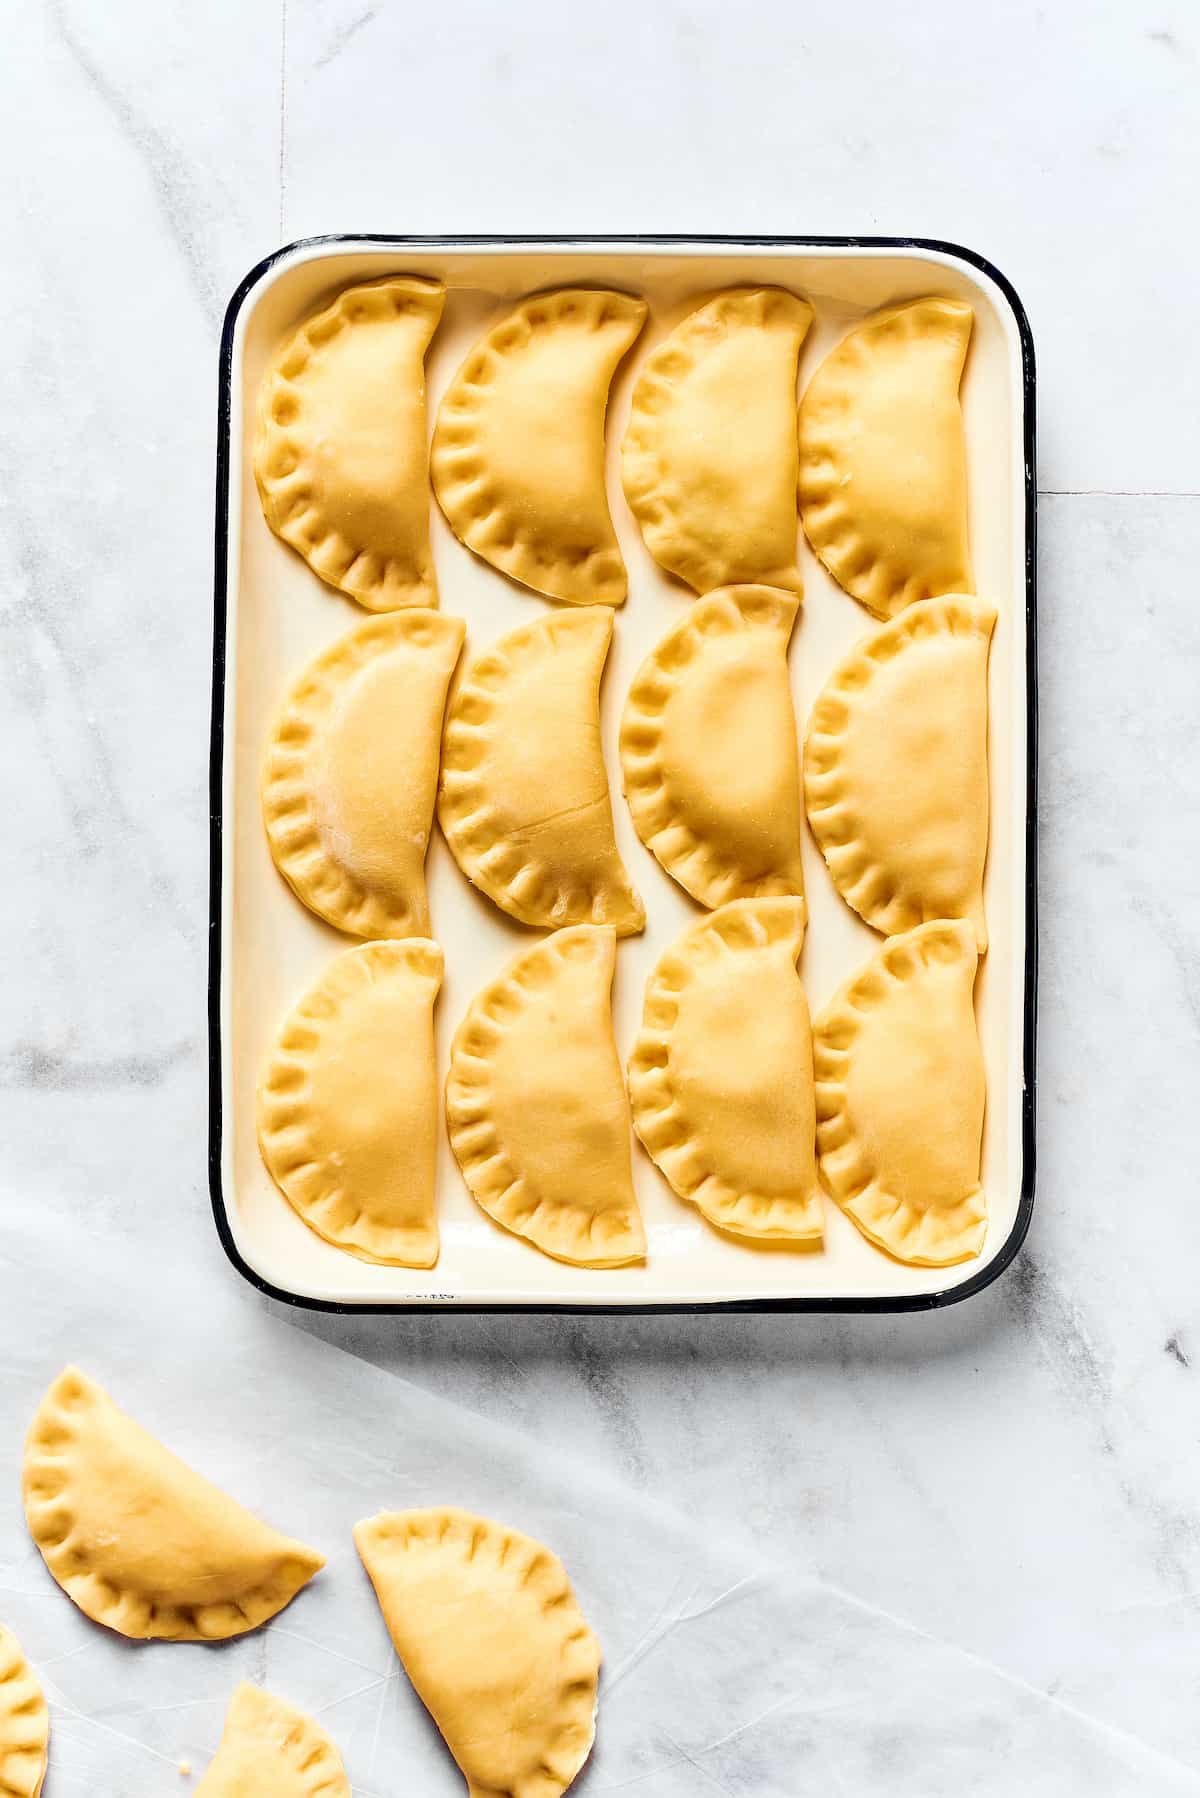
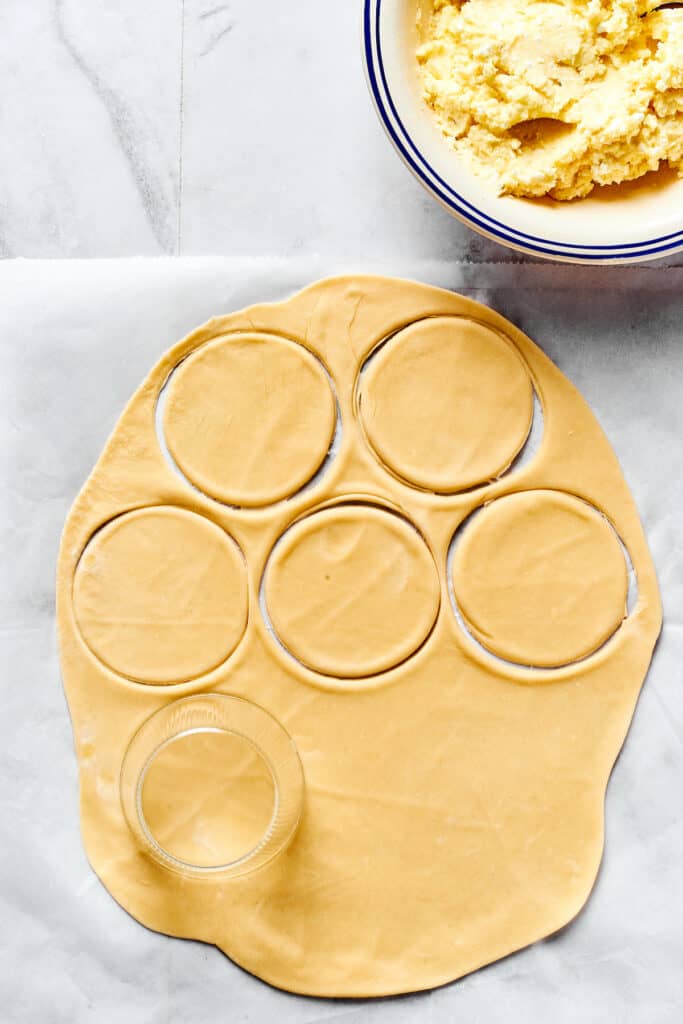
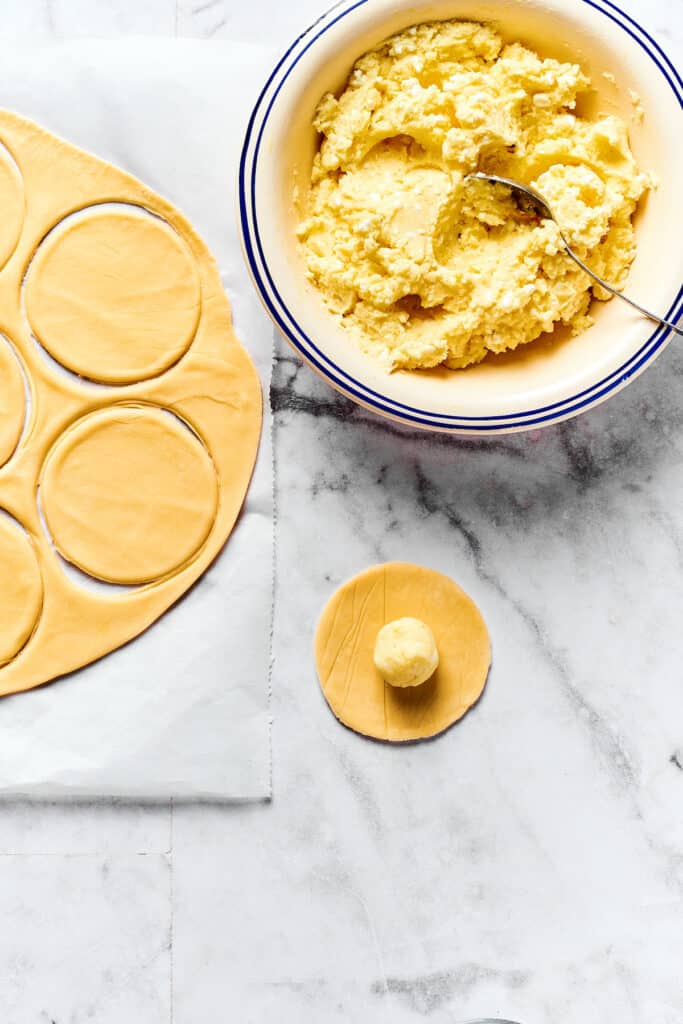
- Shape the Pierogi. Divide the dough in half, and wrap one half with plastic wrap to keep it soft. On a lightly floured surface, roll out the other half of the dough very thinly. Use a pierogi cutter or a drinking glass to cut out rounds of the dough, and spoon potato filling on the center of each round. Brush the edges with water, and fold in half to enclose the filling. Seal the edges by smushing them down with your finger.
- Finish Making the Pierogi. Place the sealed pierogi on a parchment-lined baking sheet, and cover lightly with a clean kitchen towel. Continue the rolling, cutting, filling, and sealing pierogi following the steps above, until you have used all of the dough and filling.
Cook the Pierogi
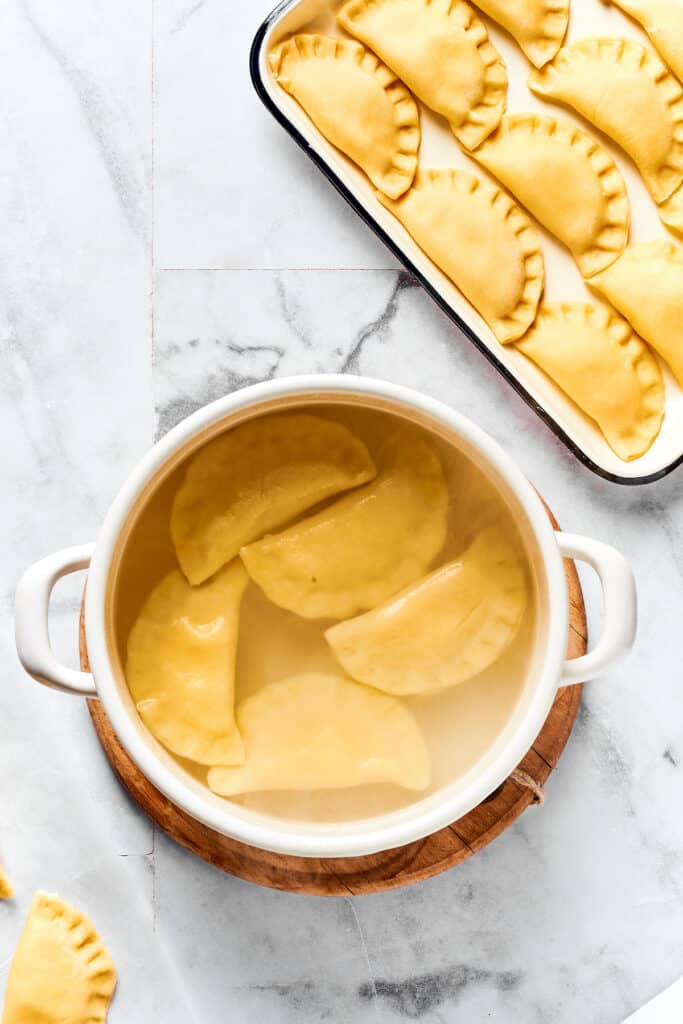
- Boil the Pierogies. To boil, bring a large pot of salted water to a boil. Add the pierogi to the pot in an even layer, and let them cook for about 2 minutes, or until they start to float. At that point, cook them for another 1 – 2 minutes. Then use a slotted spoon to remove them to a plate. Continue cooking the pierogi and setting them aside. Don’t overcrowd the pot – you’ll want to work in batches here.
- Fry the Pierogies. Once all of the pierogi are cooked, heat butter in a large skillet. Fry the drained pierogi in the butter for one minute or so per side, until golden brown.
Make the Topping
- Make the Bacon Crumbles. Cook the sliced bacon in a large skillet over medium heat, until crispy. Drain the bacon well, and then crush it into small pieces.
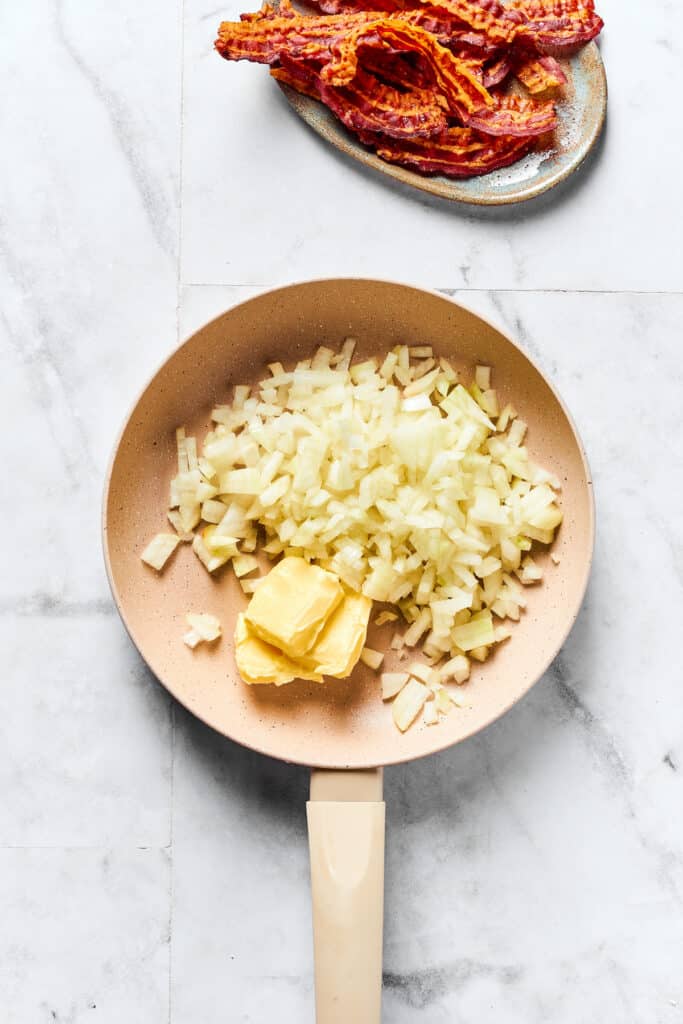
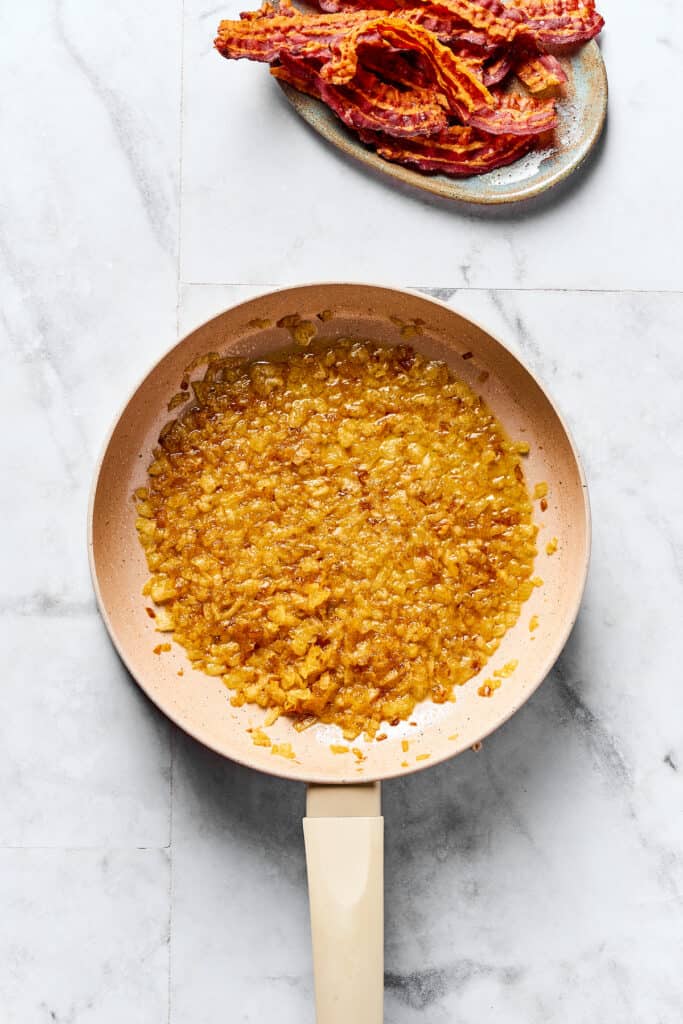
- Cook the Onions. Carefully wipe the skillet clean, and then set it back on the heat. Add the butter and chopped onion to the skillet, sprinkle with salt and pepper, and cook for 10 minutes or so. Stir the onions occasionally until they are lightly golden.
Serve the Pierogi
- To serve, top the warm pierogi with the caramelized onions and crispy bacon. Garnish with chopped parsley if desired, and enjoy!

Do You Have to Boil Pierogies Before Frying?
A lot of recipes will tell you that the boiling step is unnecessary, but usually, that’s because the recipes are using pre-made pierogi from the store. Those are mostly sold pre-cooked or partially cooked, allowing you to skip the boiling step at home.
For these made-from-scratch pierogies, I highly recommend boiling first so that the dough can absorb a bit of water and develop that dumpling texture.

Helpful Tips
Want to know more about making your own pierogi ruskie at home? Then check out these helpful tips for success. Happy cooking!
- Chill the Filling: If you like, you can make the filling the day before and chill it overnight in an airtight container. This can make assembling the pierogies a bit easier.
- Don’t Let the Dough Dry Out: Be careful to keep any dough you aren’t working with under wraps – plastic wrap, that is. If the dough dries out, your pierogi are more likely to crack.
- Use a Pasta Machine: Rolling by hand is great, but you can also roll the dough using a pasta maker, for even, flat sheets of dough.

What Do You Eat Pierogies With?
These pierogies are great with just their butter, onion, and bacon topping – but if you’d like to serve them as part of a larger meal, here are some serving suggestions to make your meal complete.
- Fish: Pierogi are a mild and savory side when paired with the right fish. Try these Maple Mustard Salmon Fillets for a comforting meal the whole family will enjoy.
- Salad: Freshen up that menu with a crisp, cool salad! This Cucumber Salad with Sour Cream Dressing plays especially well with warm, buttery pierogi.
- Pork: Spoon the mushroom gravy from these Instant Pot Pork Chops all over your pierogi, and enjoy a savory dinner perfect for chilly evenings.

How to Store and Reheat Leftovers
- Leftover pierogies can be stored in an airtight container, and kept in the refrigerator for up to 1 week.
Can I Freeze These?
- Yes, you can freeze the boiled and fried pierogi, or you can freeze them just after boiling. Either way, spread them out on an oiled baking sheet and put them in the freezer until frozen solid.
- Transfer to freezer bags, mark with the date, and store in your freezer for up to 3 months.

Homemade Pierogi Recipe
Ingredients
For the Potato Filling:
- 1 ½ pounds Yukon Gold potatoes
- ½ cup cottage cheese
- 3 tablespoons Parmesan cheese
- 2 tablespoons cream cheese
- 2 tablespoons unsalted butter
- 1 teaspoons sea salt
For the Pierogi Dough:
- 4 cups all-purpose flour
- 1 ½ teaspoons salt
- ⅔ cup warm water
- 3 tablespoons unsalted butter,, plus more for frying
- 1 large egg,, lightly beaten
For the Topping:
- 4 ounces bacon slices,, cooked and crumbled
- 4 tablespoons unsalted butter
- 2 yellow onions,, chopped
- fresh parsley,, chopped
Instructions
Make the Potato Filling
- Place the potatoes in a medium pot, and cover with water. Bring to a boil over medium heat. Cover, leaving the lid slightly ajar, and cook until the potatoes are tender, about 25 minutes.
- Once the potatoes are cooked, use a potato masher to mash the potatoes until smooth and free from lumps.
- To the mashed potatoes, add the cottage cheese, Parmesan cheese, cream cheese, butter, and salt. Mix together and set aside.
Make the Pierogi
- Meanwhile, line a large baking sheet with parchment paper, and set aside.
- In a medium bowl, stir together the flour and salt.
- Warm the water and butter in a small pot until the butter is melted, about 4 minutes.
- Add the butter mixture to the flour mixture. Stir with a spoon until roughly combined. Add the egg and knead by hand, or with a stand mixer for 5 minutes.
- Cover the dough and let it rest for 40 minutes.
- Divide the dough in half. On a lightly-floured surface, roll out one half of the dough thinly. Cut out rounds with a pierogi cutter or a drinking glass.
- Place about 1 tablespoon of the potato filling on the center of each round. Brush the edges with water, and fold in half to enclose the filling. Seal the edges by pressing down with your finger.
- Place the sealed pierogi on the prepared baking sheet, and cover lightly with a clean kitchen towel.
- Repeat the rolling, cutting, filling, and sealing steps with the remaining dough.
Cook the Pierogi
- Bring a large pot of salted water to a boil. Add the pierogi to the pot in an even layer, and let them cook for about 2 minutes, or until they start to float. Do not overcrowd the pot.
- Once the pierogi start to float, cook them for another 1 to 2 minutes. Then, use a slotted spoon to remove them to a plate. Continue cooking the pierogi and setting them aside.
- When all the pierogi are cooked, heat some butter in a large skillet. Fry the cooked, drained pierogi in the butter for a minute on each side, and then set them aside.
Make the Topping
- To make the topping, cook the sliced bacon in a large skillet over medium heat, until crisp. Drain well, and then crush into small pieces.
- Carefully wipe the skillet clean, and then set on the heat. Add the butter and chopped onion. Sprinkle with salt and pepper, and cook for 10 to 12 minutes, stirring occasionally, until lightly golden.
Serve the Pierogi
- Serve the pierogi hot, on a serving platter, topped with caramelized onions and crispy bacon. Garnish with chopped parsley if desired.
Nutrition
Nutritional info is an estimate and provided as courtesy. Values may vary according to the ingredients and tools used. Please use your preferred nutritional calculator for more detailed info.








Recipe looks amazing and very easy to follow. I cannot wait to make these!
Thank YOU! I hope you’ll enjoy it! 🙂
Looks absolutely fantastic! I would love to make this!
Thank you so much! Please enjoy! 🙂
Who can resist to these pierogi! Must make them!
I hope you’ll enjoy it! Thank YOU! 🙂
Anything homemade is just amazing! And this recipe is definitely one to keep! Can’t wait to try it!
Thank YOU! I hope you’ll enjoy it! 🙂