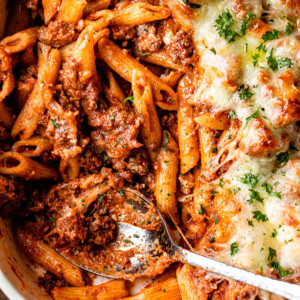
Easy Cheesy Baked Ziti
Jun 11, 2020, Updated Jul 09, 2024
This post may contain affiliate links. Please read our disclosure policy.

This Easy Baked Ziti recipe is classic Italian comfort food. It has tender ziti pasta, the most perfectly seasoned ground beef, tomato sauce, and three types of ooey gooey cheese! It’s a classic dinner idea that everyone loves!
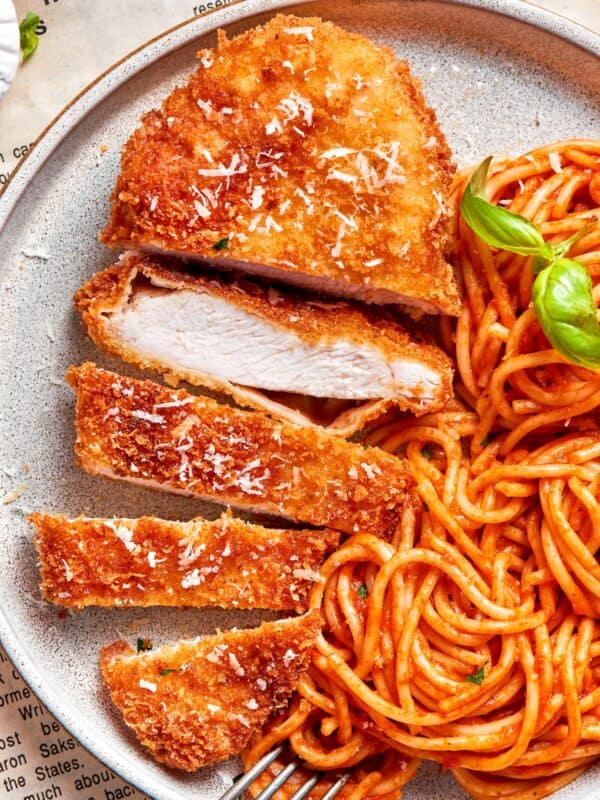
If you’re a fan of baked pasta recipes, you should definitely try my Cheesy Chicken Spaghetti and Stuffed Manicotti. Both recipes are guaranteed to be a hit at the dinner table.

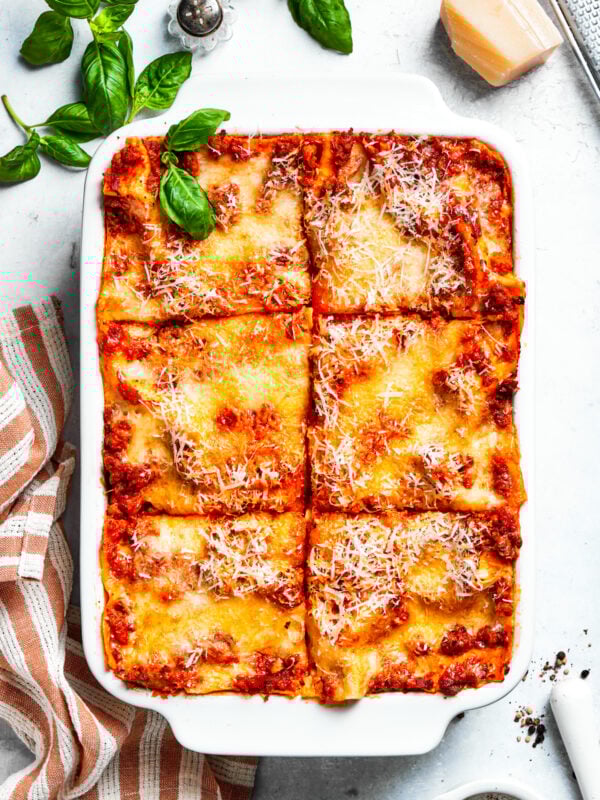
Baked ziti is an Italian comfort food at its best. I love that it has all of the deep, aromatic, and cheesy flavors of lasagna, but it’s much easier to make and okay to get messy! Just think of baked ziti is like lasagna’s laid back little brother and enjoy.
In our house, this dish is an absolute favorite, especially among my pasta-fiends. There’s something about the cheese and rich meat sauce that brings everyone to the table with huge smiles. It’s one of those meals where seconds (and sometimes thirds) are a must, and no one minds getting a little sauce on their shirt!
Why You’ll Love This Easy Baked Ziti Recipe
- Kids love it. Not only do kids love to eat baked ziti, they love to help make it! It’s a fun and relatively low mess dinner for them to get involved with.
- All that flavor. Heart meat sauce, creamy ricotta, and tender pasta? Yes please! This classic flavor combination, that I also use in my stuffed shells recipe, is pretty amazing and is made even better with the baked cheese on top.
- Feeds a crowd. One of the things I love about this baked ziti recipe is how much food it makes! You’ll be able to feed a large crowd of people and still have leftovers.
Recipe Ingredients
This comfort food casserole is made with ziti or penne pasta, tomato sauce, and lots of cheese. The simple ingredients are mostly pantry items that you probably already have on hand.
- Pasta: You can use any kind of pasta you’d like, but the classic choice is ziti or penne pasta.
- Olive Oil: Any cooking oil will work for sauteing the aromatics and ground meat.
- Onion: I almost always use a small yellow onion, but a white onion is a good substitute. Shallots are also okay to use.
- Garlic: If possible, use fresh garlic, but a teaspoon of garlic powder can also be used.
- Ground Beef: I have made this baked pasta with ground turkey, and it was just as delicious. Ground chicken or ground pork would also work.
- Seasonings: We’ll be using sweet paprika, basil, oregano, salt, and freshly ground black pepper.
- Tomato Sauce: Canned tomato sauce is my go-to, but you can also try this with a jar of pasta sauce or homemade sauce.
- Cheese: The classics will be perfect! Grab some ricotta, fresh mozzarella cheese, and freshly grated parmesan.
- Fresh Herbs: I love a little bit of fresh basil sprinkled right on top.
How to Make Baked Ziti
Baked ziti with ground beef, tomato sauce, and cheese is a surprisingly simple and delicious dinner that the whole family will agree on. Follow the step-by-step guide below and make it asap.


- Prep: Preheat the oven to 350˚F and lightly grease a 9×13 baking dish.
- Cook pasta: Cook the pasta according to the directions on the package. Drain and return to the pot. Set aside.
- Saute: Heat the olive oil in a large skillet set over medium-high heat. Add the onions and cook for 2 minutes. Stir in the garlic and cook for 20 seconds. Add the ground beef to the skillet and cook for about 5 minutes. Season it with paprika, basil, oregano, salt, and pepper.
- Add: Stir in the tomato sauce. Stir in the water and bring everything to a simmer. Reduce the heat to medium-low and cook for 10 minutes. Taste the sauce and adjust for salt and pepper.
- Combine sauce and pasta: Add about 2 cups of the beef sauce to the cooked pasta; stir to combine.
- Layer: Transfer the pasta to the previously prepared baking dish. Add several tablespoons of ricotta over the pasta. The mounds of ricotta shouldn’t be bigger than a tablespoon because if they are, they will not melt during baking. Pour the remaining beef sauce over the pasta and top with the remaining cheeses.
- Cover and bake: Cover with foil and bake for 20 minutes.
- Uncover: Remove foil and continue to bake for 10 to 12 minutes, or until cheese is completely melted and mixture is bubbly.
- Rest and serve: Remove the baked ziti from the oven and let it stand for 5 minutes. Garnish with chopped basil and serve.

Recipe Tips
- Make enough sauce. Make sure you save enough sauce for a thick layer at the top. This will keep the pasta insulated and make sure it doesn’t dry out while baking.
- Amp up your ricotta. If you find that your ricotta feels a little dry or grainy, you can mix one egg into your ricotta before you add it to the ziti.
- Cheese choices. You can use low fat cheese in place of the full fat counterparts but it won’t be as melty, gooey, and flavorful. I find that low-fat cheeses never melt quite the way I’d like.
- Spice it up. If you want to up the spice factor, you can add 1 tsp of red pepper flakes.
Serving Suggestions
Baked ziti has it all – meat, pasta, tomato sauce, and cheese! The only thing that could possibly make it better is a nice crusty loaf of Italian bread, homemade garlic bread, or this skillet cheese bread.
One of the best things about making a casserole like ziti is that you can add a side of roasted vegetables or even toss them right into the baked pasta.
You could also serve a large family style quinoa salad on the side topped with a homemade Italian vinaigrette. This adds the perfect balance to the meal.
Make It Ahead
You can also store an entire premade baked ziti in the freezer, which makes it a perfect freezer meal to bring to a new mom, troubled friend, or family member who is recovering from an injury or surgery. Make sure that it is tightly wrapped, and write the baking instructions on the foil.
How to Store and Reheat Leftovers
- Place leftovers in an airtight container and store them in the fridge for 5 days or the freezer for about 3-5 months.
- To reheat, simply pop it in the oven until it is warm. You may want to add some fresh tomato sauce to keep it from drying out.
Frequently Asked Questions
Yes, for baked ziti, you can use your (or your kids) favorite pasta shape, or whatever you have. My kids love bowties. Pasta shapes that are tubes like penne or rigatoni work best because the sauce, cheese, and meat get stuck in them and you get a perfect bite each time. I wouldn’t suggest using spaghetti, linguine, or angel hair pasta – stick with shapes for the best result.
Absolutely! I’m a big fan of hiding veggies from the kiddos right in their favorite meals. You can mince carrots and celery and add it to the tomato sauce. You can also add some chopped fresh spinach or kale. I also love to add in mushrooms and/or peas! I’ve even roasted eggplant and thrown that into the sauce!
If you don’t want to use ground beef, you can opt for ground turkey or ground pork, instead. If you want to make things even easier – instead of browning your ground beef with all of the onions, garlic, and herbs, you can use uncased Italian sweet sausage or leftover homemade meatballs (that you crush up)!
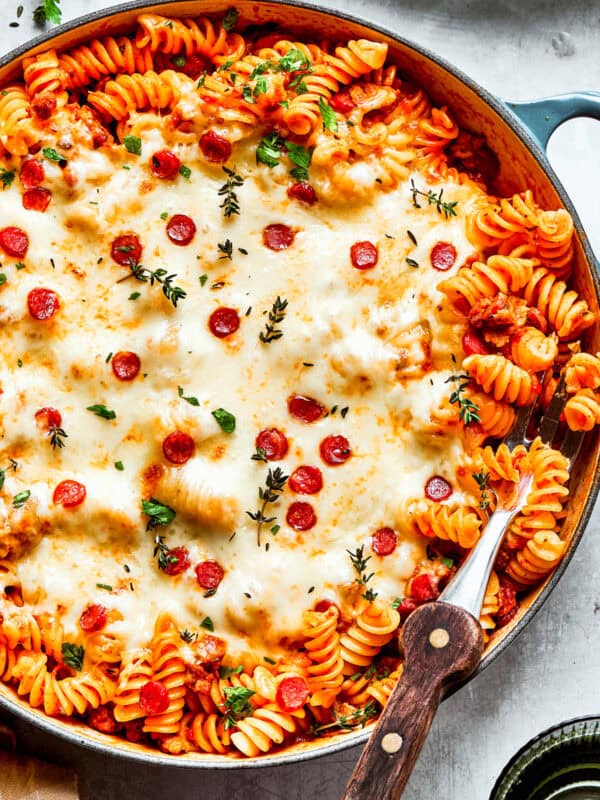
More Easy Pasta Recipes
Easy Cheesy Baked Ziti
Video
Ingredients
- 12 ounces ziti or penne pasta
- 1 tablespoon olive oil
- 1 small yellow onion, diced
- 4 cloves garlic, minced
- 1 pound ground beef
- 1 tablespoon sweet paprika
- 1 teaspoon dried basil
- 1 teaspoon dried oregano
- 1 teaspoon salt
- ¾ teaspoon fresh ground black pepper
- 4 cups tomato sauce, 2 cans
- ½ cup water
- 1 cup ricotta
- 8 ounces shredded mozzarella cheese
- 1 cup freshly grated Parmesan cheese
- fresh chopped basil, for garnish
Instructions
- Preheat oven to 350˚F. Lightly grease a 9×13 baking dish and set aside. Cook the pasta according to the directions on the package. Drain and return to the pot. Set aside.
- Heat olive oil in a large skillet set over medium-high heat. Add onions and cook for 2 minutes. Stir in garlic and cook for 20 seconds.
- Add ground beef to the skillet; season with paprika, basil, oregano, salt, and pepper. Cook ground beef for 5 minutes, or until browned, breaking it up as you go.
- Stir in the tomato sauce. Stir in the water and bring to a simmer; reduce heat to medium-low and cook for 10 minutes. Taste the sauce and adjust for salt and pepper.
- Add about 2 cups of the beef sauce to the cooked pasta; stir to combine. Transfer pasta to previously prepared baking dish. Add several tablespoons of ricotta over the pasta. The mounds of ricotta shouldn’t be bigger than a tablespoon because if they are, they will not melt during baking. Pour remaining beef sauce over the pasta. Top with cheeses.
- Cover with foil and bake for 20 minutes. Remove foil and continue to bake for 10 to 12 minutes, or until cheese is completely melted and mixture is bubbly. Remove from oven and let stand 5 minutes. Garnish with chopped basil and serve.
Nutrition
Nutritional info is an estimate and provided as courtesy. Values may vary according to the ingredients and tools used. Please use your preferred nutritional calculator for more detailed info.


It has a good flavor, but a bit dry. If I make it again, I’ll use a smaller baking dish and use 1/2 the pasta. And probably use less the amount of cheeses.
The sauce on this was a GAMECHANGER!!!! I could just eat the sauce and pasta all on its own! Gonna have to use this sauce for my other pastas now. I have a go-to one that I make from scratch….but MY GOODNESS this sauce is delicious! BAM! 10/10.
Thank you so much! I am very happy you loved it!! 🙂
Amazing! My family (who love lasagna) said this can replace it. It was pure heaven in a pan. If you are thinking about trying this run don’t walk to the grocery store and make this tonight! Thank you for another amazing recipe!
I’m so thrilled to hear your family loved it that much! It’s high praise when a dish can rival lasagna. Thank you for the enthusiastic feedback—I’m so glad it was a hit! 🙂