This post may contain affiliate links. Please read our disclosure policy.
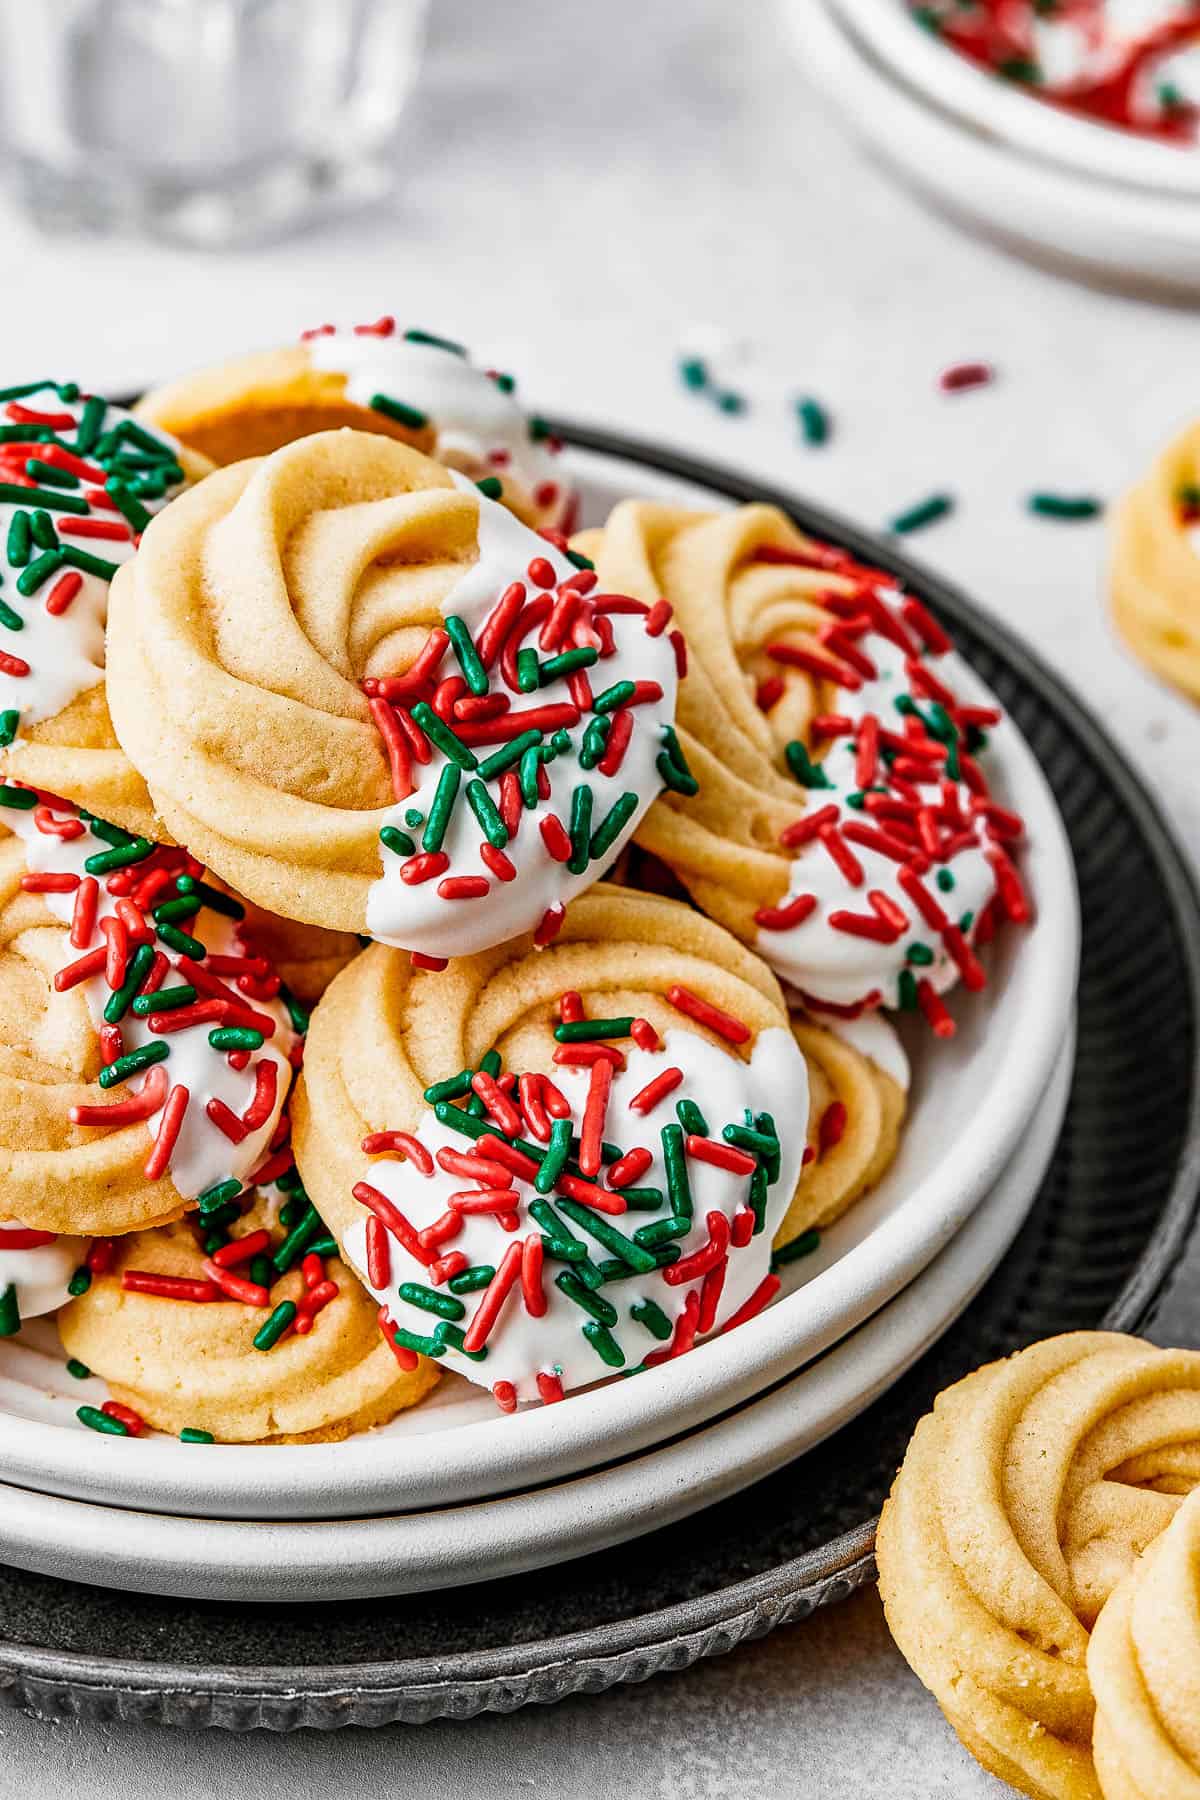
A beloved winter classic, these Homemade Butter Cookies are the perfect treat for a chilly afternoon. You’ll love their rich, buttery sweetness and meltingly delicate texture. Make sure to freeze some for later!
If you need more festive cookie ideas, try my Christmas cake mix cookies for a quick and colorful option, or bake up a batch of candy cane cookies for a minty twist. They’re all perfect for holiday cookie swaps, dessert platters, or just enjoying with a cup of hot chocolate!
Jump To
- Traditional Danish Butter Cookies, Made Easy!
- Why Are Butter Cookies So Irresistible?
- What’s the Difference Between Shortbread and Butter Cookies?
- The Ingredients
- Let’s Make Some Butter Cookies!
- Make Ahead Instructions
- Recipe Tips
- Easy Variations
- Storing Extra Cookies
- Can I Freeze Butter Cookies?
- More Amazing Cookie Recipes
- Homemade Butter Cookies Recipe
Traditional Danish Butter Cookies, Made Easy!
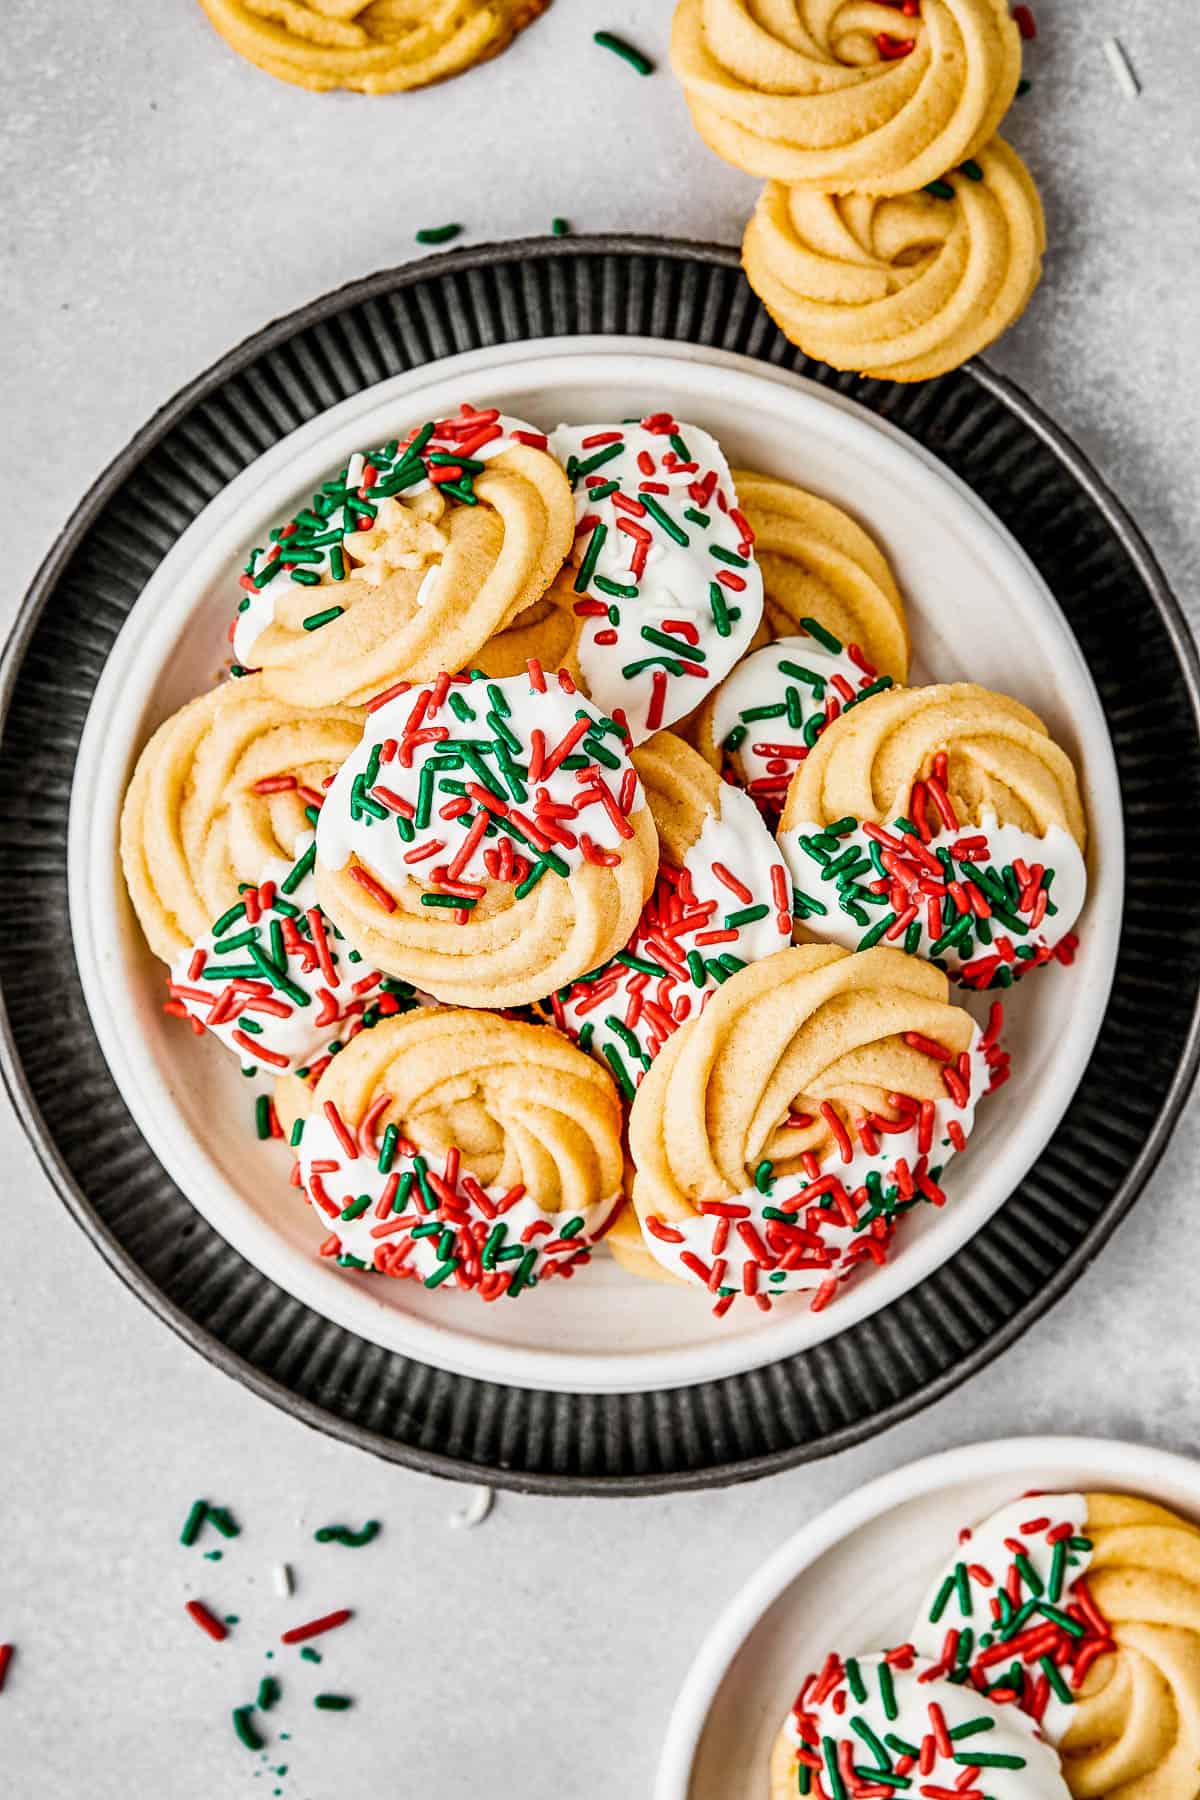
Delicate swirls of sweet, buttery cookies, lightly flavored with vanilla and almond extract, are a staple during the winter months around here. They’re just the thing to go with an icy cold glass of milk, or a hot cup of coffee or tea.
You’ve probably seen these beloved cookies before in their classic blue tin, but did you know they’re actually very easy to make at home? And, as you can imagine, the taste of a freshly-baked Danish butter cookie is out of this world! 😋
First, you’ll just whip together a basic sugar cookie dough with plenty of softened butter and sweet confectioner’s sugar. From there, all you have to do is pipe them out into pretty swirls, chill them for a little while, and then bake. It’s a snap!
Why Are Butter Cookies So Irresistible?
Well, this question is a little bit subjective – after all, not everyone loves butter cookies (shocking, right!), and they’re not as popular as your good ol’ brown butter chocolate chip cookies. But, in general, Danish butter cookies are beloved because of their incredibly light texture, punch of sweetness, and satisfyingly rich taste.
They have a high butter content, along with the perfect balancing flavors of vanilla, almond, and salt, which add up to a simple, yet addictive flavor profile. You won’t want to stop eating them!
What’s the Difference Between Shortbread and Butter Cookies?
Shortbread cookies and butter cookies are very similar, but they aren’t the same. The most obvious difference? Texture! The texture of a butter cookie is light and melting, thanks to the soft dough that includes egg, milk, and confectioner’s sugar.
Contrastingly, shortbread cookies are typically made with just butter, flour, and sugar, which produces a very crumbly cookie that breaks apart into crunchy chunks when you bite into it. Still amazing, but very different from these soft Danish-style cookies.
The Ingredients
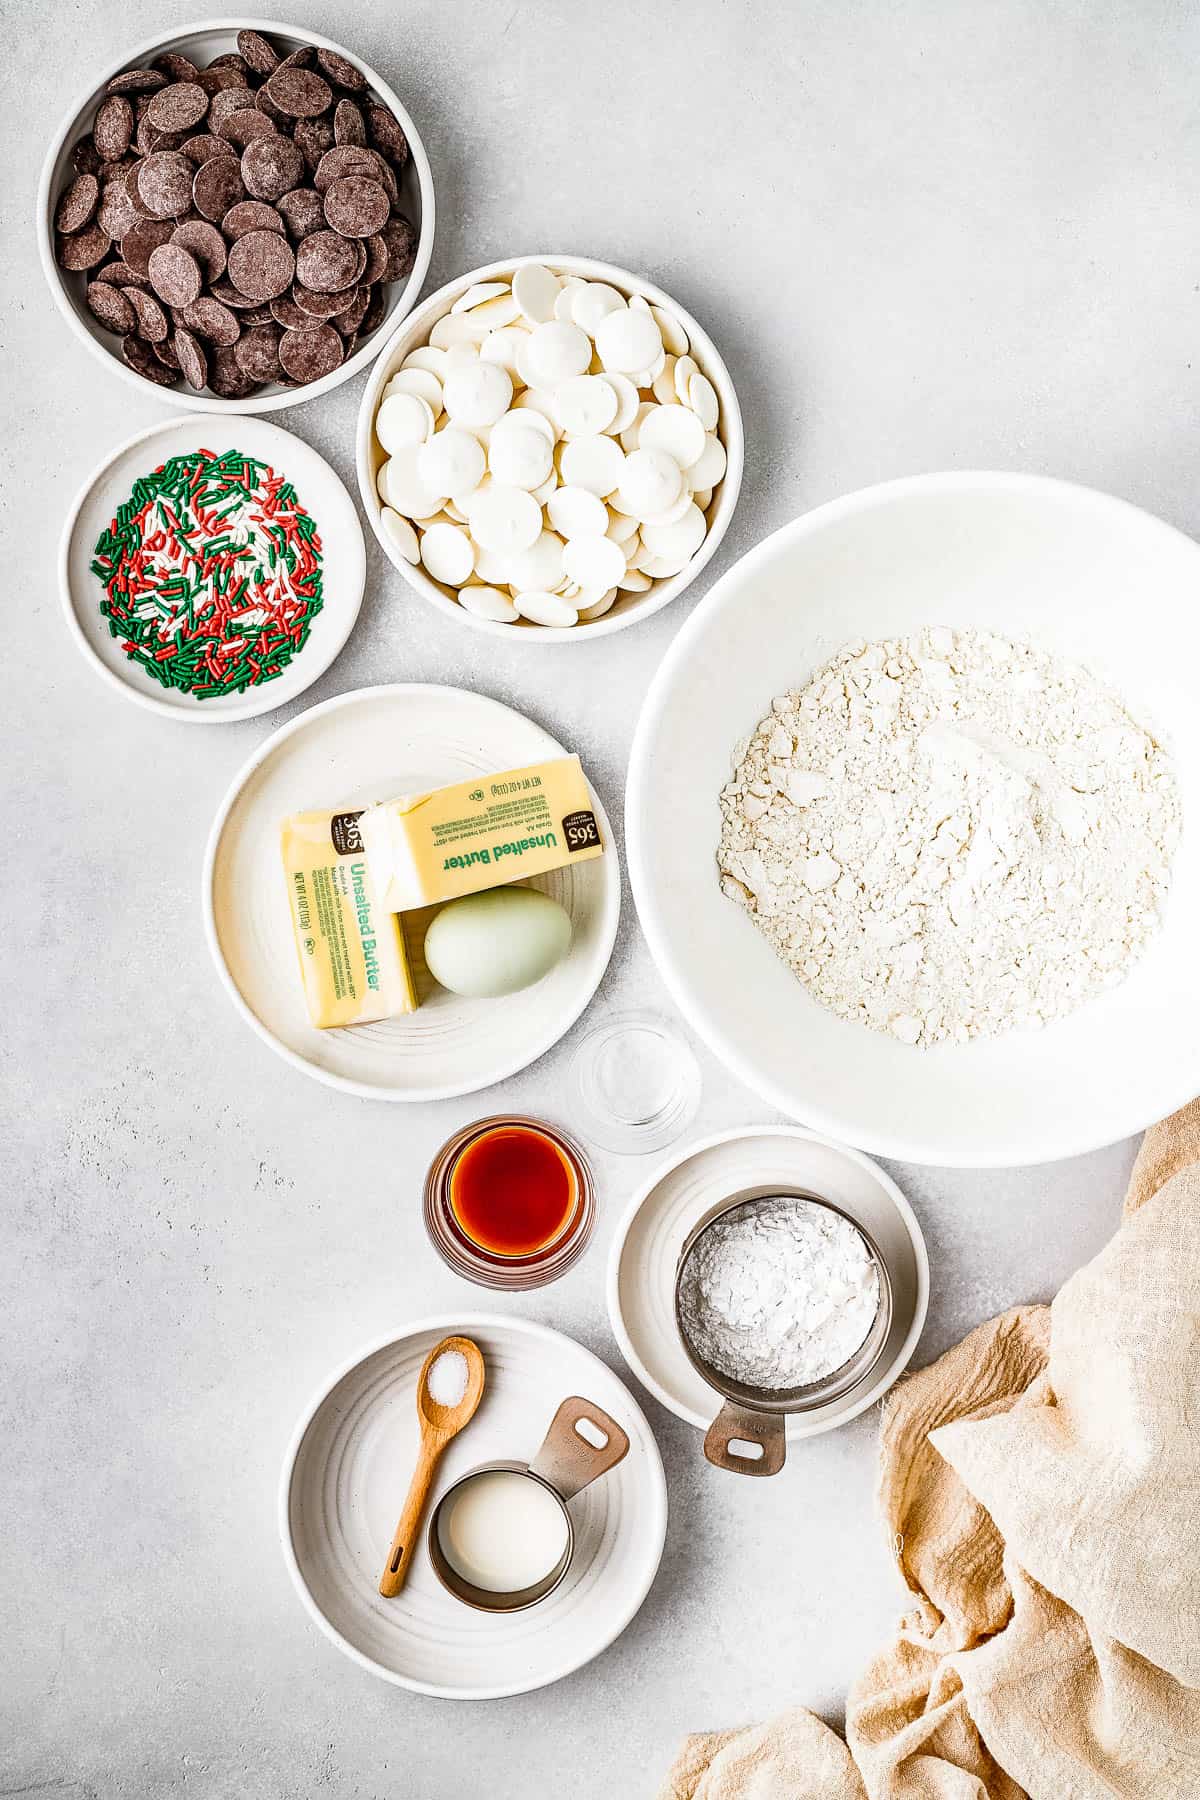
Like most butter cookies, this recipe is very simple and only needs a few wholesome ingredients. You can probably pull these together with what you already have in your pantry and fridge. Here is a detailed look at each ingredient:
For the Cookies
- Butter: For best results, use unsalted butter. The butter needs to be at room temperature before you start baking, so it’ll cream together with the other ingredients properly.
- Sugar: This recipe uses confectioners’ sugar, not granulated sugar, for a melt-in-your-mouth texture.
- Egg: One large, whole egg helps bind the dough together.
- Vanilla: Pure vanilla extract gives the best flavor.
- Almond: Almond extract helps give these cookies an old-fashioned, rich, yet refreshing taste. Don’t skip it!
- Salt: Just a bit of salt cuts through the sweetness of the sugar and extract, balancing the cookie’s flavor profile.
- Flour: You’ll need regular all-purpose flour here. Gluten-free 1:1 flour blends can be used, but the texture of the cookies may change somewhat.
- Milk: A splash of milk helps thin the cookie dough to the correct texture for piping.
For the Optional Dip
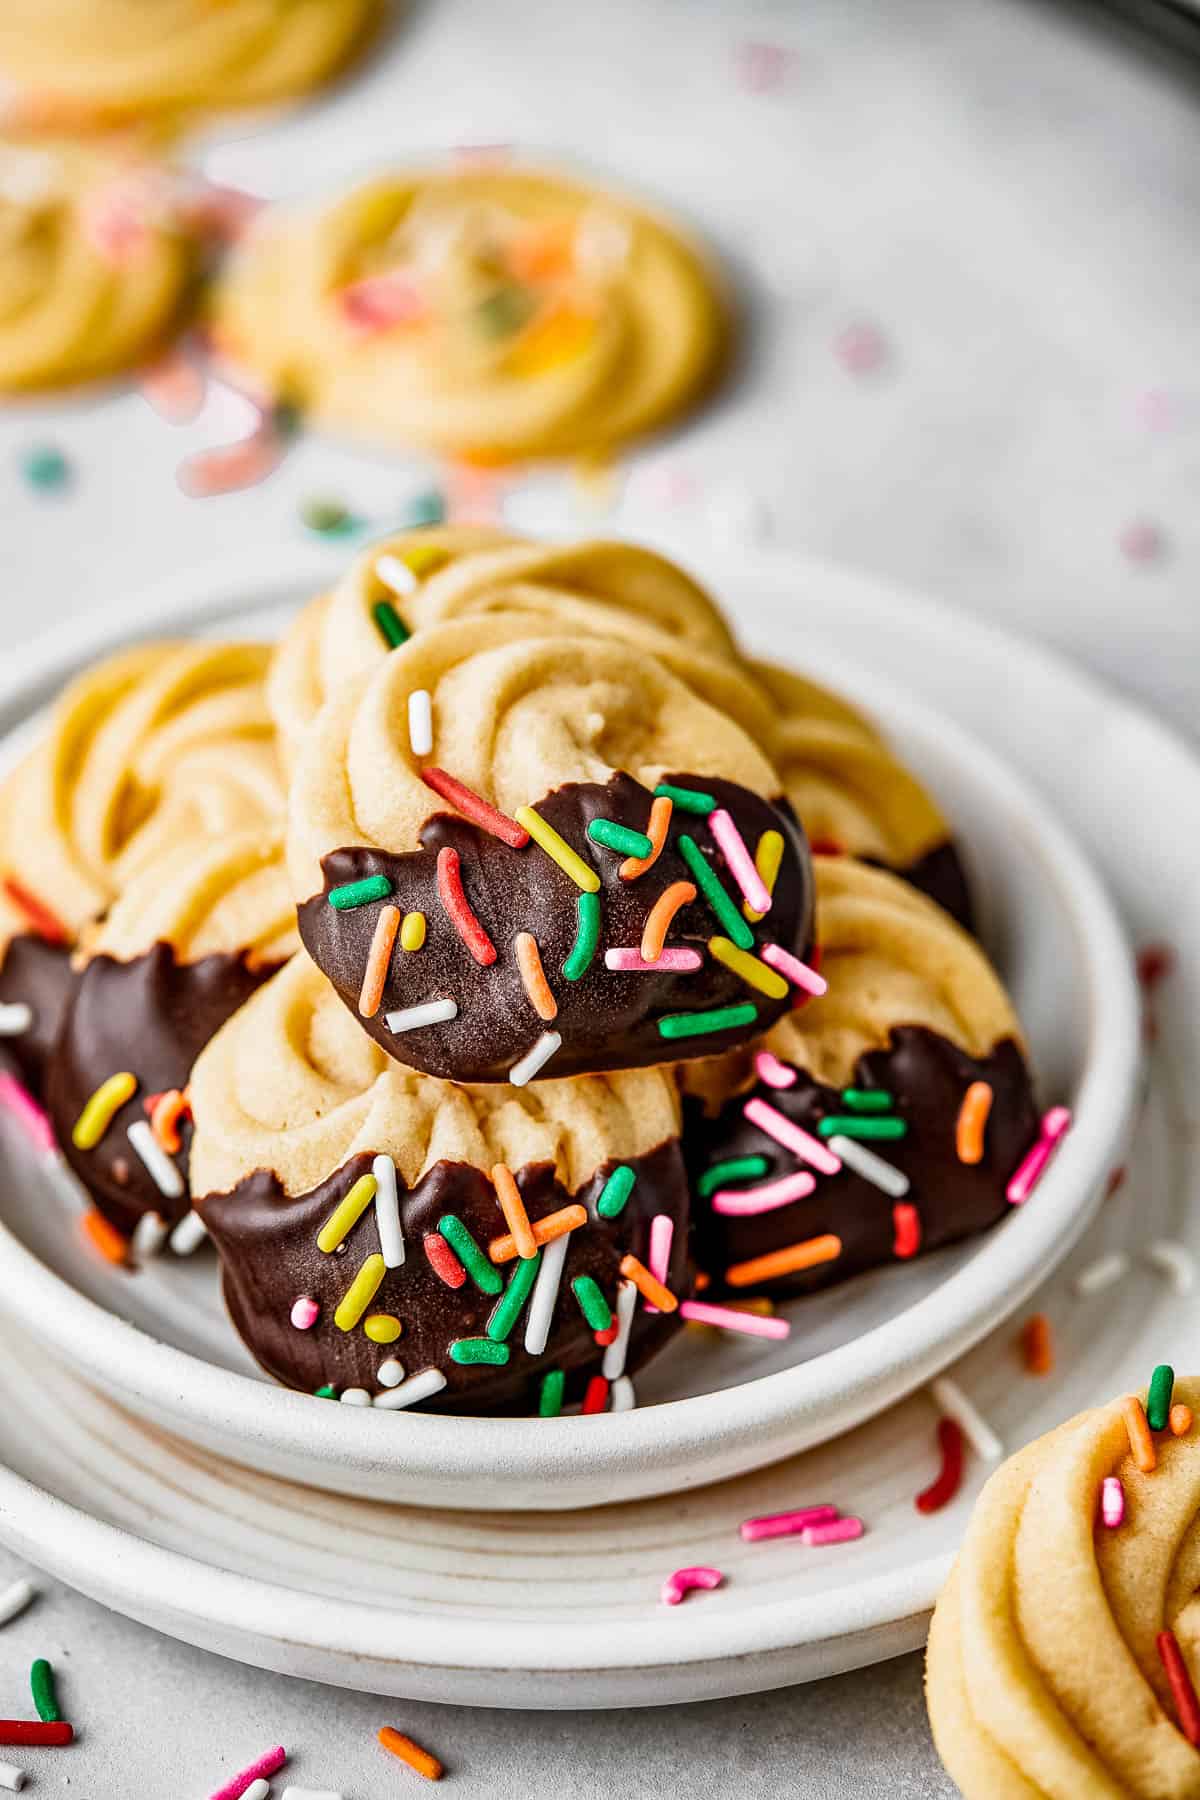
- Candy Melts: White, dark, or milk chocolate are all great for this recipe.
- Sprinkles: You can use any kind of sprinkles that you like!
Let’s Make Some Butter Cookies!
You can make this recipe by hand, or you can use a hand mixer or stand mixer. I highly recommend using a hand mixer or stand mixer, because it can be difficult getting a really light and creamy result with just a spoon and/or whisk. But, it’s up to you! Whichever method you use, make sure to have all the ingredients at room temperature.
For the Cookies
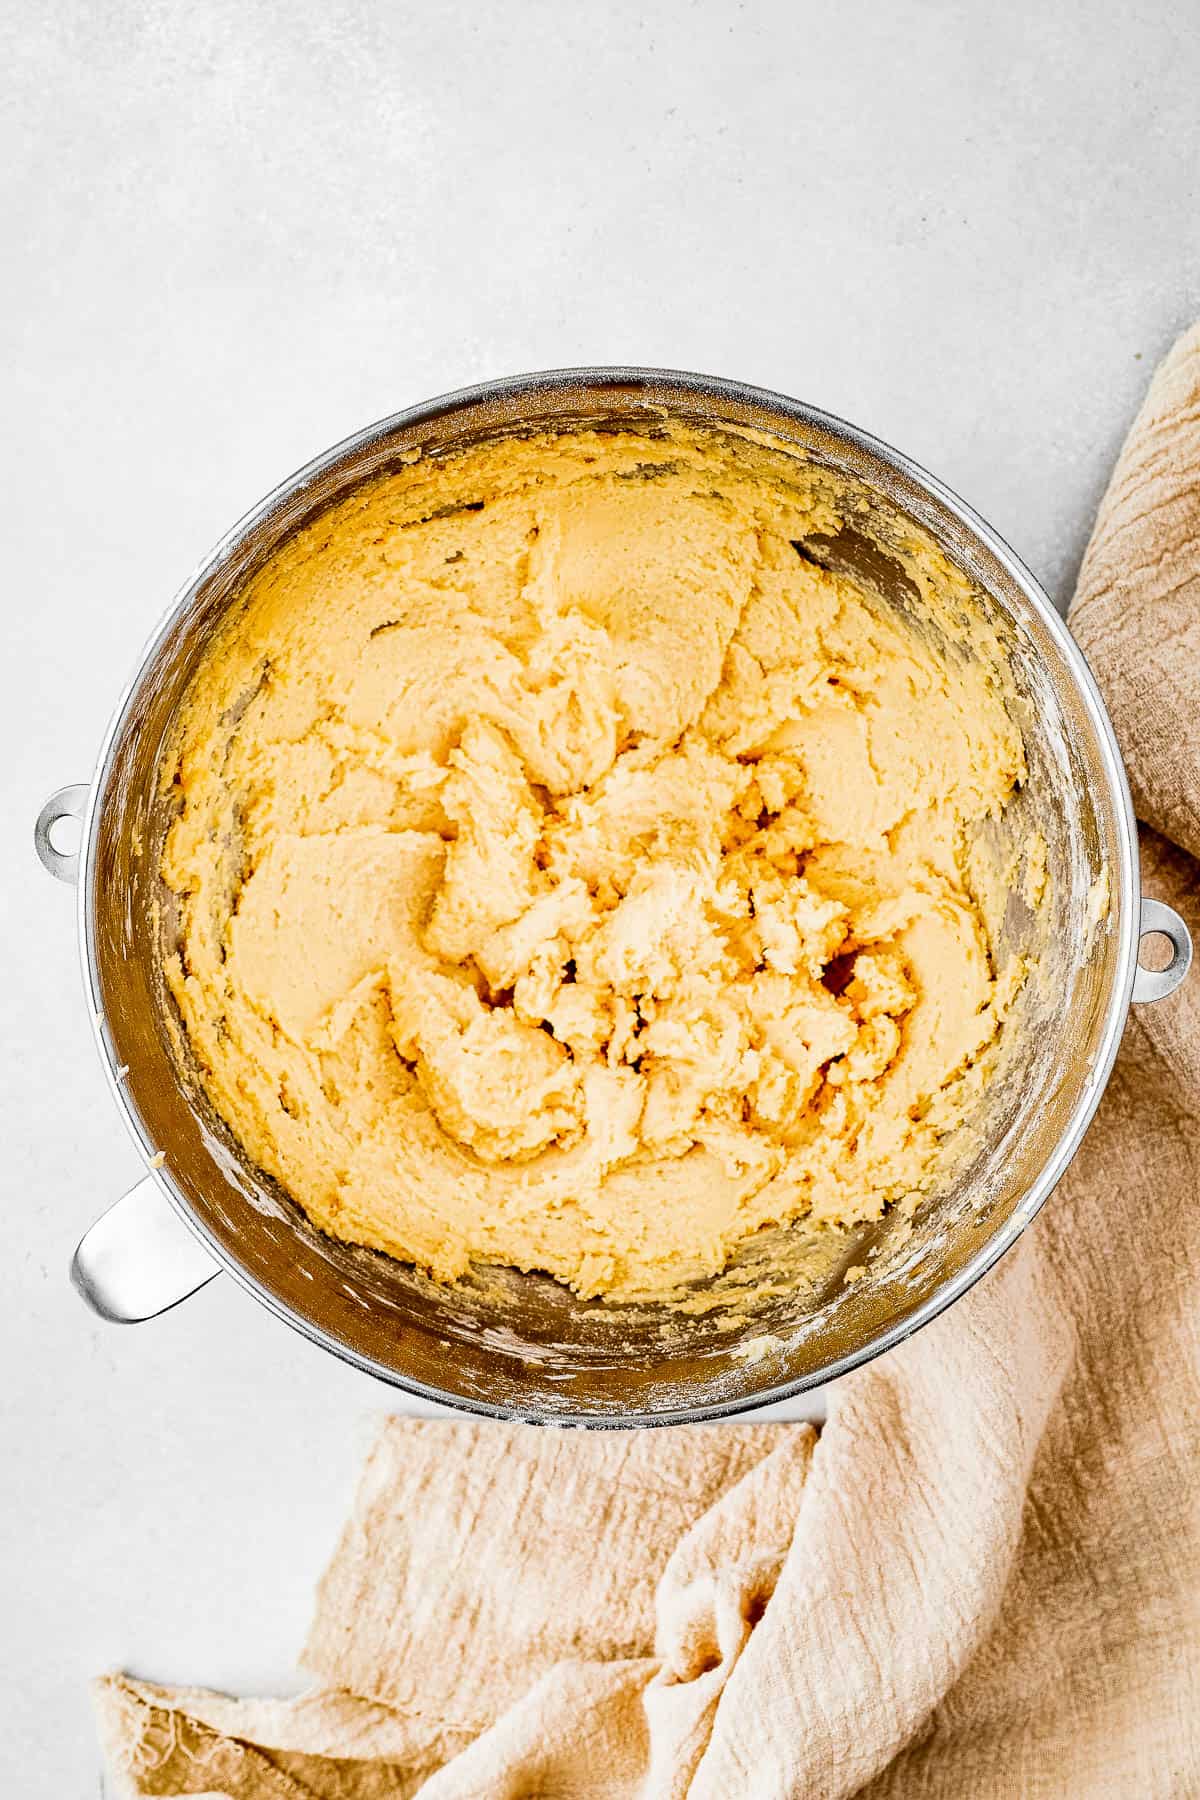
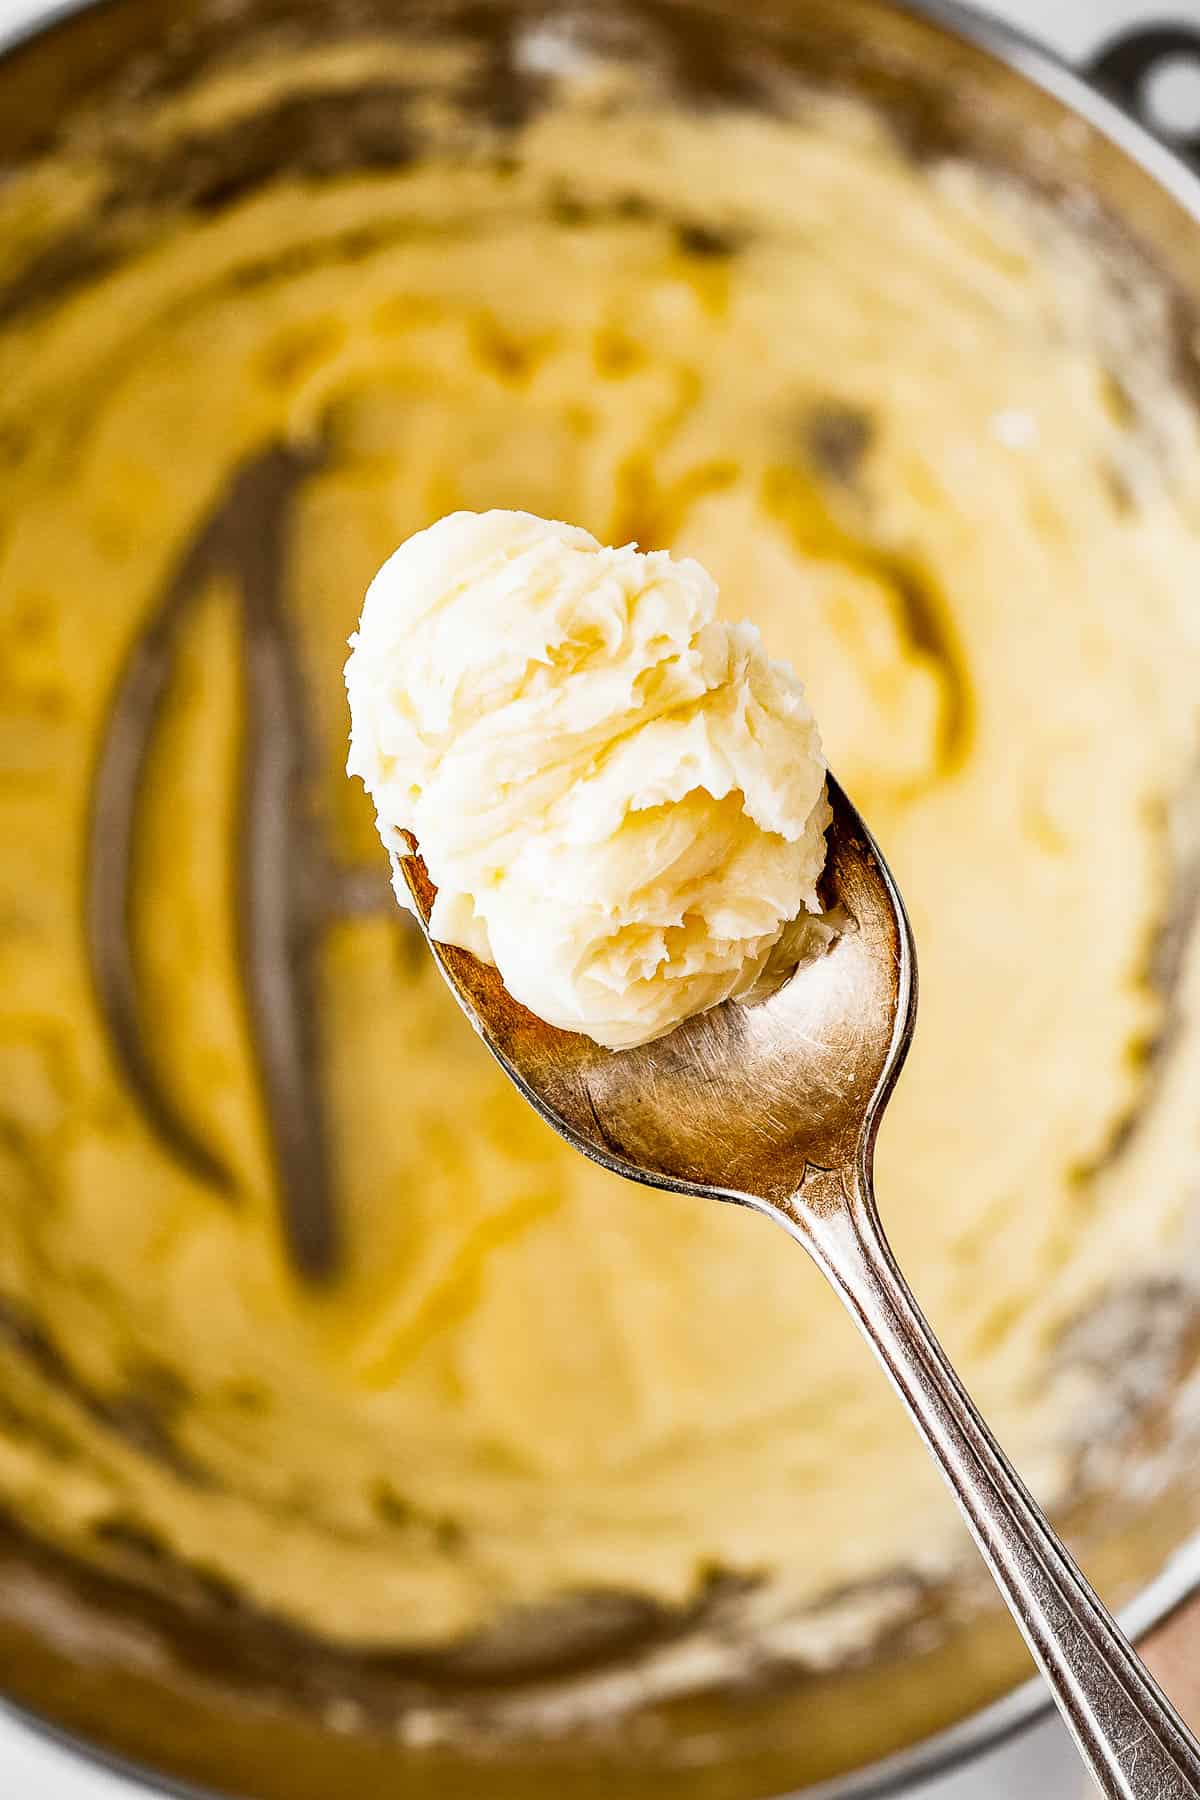
- Cream the Butter and Sugar. Combine the butter and sugar in a large bowl. Using a hand mixer or stand mixer (or a wire whisk, if making the cookies by hand) beat the butter and sugar together at a high speed until they are light and fluffy. This will take about 3 – 5 minutes using a hand or stand mixer.
- Add the Egg, Extracts, and Salt. Crack the egg into the butter mixture, and add the vanilla extract, almond extract, and salt as well. Beat these ingredients on high speed, until the mixture is smooth and thoroughly combined.
- Add the Flour. Now sift in your all-purpose flour, and mix everything on low speed (not high speed, or the flour will fly everywhere!) until a soft dough comes together.
- Add the Milk. The dough should be just barely too stiff to handle with a piping bag and tip at this point, so add in your tablespoon of milk and mix at a low speed until the dough is smooth and the milk is fully combined.
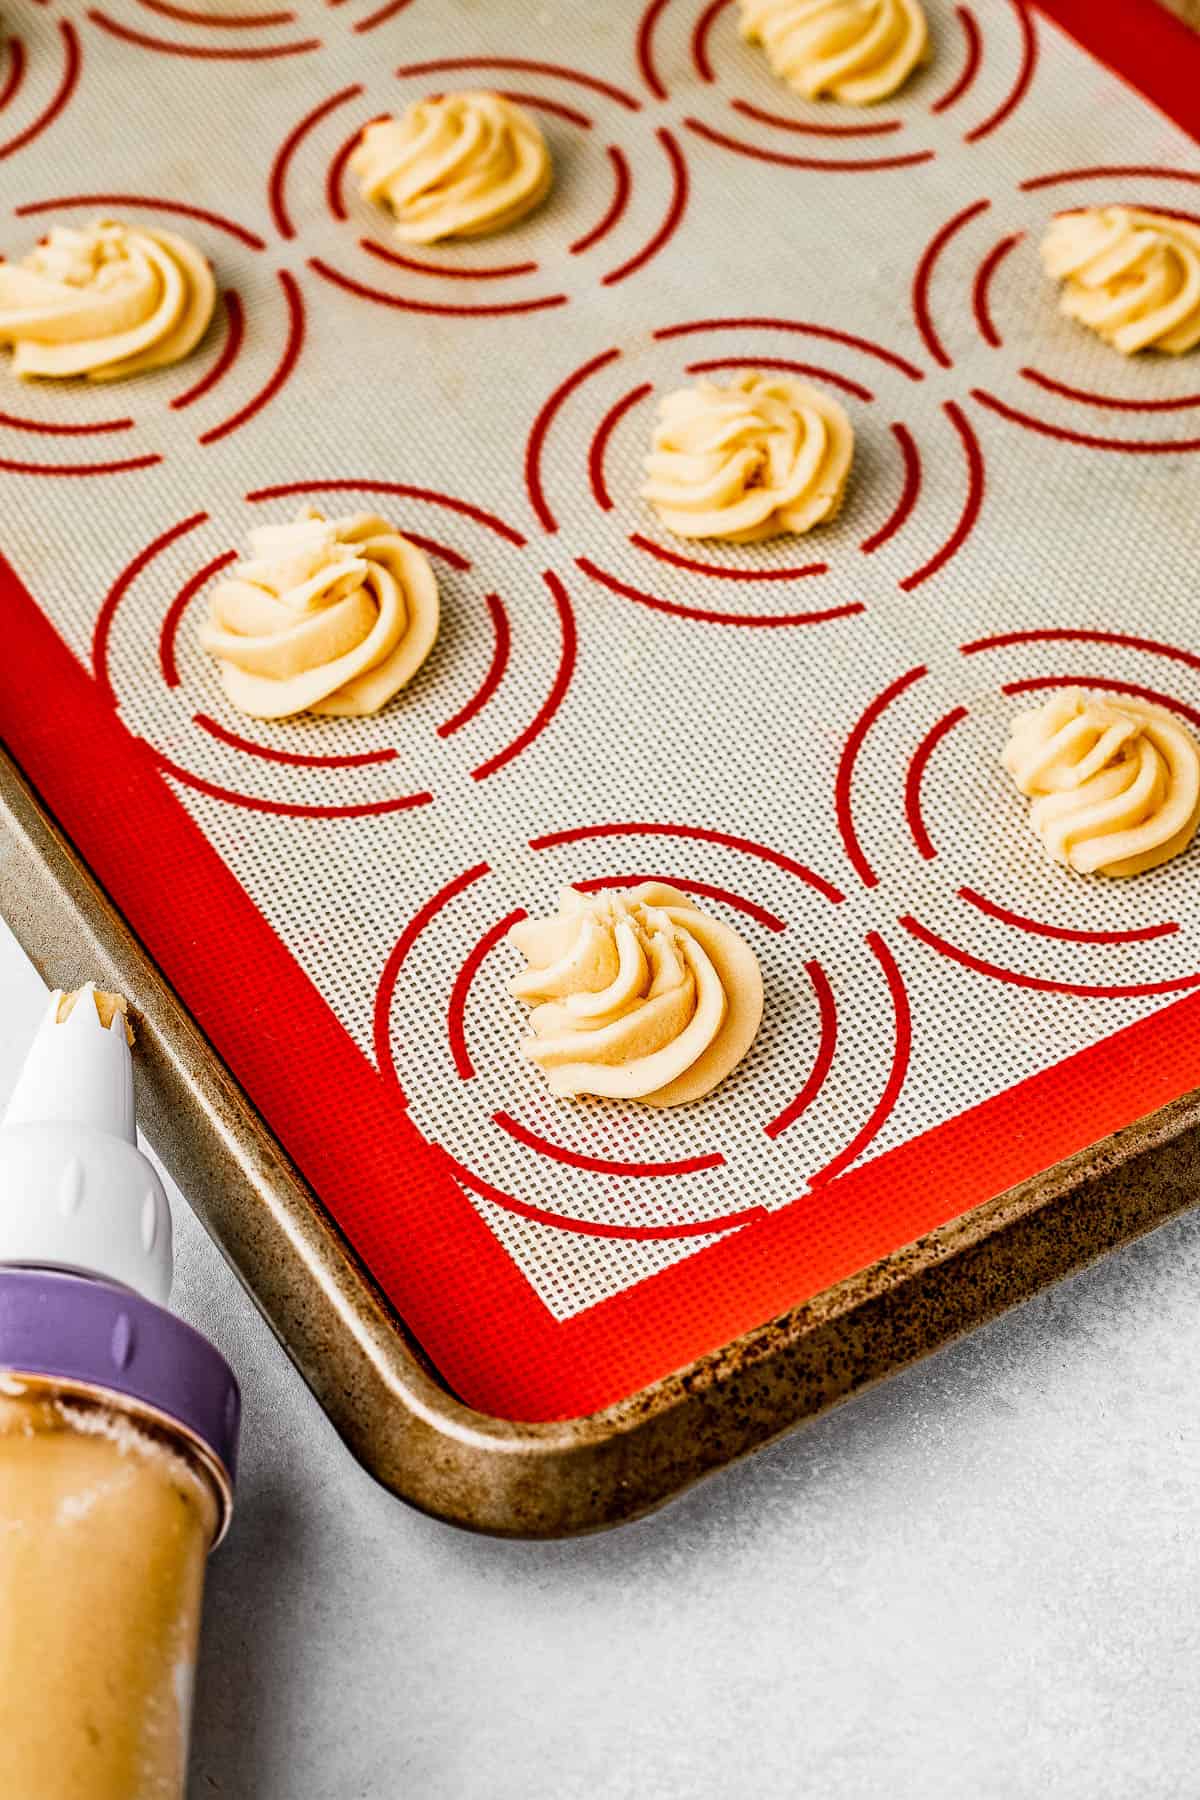
- Pipe the Cookies and Chill. Once the dough is at the right consistency, spoon or scrape it into a piping bag fitted with a large star tip. (If you don’t have a piping bag, you can snip the corner off of a large zip-top bag, and fit a piping tip on that corner.) Pipe the dough into small swirls, onto a clean baking sheet lined with a silicone baking mat or parchment. Once you have piped out your cookie shapes, chill them in the refrigerator for at least 30 minutes.
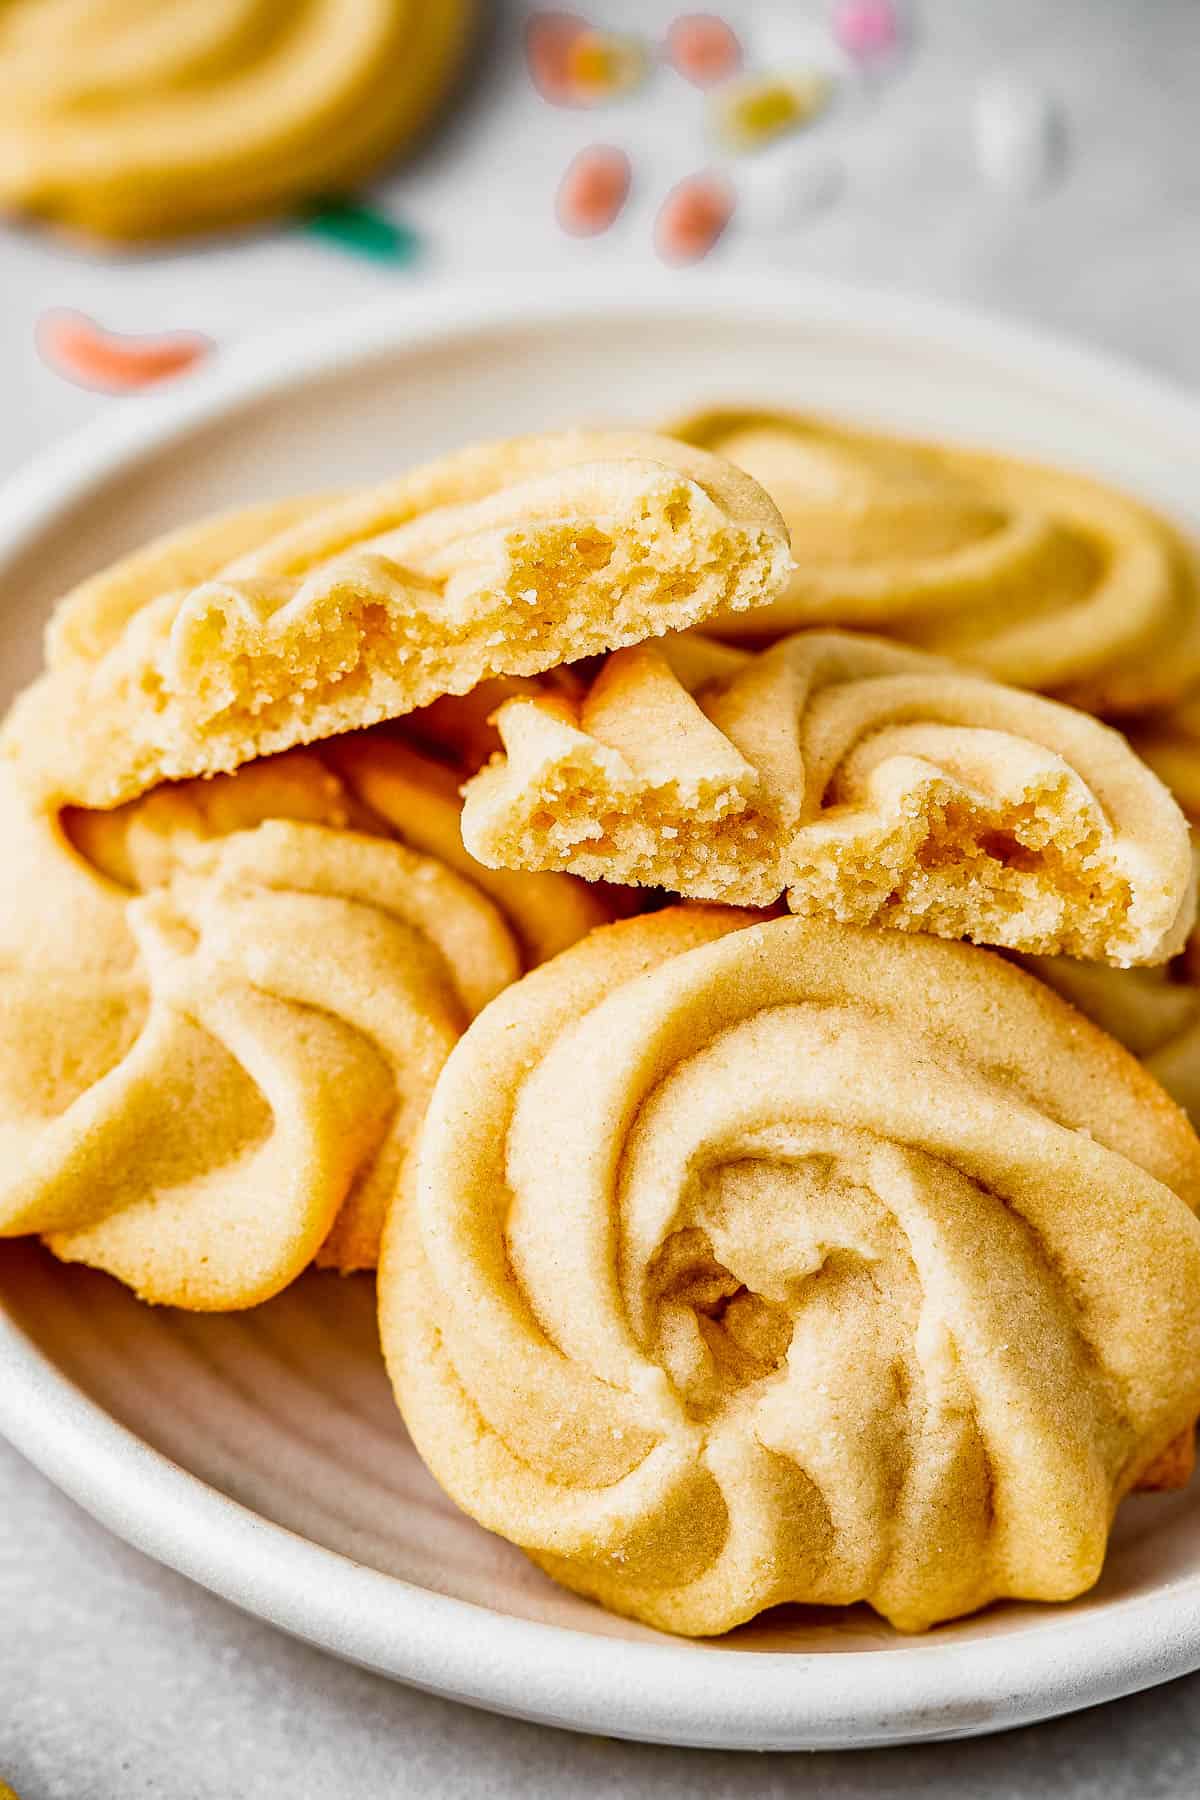
- Bake! While the cookies are chilling, preheat the oven to 350˚F then bake them for 12-15 minutes, or until the edges are a light golden brown.
- Cool. Let cookies cool on the baking sheet for 5 minutes, then transfer them to a wire cooling rack to cool completely for another 10 minutes.
For the Optional Dip
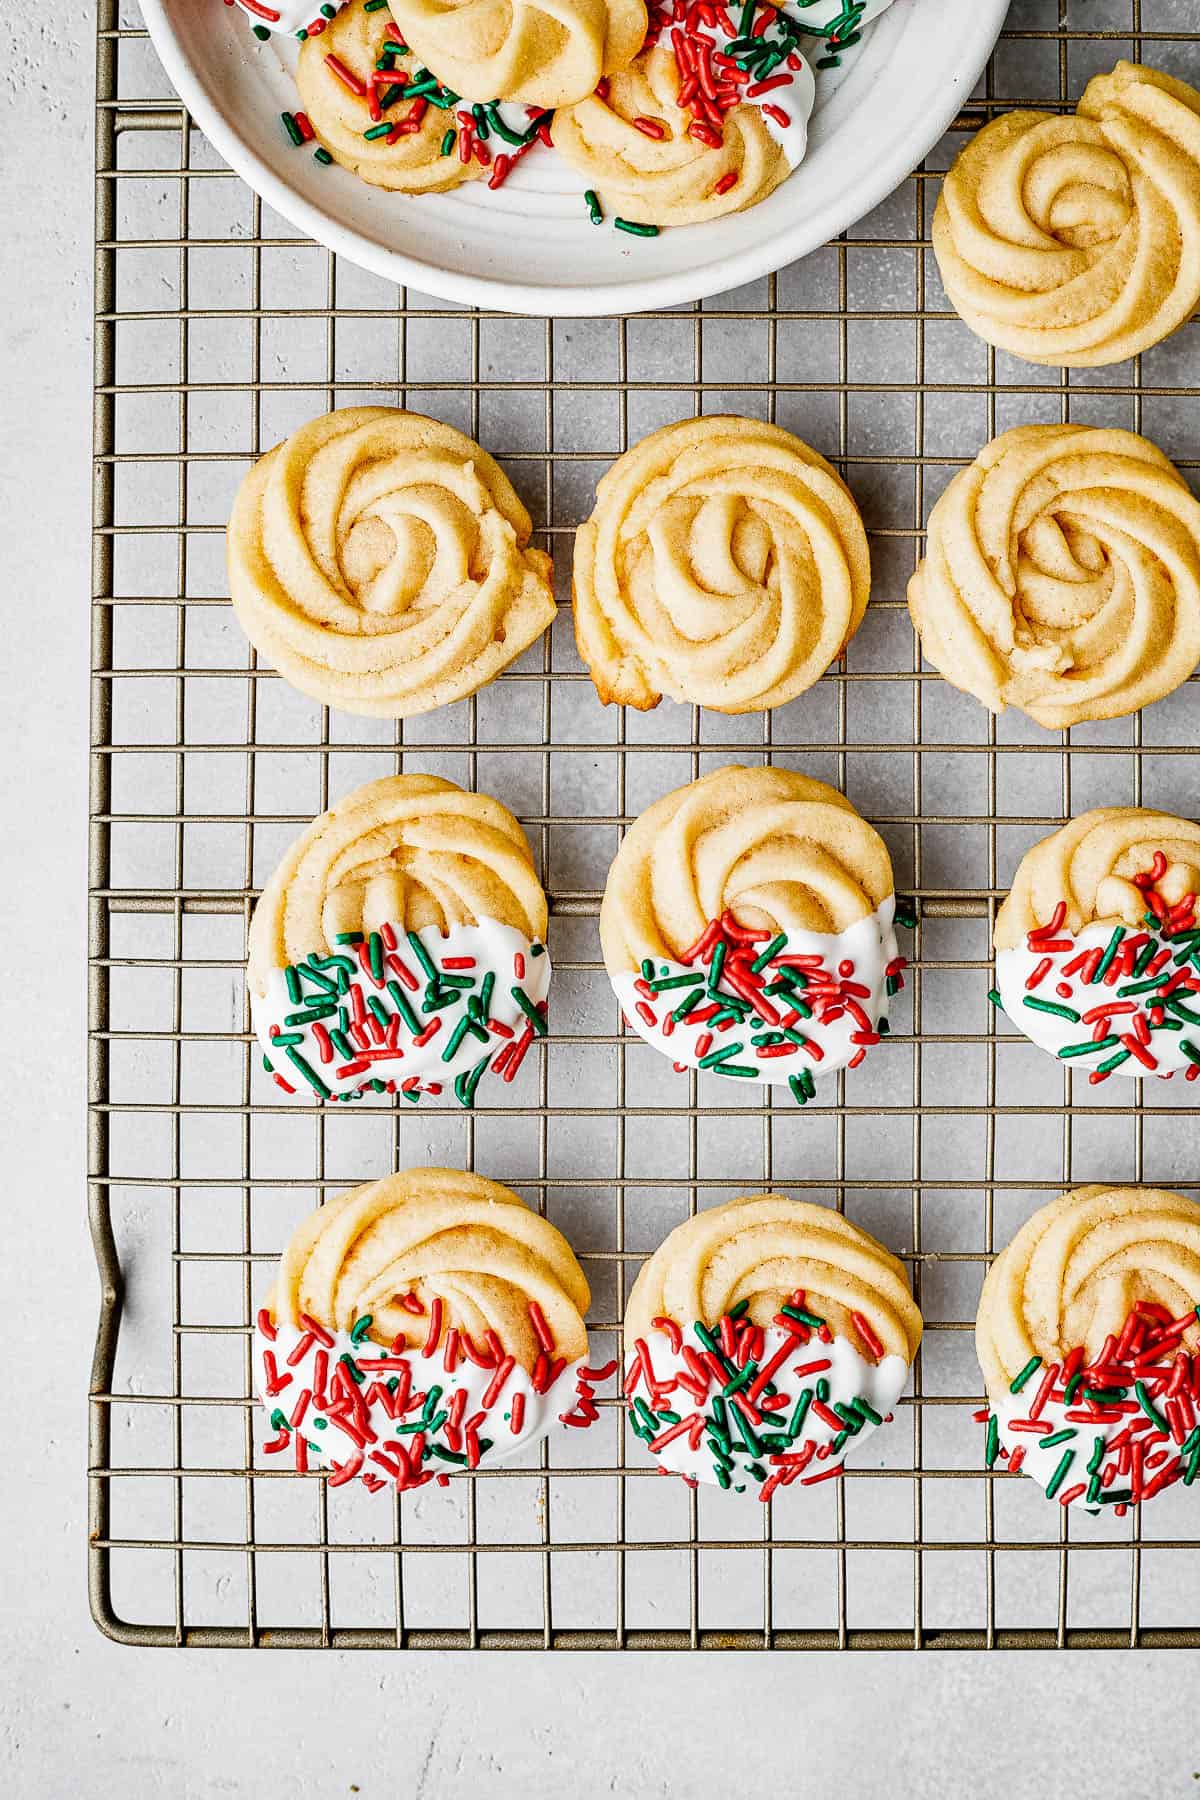
- Melt the Candy Melts. You can use a double-boiler for this, but I think a microwave is even easier! Microwave your candy melts in a microwave-safe dish, on 50% power, for 30 seconds at a time. Stir each time, until they’re fully melted and smooth.
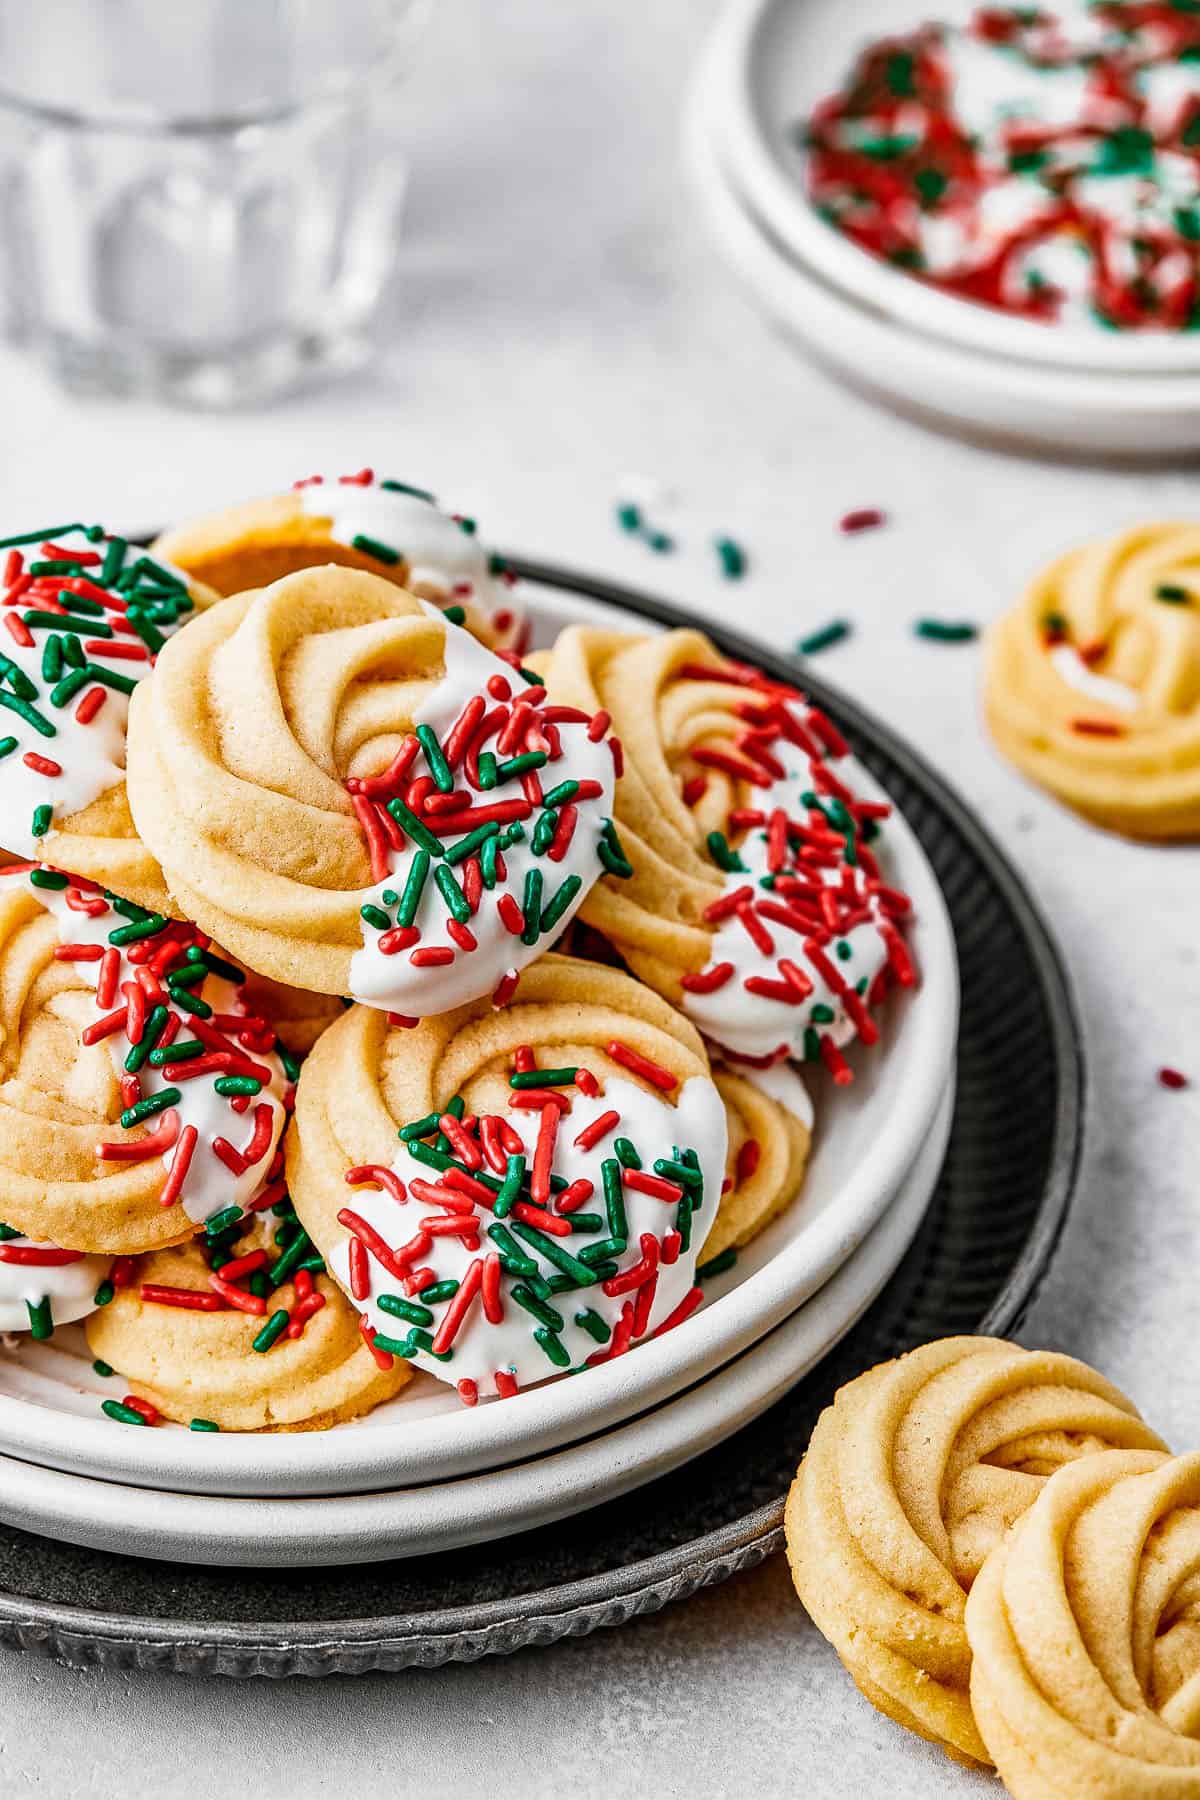
- Dip the Cookies. Dip each cookie halfway into the melted chocolate, and slowly pull up, allowing the excess candy/chocolate to drip off of the cookie and back into the dish. Place the dipped cookie onto a baking sheet lined with parchment paper, and decorate with sprinkles (if you’re using sprinkles).
- Chill. Once all of the cookies have been dipped and decorated, place the baking sheet in the fridge for about 15 minutes, to let the chocolate set.
Make Ahead Instructions
- If you’d like to make these in advance and bake them fresh on the day of serving, you can easily make the dough, pipe the cookies, and then chill or freeze them on their baking sheets.
- Just cover with plastic wrap, and refrigerate for up to 2 days, or freeze for up to 3 months. Be very careful with this, though, because it’s easy to smush the unbaked cookies and lose their shape!
Recipe Tips
Butter cookies are simple to make, but I still have a few helpful hints to share! Read on, and happy baking!
- Chill Out: While it’s helpful to make the dough with room temperature ingredients, the shaped cookies need time to chill, or else they will spread out and lose their shape during baking. So don’t skip the chilling stage!
- Get the Right Consistency: The dough should be a thick but pipeable consistency. If it’s too thick, you can add more milk in half tablespoon increments to thin it out. If the dough is too runny, you can add flour in half tablespoon increments to thicken it. And remember to test a small portion of dough before adding the rest to the piping bag!
- Use the Right Piping Tip: You’ll need a big piping tip on your piping bag, or else the cookie dough just won’t fit through! I recommend an open star tip at least ½ inch in diameter.
- Piping Alternative: If you’d prefer not to pipe your cookies at all, you can roll the cookies into small, 1-inch balls and slightly flatten them in a cross-hatch pattern with a fork.
- Room Temperature Ingredients: Using room temperature butter, egg, and even milk all helps to keep the dough soft enough to pipe.
Easy Variations
Butter cookies make a wonderful “canvas” for decorations and variations! This recipe already includes instructions for dipping and adding sprinkles, but you can also…
- Add a sprinkle of coarse raw sugar over the cookies before baking
- Add a maraschino cherry or chocolate kiss to the center before baking
- Decorate the baked, cooled cookies with a caramel drizzle and flakes of sea salt
- Decorate the baked, cooled cookies with melted white and dark chocolate drizzles
Storing Extra Cookies
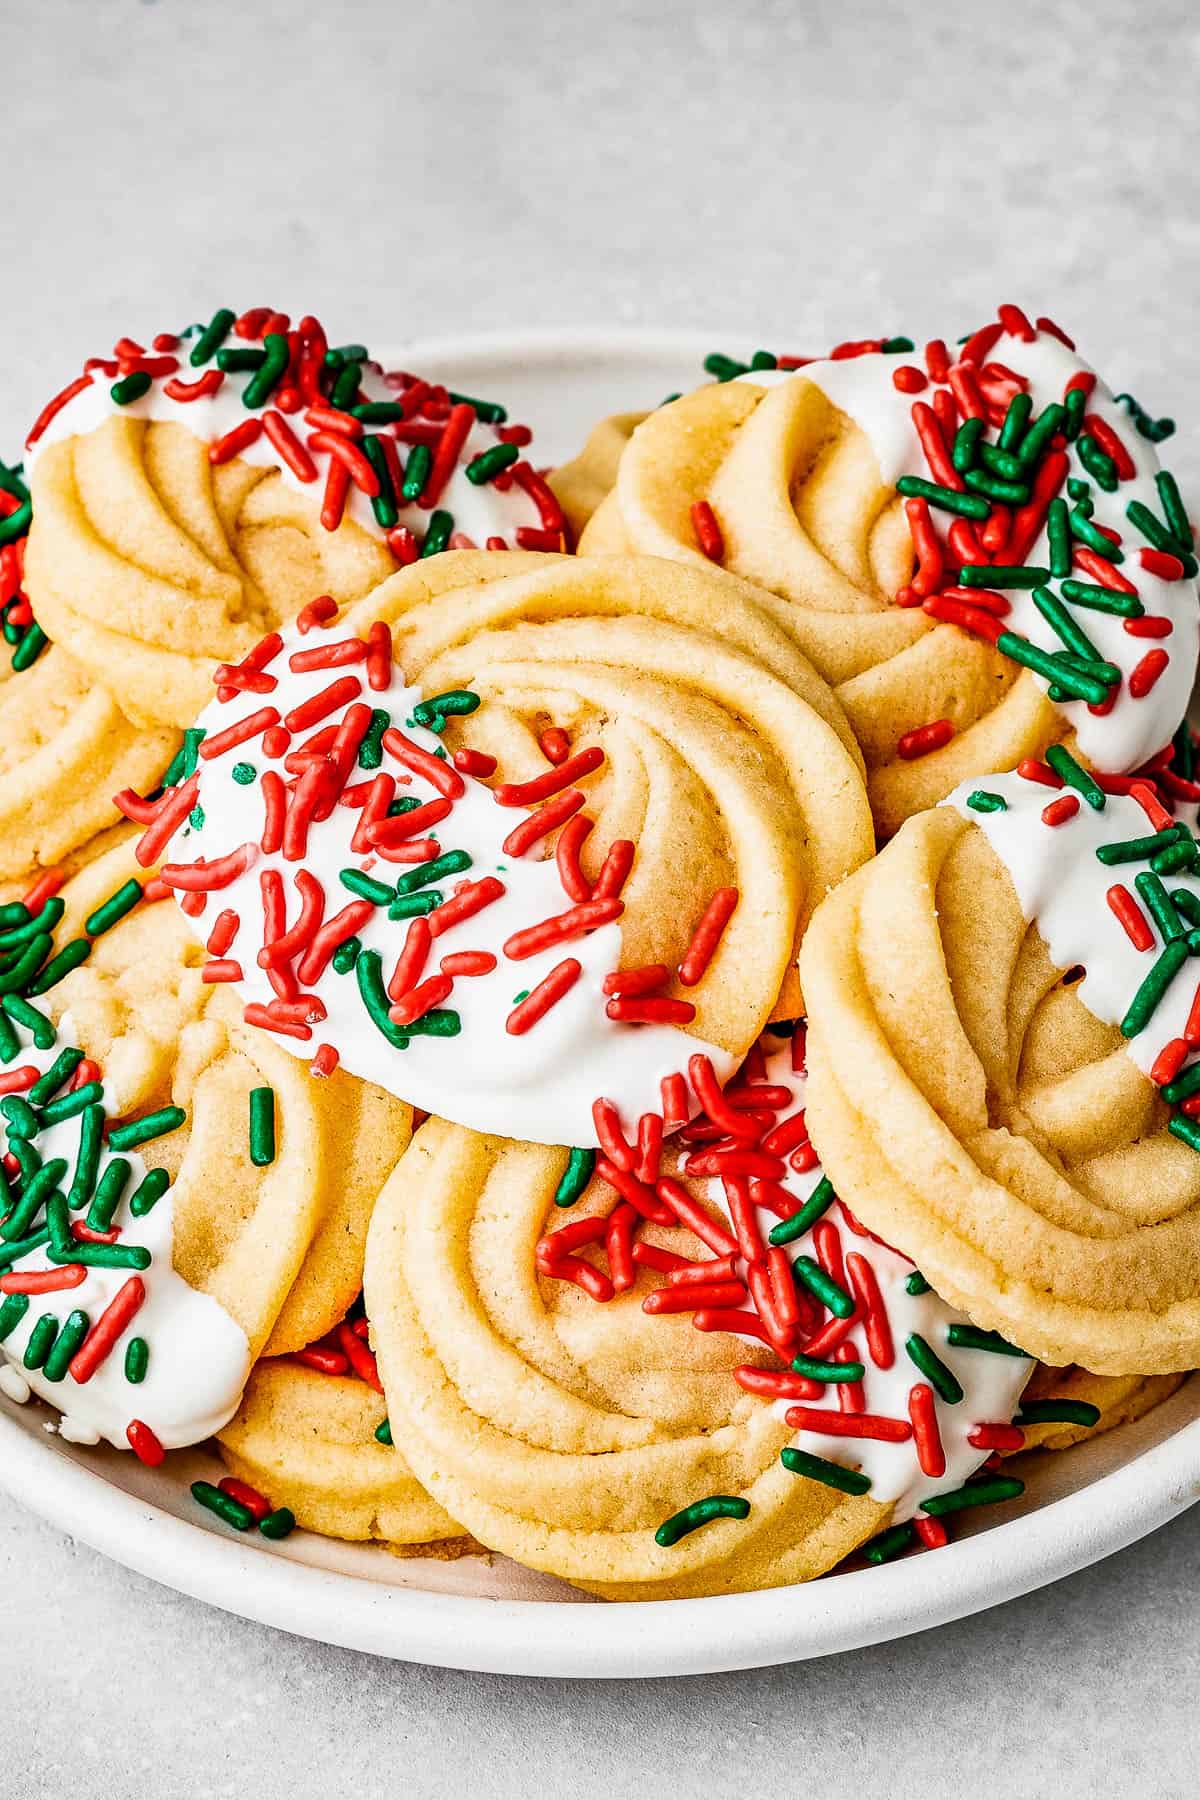
- Place your extras in airtight containers or food storage bags for the best results.
- You can then store them at room temperature for up to 5 days, or in the fridge for up to two weeks.
Can I Freeze Butter Cookies?
- Yes, you can! First, cool the cookies completely. Then carefully layer them into shallow airtight containers, placing a sheet of parchment between each layer of cookies to prevent sticking.
- Freeze for up to six months.
More Amazing Cookie Recipes
- Red Velvet Crinkle Cookies
- Stained Glass Cookies
- No-Bake Oatmeal Cookies
- White Chocolate Chip Cookies
- Anginetti Cookies
Homemade Butter Cookies
Ingredients
For the Cookies
- 1 cup unsalted butter, room temperature
- ¾ cup confectioners sugar
- 1 egg, room temperature
- 1 ½ teaspoons vanilla extract
- ¼ teaspoon almond extract
- ¼ teaspoon salt
- 2 cups flour
- 1 tablespoon milk
For the Optional Dip
- 8 ounces candy melts, white, dark, or milk chocolate
- Sprinkles
Instructions
For the Cookies
- Using a hand mixer or stand mixer fitted with a paddle attachment, beat the butter and sugar together on high until light and fluffy, about 3 to 5 minutes.
- Add the egg, vanilla extract, almond extract, and salt. Mix on high speed until thoroughly combined, about 1 to 2 minutes.
- Add in the flour and mix on low speed until combined and a soft dough forms, about 2 to 3 minutes.
- Add milk and continue to mix at a low speed until combined. The dough should be smooth, but not runny. Runny dough that cannot stand on its own will spread during baking.
- Transfer the dough to a piping bag fitted with a large star tip.
- Pipe cookies into a circular shape onto a baking sheet lined with parchment or a silicone mat.
- Transfer the baking sheet to the refrigerator and chill for at least 30 minutes.
- While the cookies are chilling, preheat the oven to 350˚Fahrenheit.
- Bake for 12 to 15 minutes, or until the edges are a light golden brown.
- Let cookies cool on the baking sheet for 5 minutes, then transfer them to a wire cooling rack to cool completely for another 10 minutes.
For the Dip
- Microwave the candy melts in 30-second increments at 50% power in a wide-rimmed bowl. Stir and repeat until the chocolate is completely melted and smooth.
- Dip the cookie halfway into the melted chocolate and slowly pull up, allowing any excess to drip off.
- Place the dipped cookie onto a baking sheet lined with parchment paper and add a few dashes of sprinkles.
- Repeat with remaining cookies. Transfer the baking sheet to the refrigerator and let the chocolate set for 15 to 20 minutes before serving.
Nutrition
Nutritional info is an estimate and provided as courtesy. Values may vary according to the ingredients and tools used. Please use your preferred nutritional calculator for more detailed info.





These look so good! I buy butter cookies all the time. I can’t wait to make my own.
Thank you so much! I hope you’ll enjoy these! 🙂
I have always loved butter cookies. I am so excited I can make these at home now, thank you!
Me too! I hope you’ll enjoy these! Thank YOU! 🙂
I make cookies every week. These are on my next to make list!
That’s great to hear! I hope you’ll enjoy them! Thank YOU! 🙂
These are gorgeous! And so delicious!
Thank you so much! I hope you’ll enjoy! 🙂
Looks really good! Excited to give this a try!
Thank YOU! I hope you’ll enjoy it! 🙂