This post may contain affiliate links. Please read our disclosure policy.
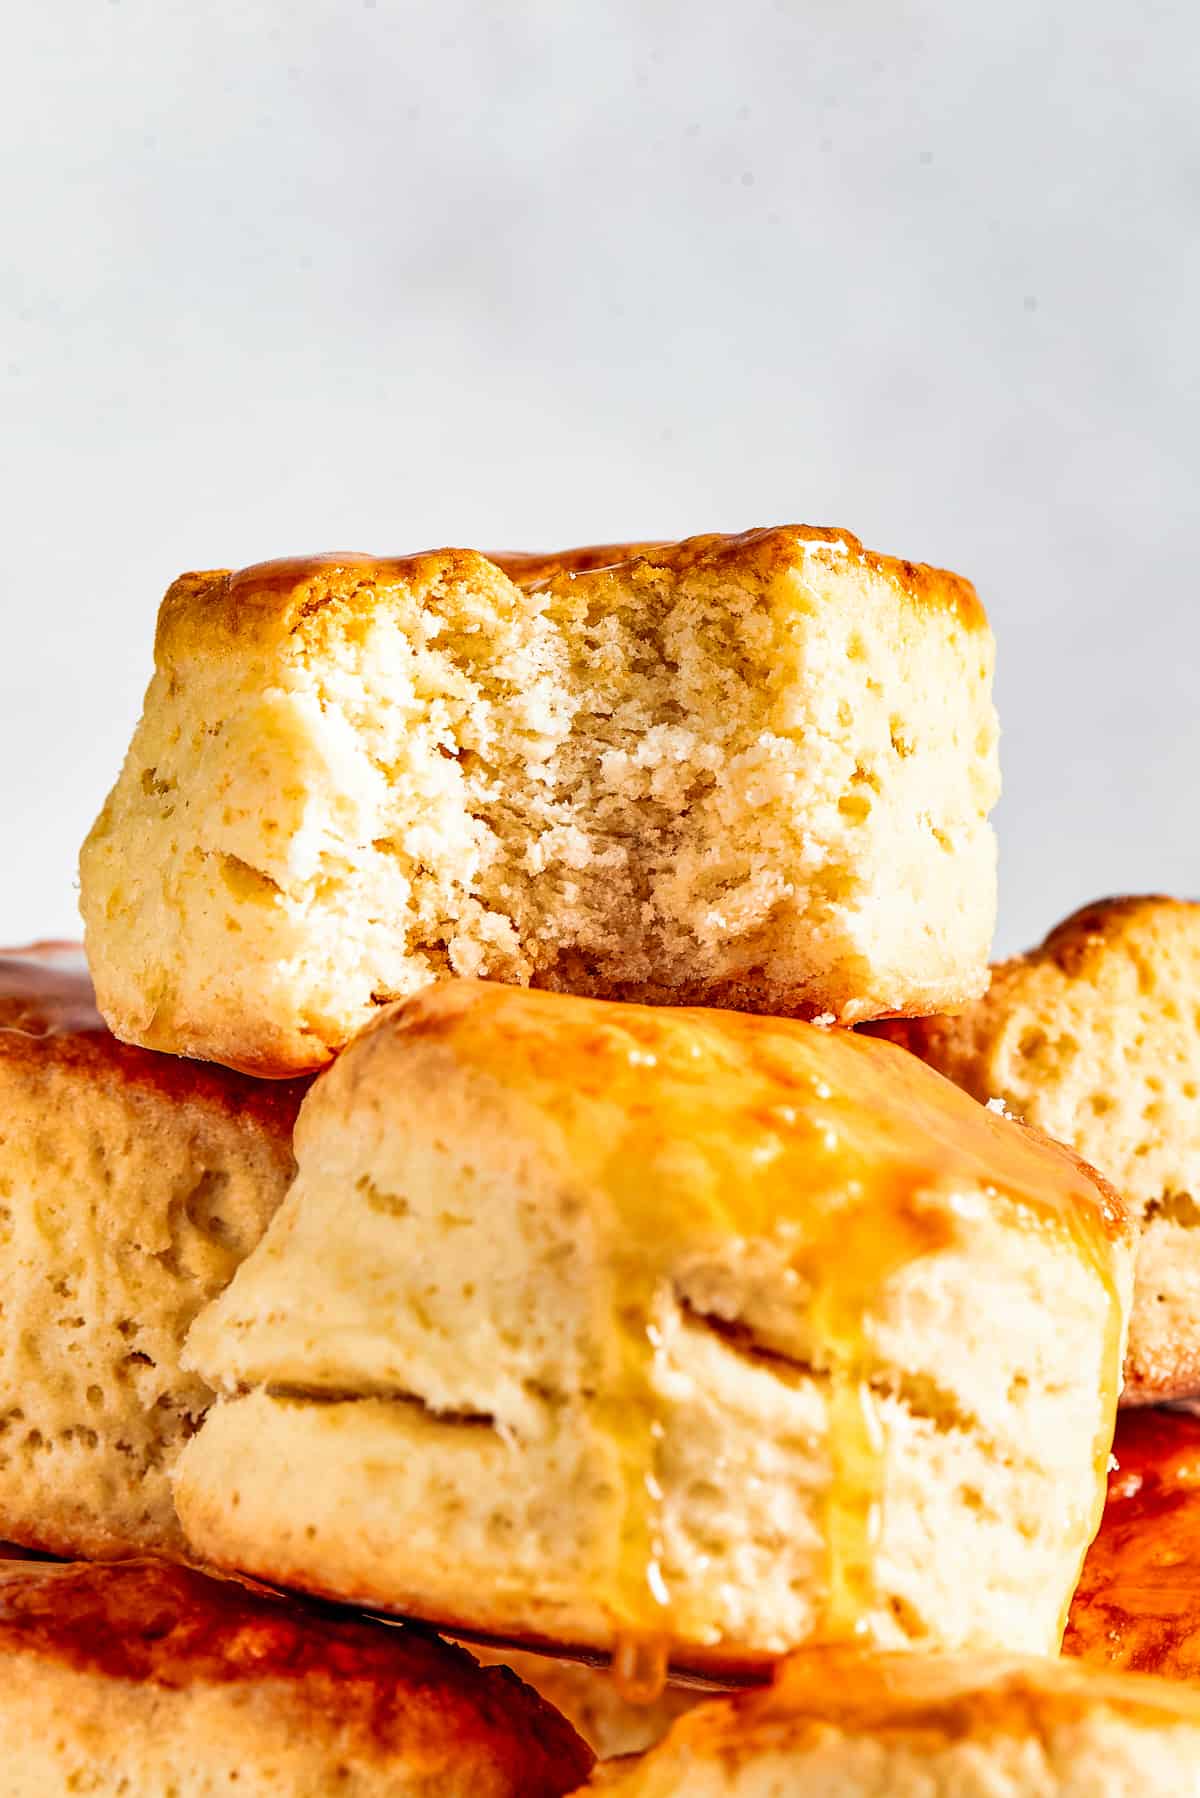
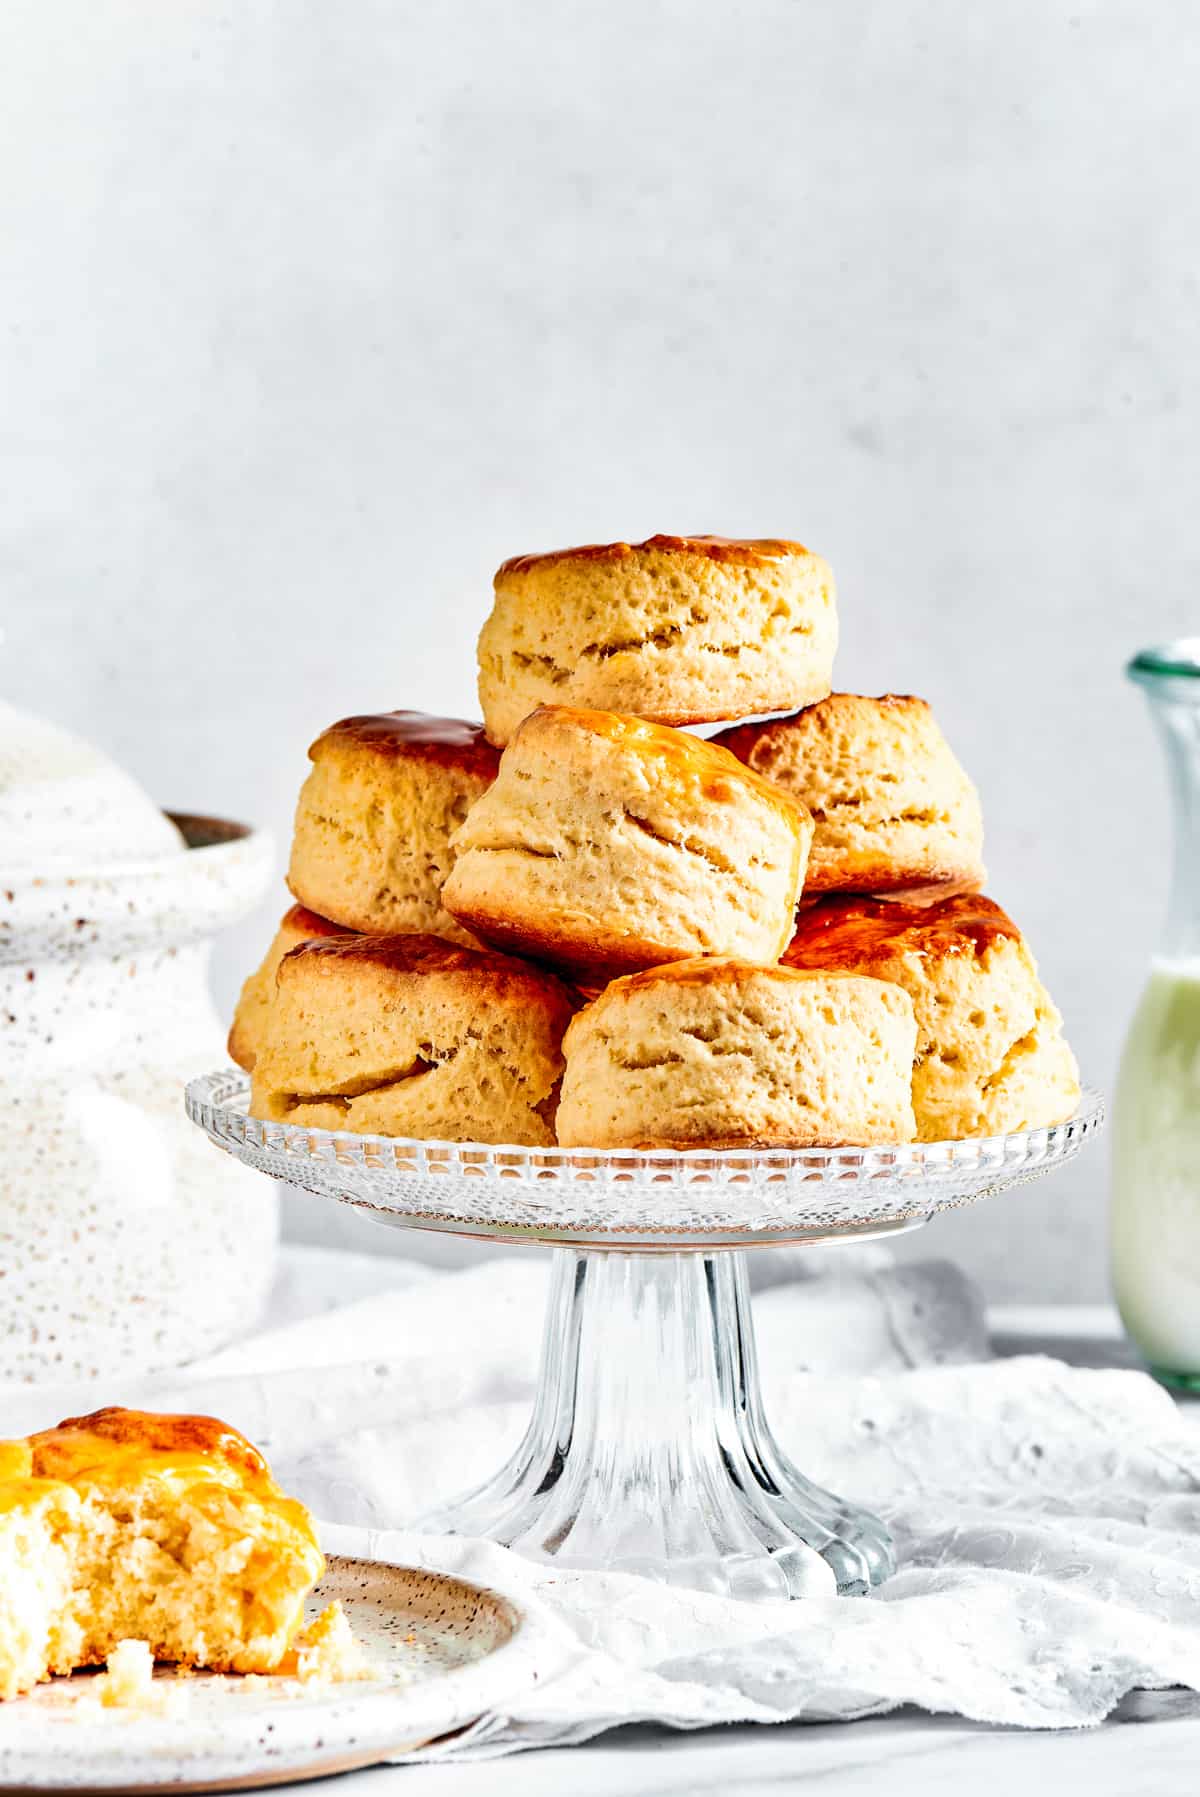
Easy Homemade Biscuits are a must-have for special meals, and they are so simple to make! These warm and tender biscuits rise high and practically melt in your mouth.
Jump To
- Tender, Flaky, Homemade Biscuits
- The List of Ingredients
- Let’s Make Homemade Biscuits!
- What Is the Secret to an Excellent Biscuit?
- Should You Let Biscuits Rise Before Baking?
- Serving Suggestions
- How to Store And Reheat Homemade Biscuits
- Can I Freeze These?
- More Easy Bread Recipes
- Easy Homemade Biscuits Recipe
Tender, Flaky, Homemade Biscuits
My family always cheers when they hear I’m making biscuits. No one can get enough of them – they are light as air, buttery, salty, and slightly sweet. Whether you serve them with a hot breakfast, over a chicken pot pie casserole, or as a snack with butter and jam, or alongside a hearty dinner, they’re always a hit!
I love baking biscuits partly because they’re so easy to make. That’s right, you don’t have to be intimidated by biscuit-making! With a few helpful tips (and I share my favorites below), you’ll be rolling and cutting perfect homemade biscuits with ease.
The List of Ingredients
This quick and old-fashioned recipe is made mostly with ingredients you probably keep stocked in your pantry and fridge, making it extra convenient. Here’s the list:
For the Homemade Biscuits
- Flour: You’ll need all-purpose flour for the recipe, plus a little extra for rolling and cutting the biscuits.
- Sugar: If you prefer, you can omit the sugar, but it adds a nice touch of sweetness.
- Salt
- Butter: I use unsalted butter. If you go with salted, you may want to reduce the amount of salt in the recipe. Make sure the butter is well chilled.
- Buttermilk: Or buttermilk substitute – see the “What Is the Secret to an Excellent Biscuit?” section below.
- Egg: For glazing the tops of the biscuits before baking. You can also use a little milk for this.
For the Optional Maple Sauce
- Butter: Salted or unsalted, whichever you prefer.
- Maple Syrup: Or honey.
Let’s Make Homemade Biscuits!
Okay, so now that we’ve covered the ingredients list, let’s talk method. Just how do you bake up a batch of fluffy, flaky biscuits? Glad you asked! 👇
- Prep the Oven, Baking Sheet, and Dry Ingredients. First, you’ll want to preheat your oven to 450°F. Next, line a large baking sheet with parchment paper, and set it aside. Finally, whisk together the flour, baking powder, sugar, and salt in a large bowl.
- Add the Butter. Rub or cut the cubed, cold butter into the dry ingredients, until the mixture resembles breadcrumbs. You can also do this in a food processor. Try not to handle the butter too much with your hands, or it will warm and soften.
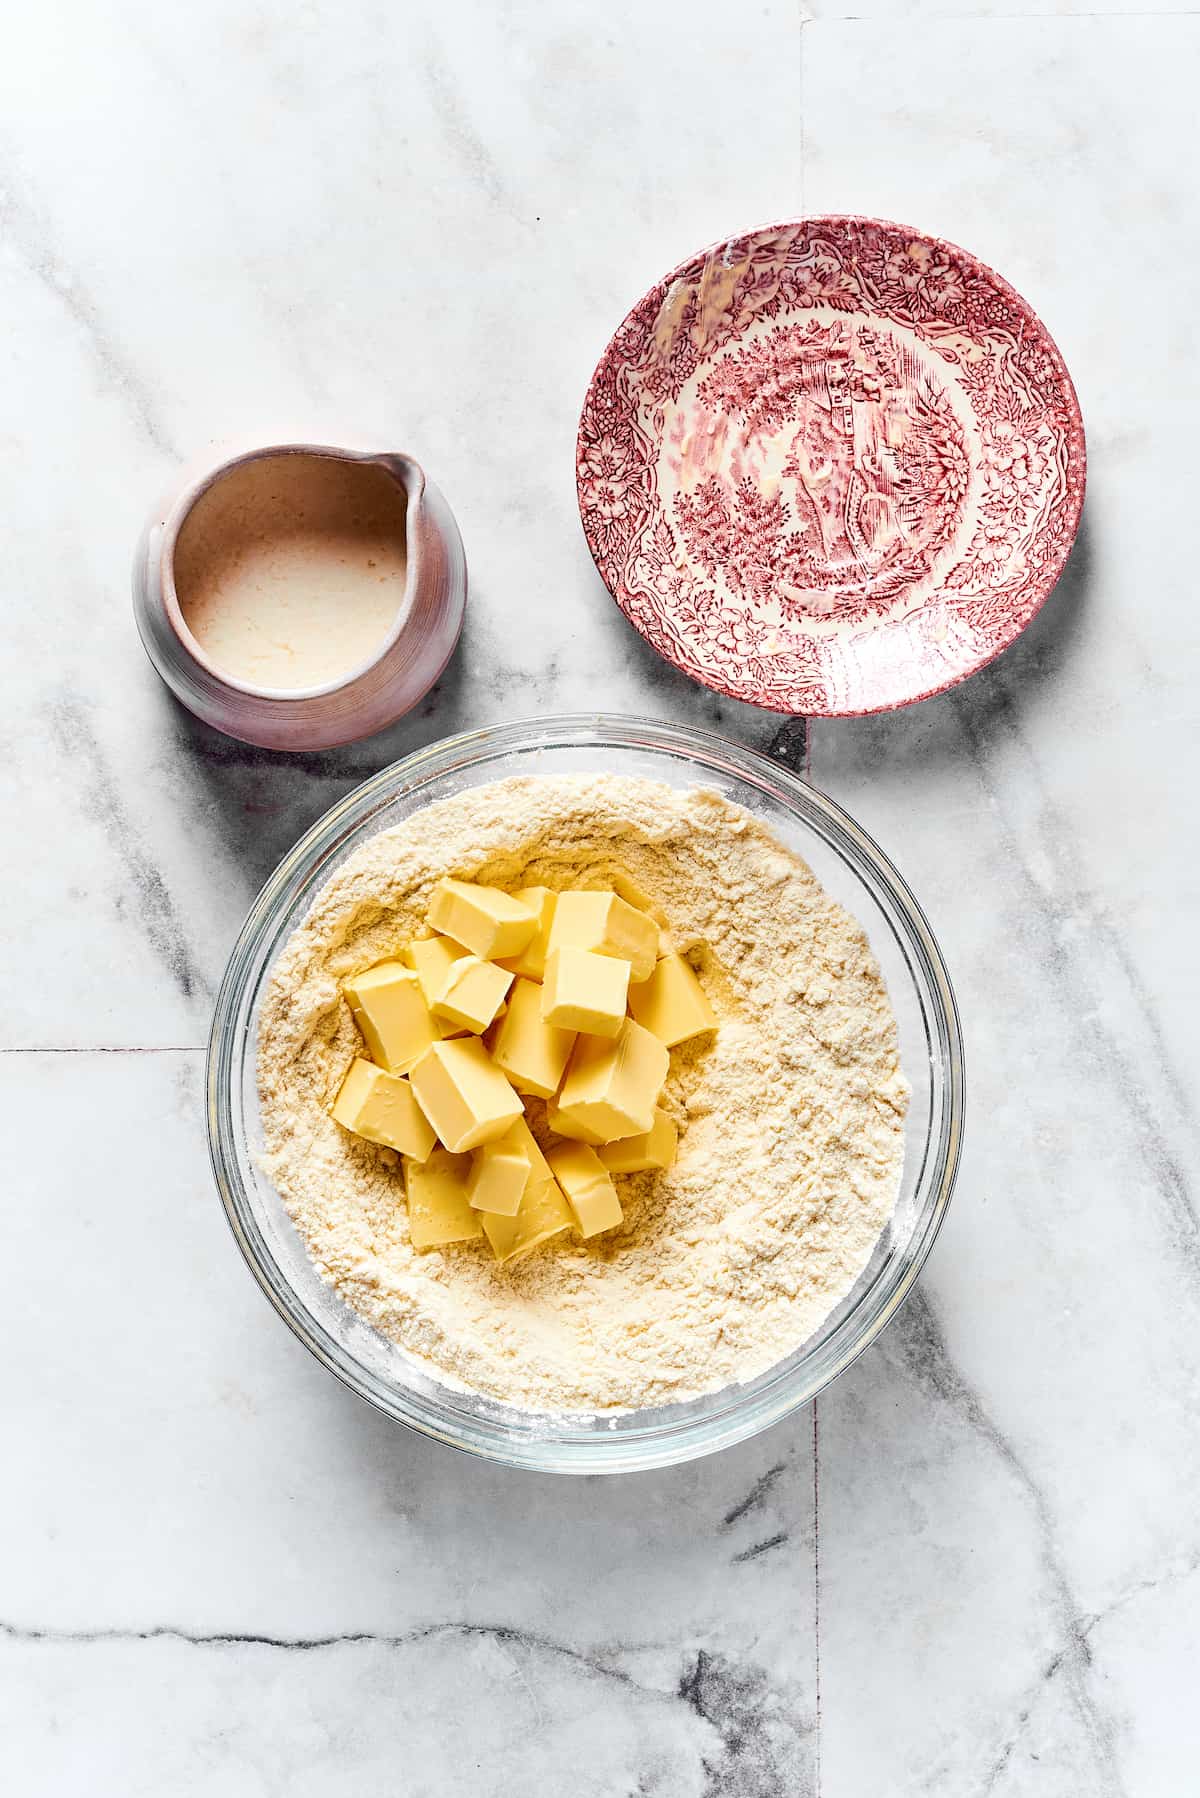
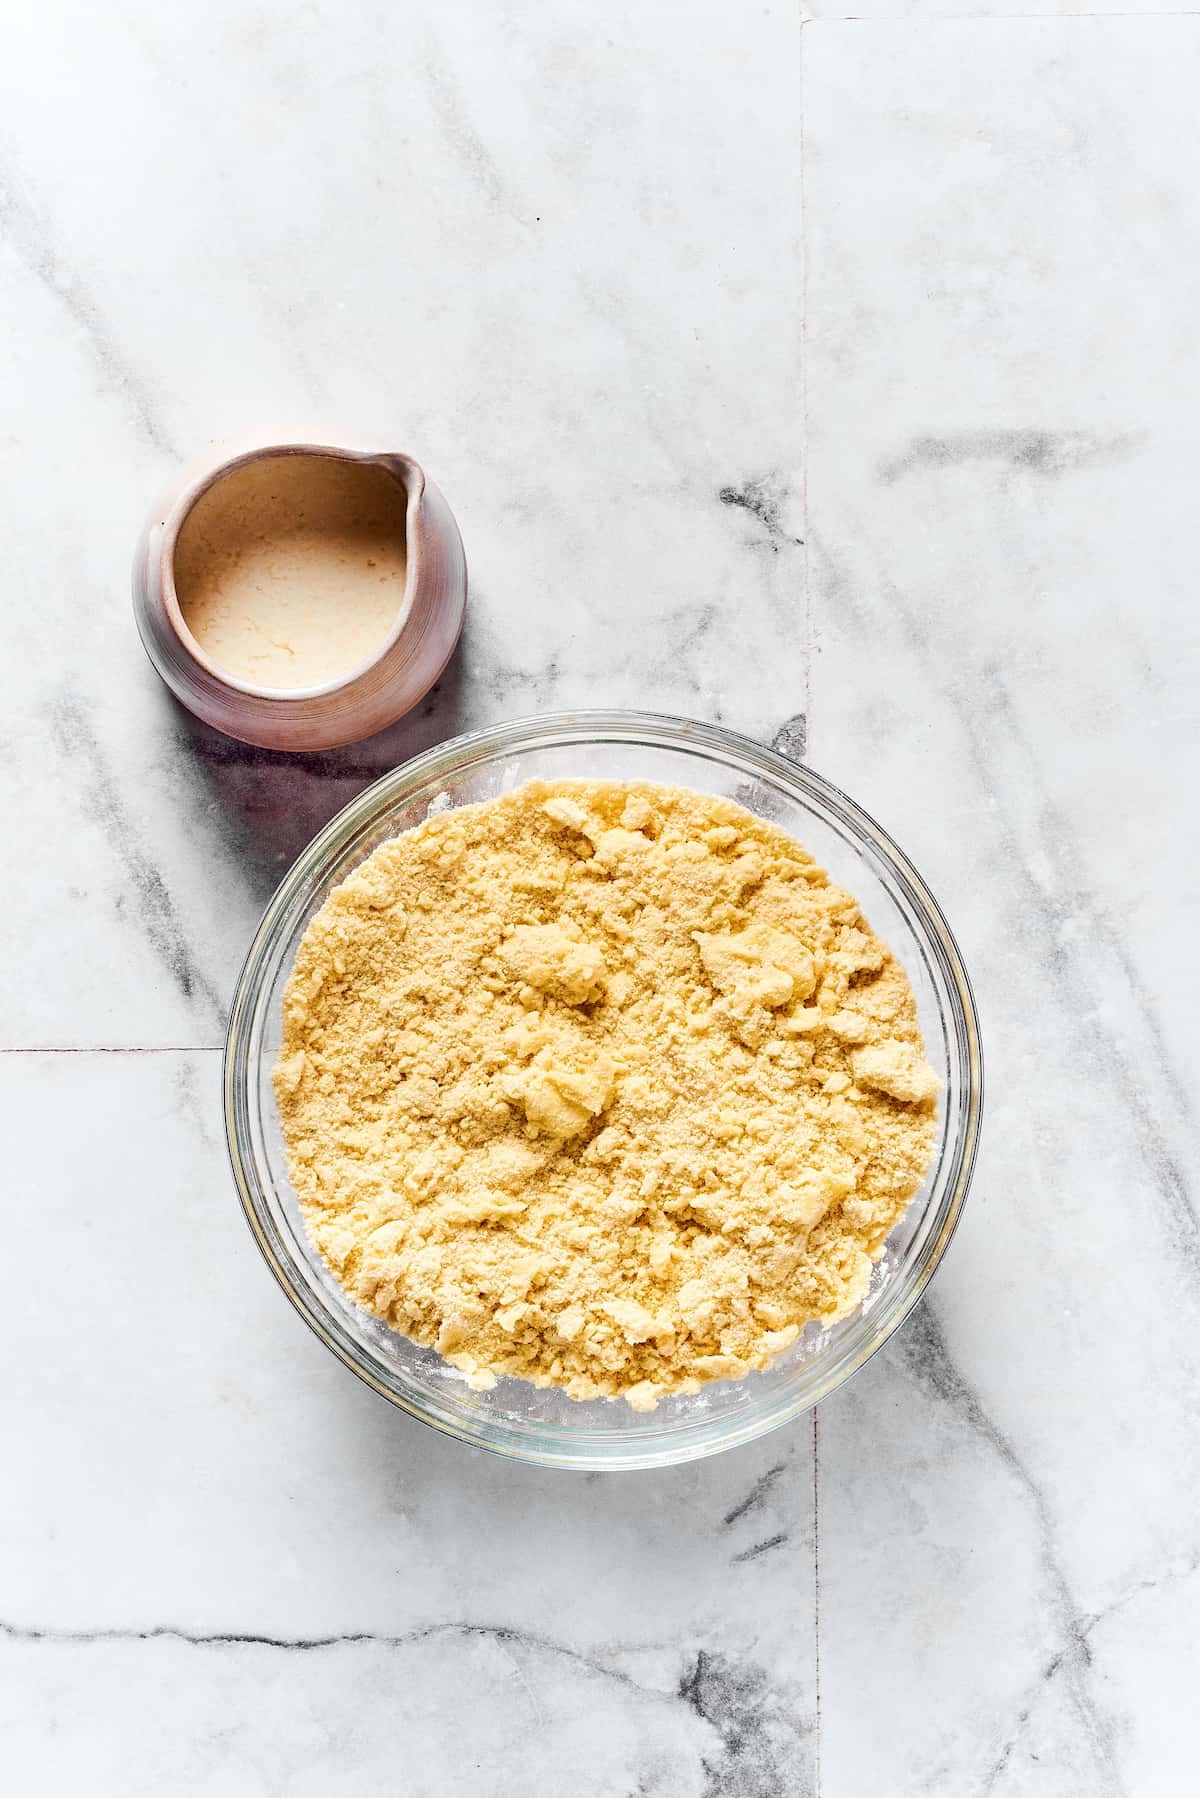
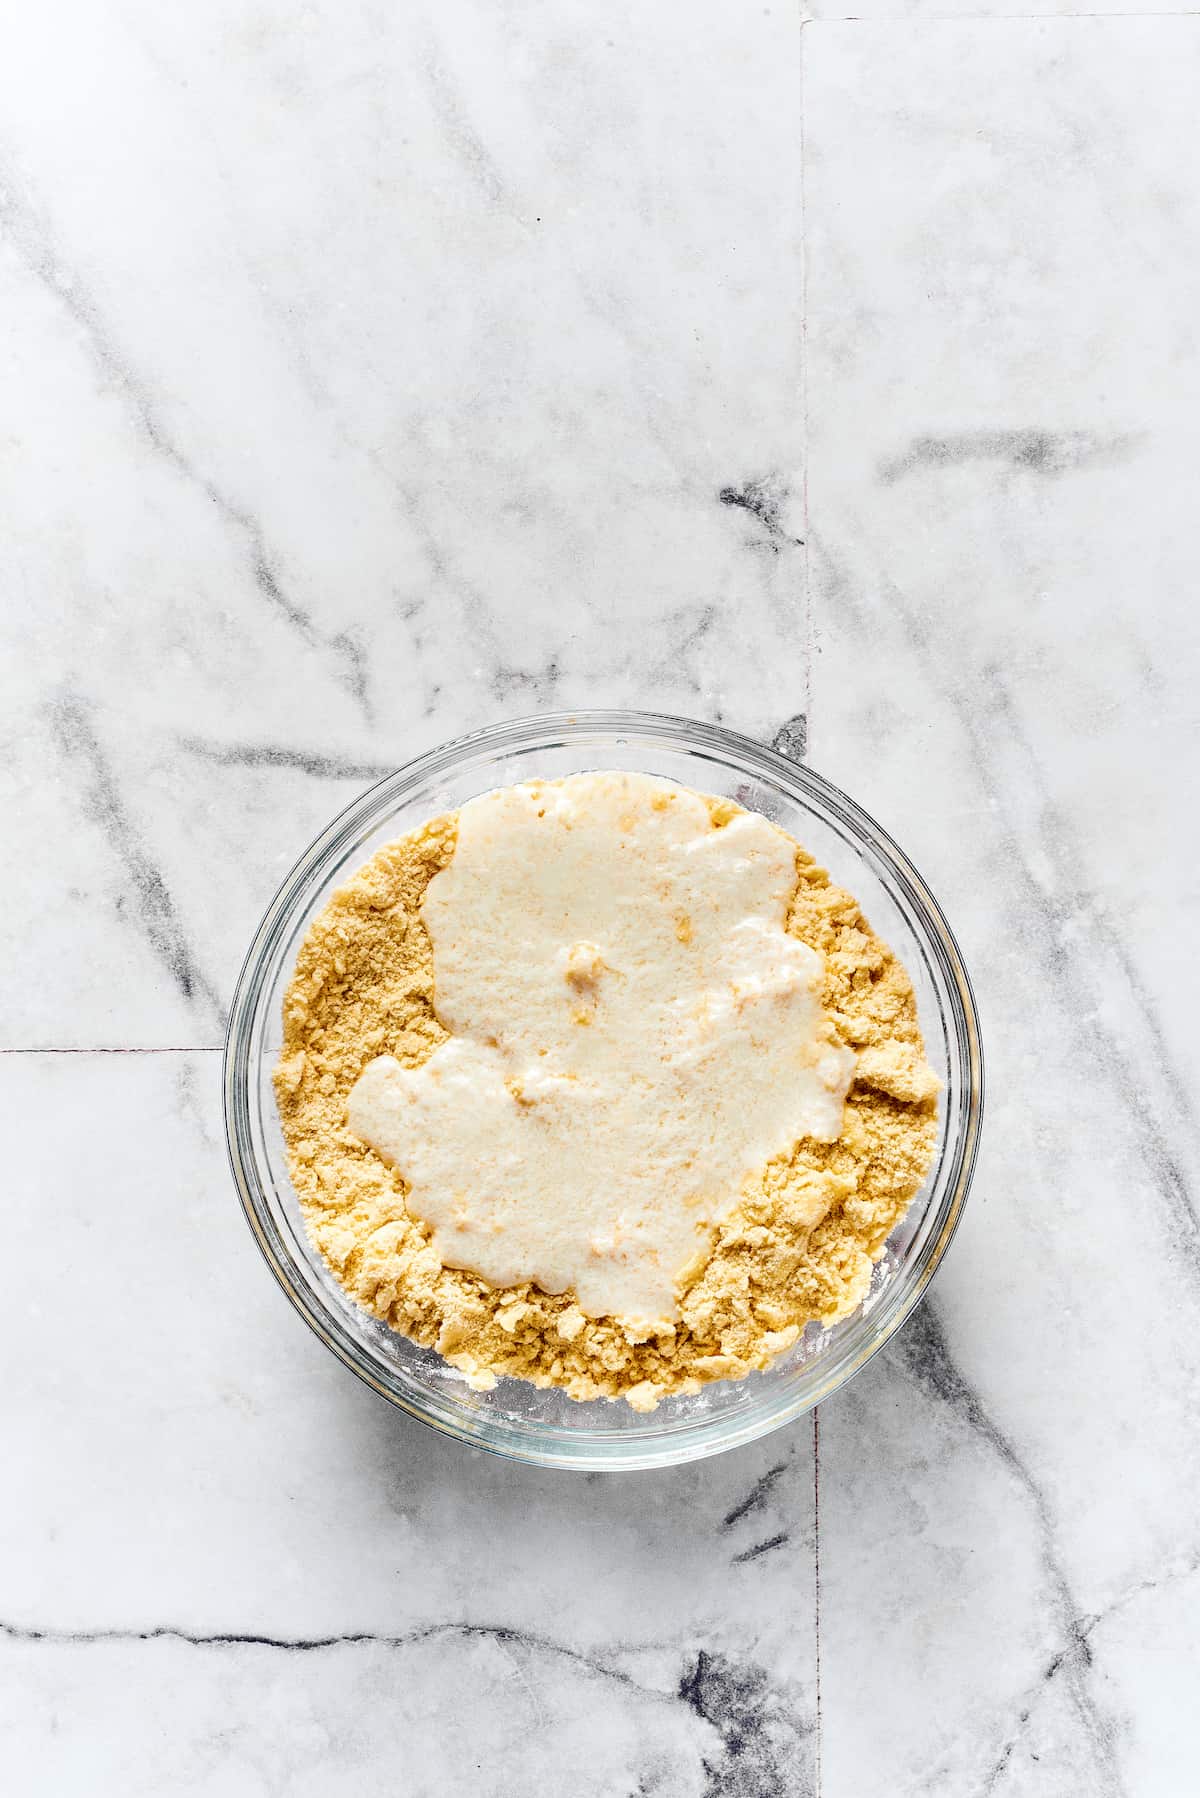
- Add the Buttermilk. To bring the dough together, make a deep well in the center of the flour mixture, and pour the buttermilk into the well. Gently mix with a spoon, until a soft dough comes together. Do not overwork the dough or the biscuits will be tough.
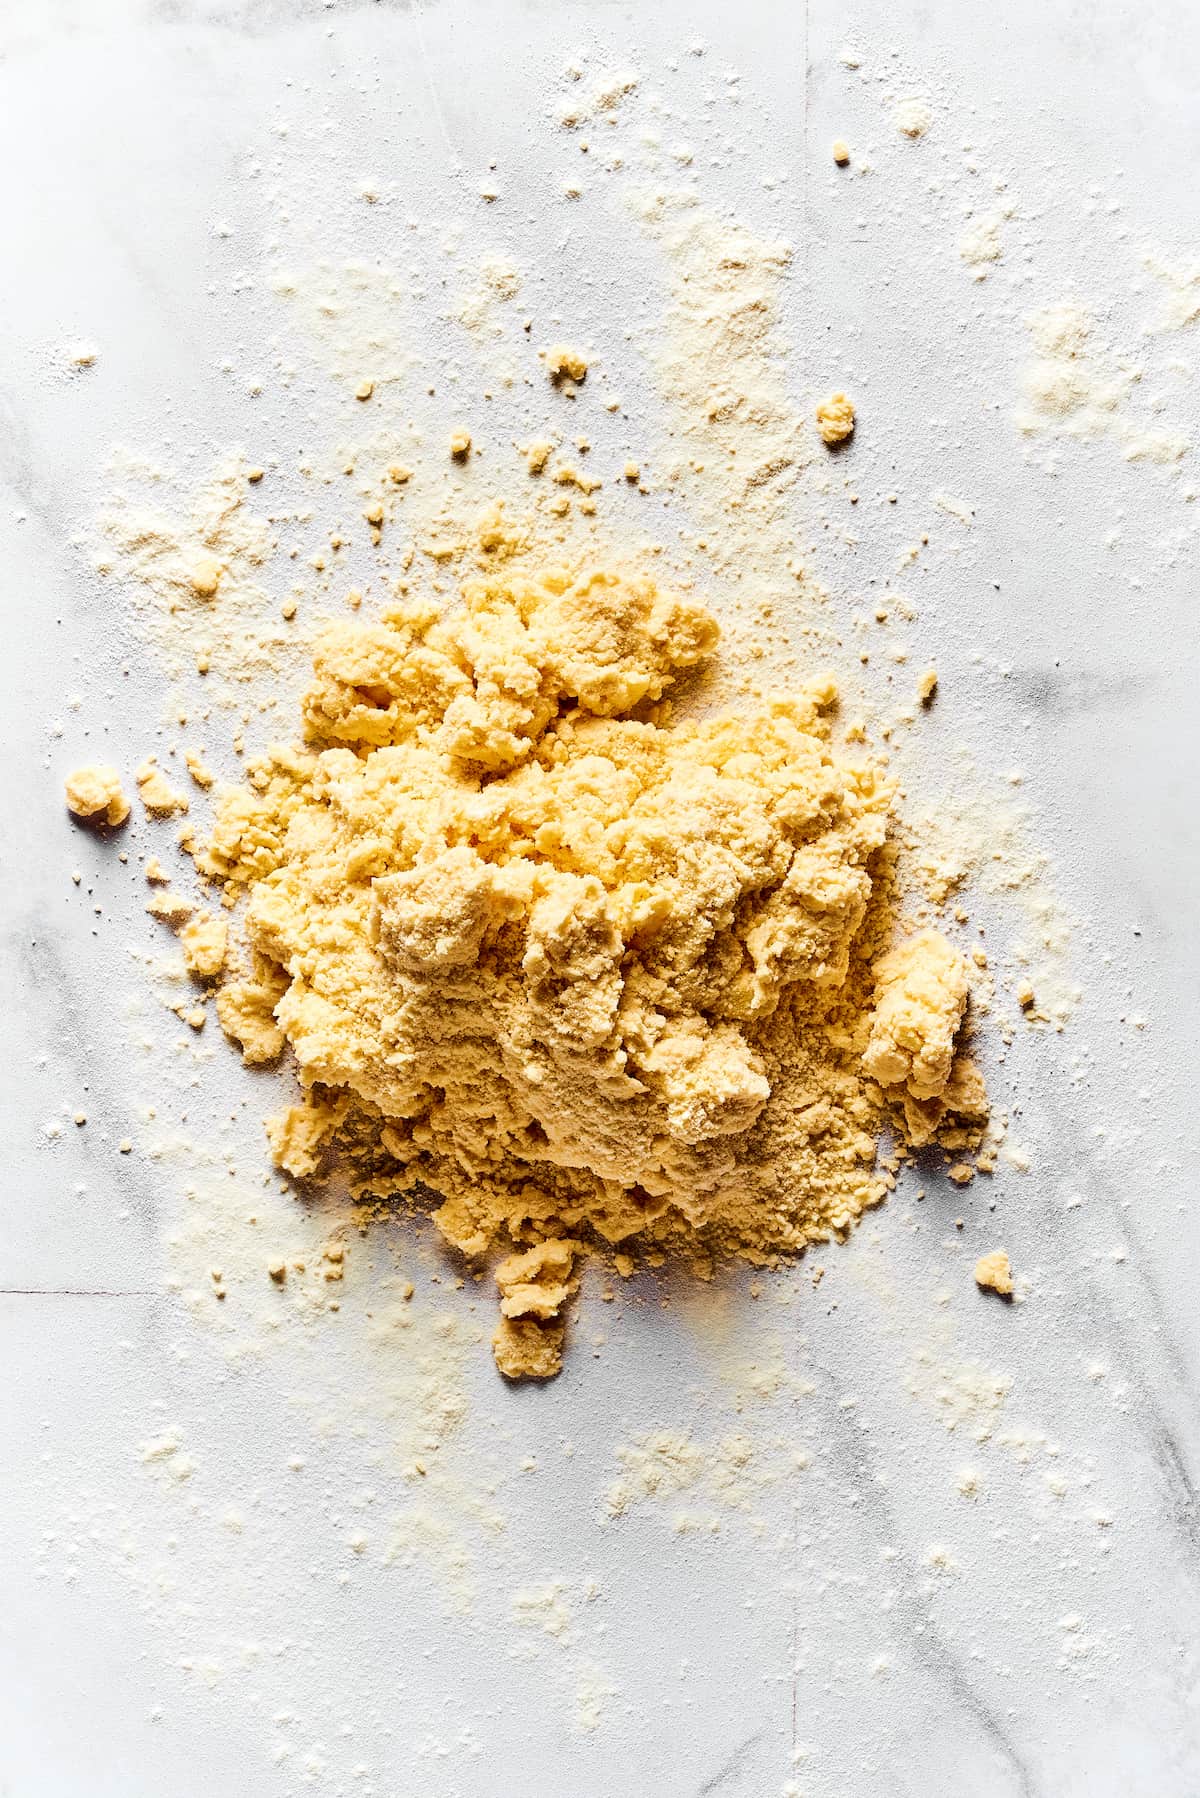
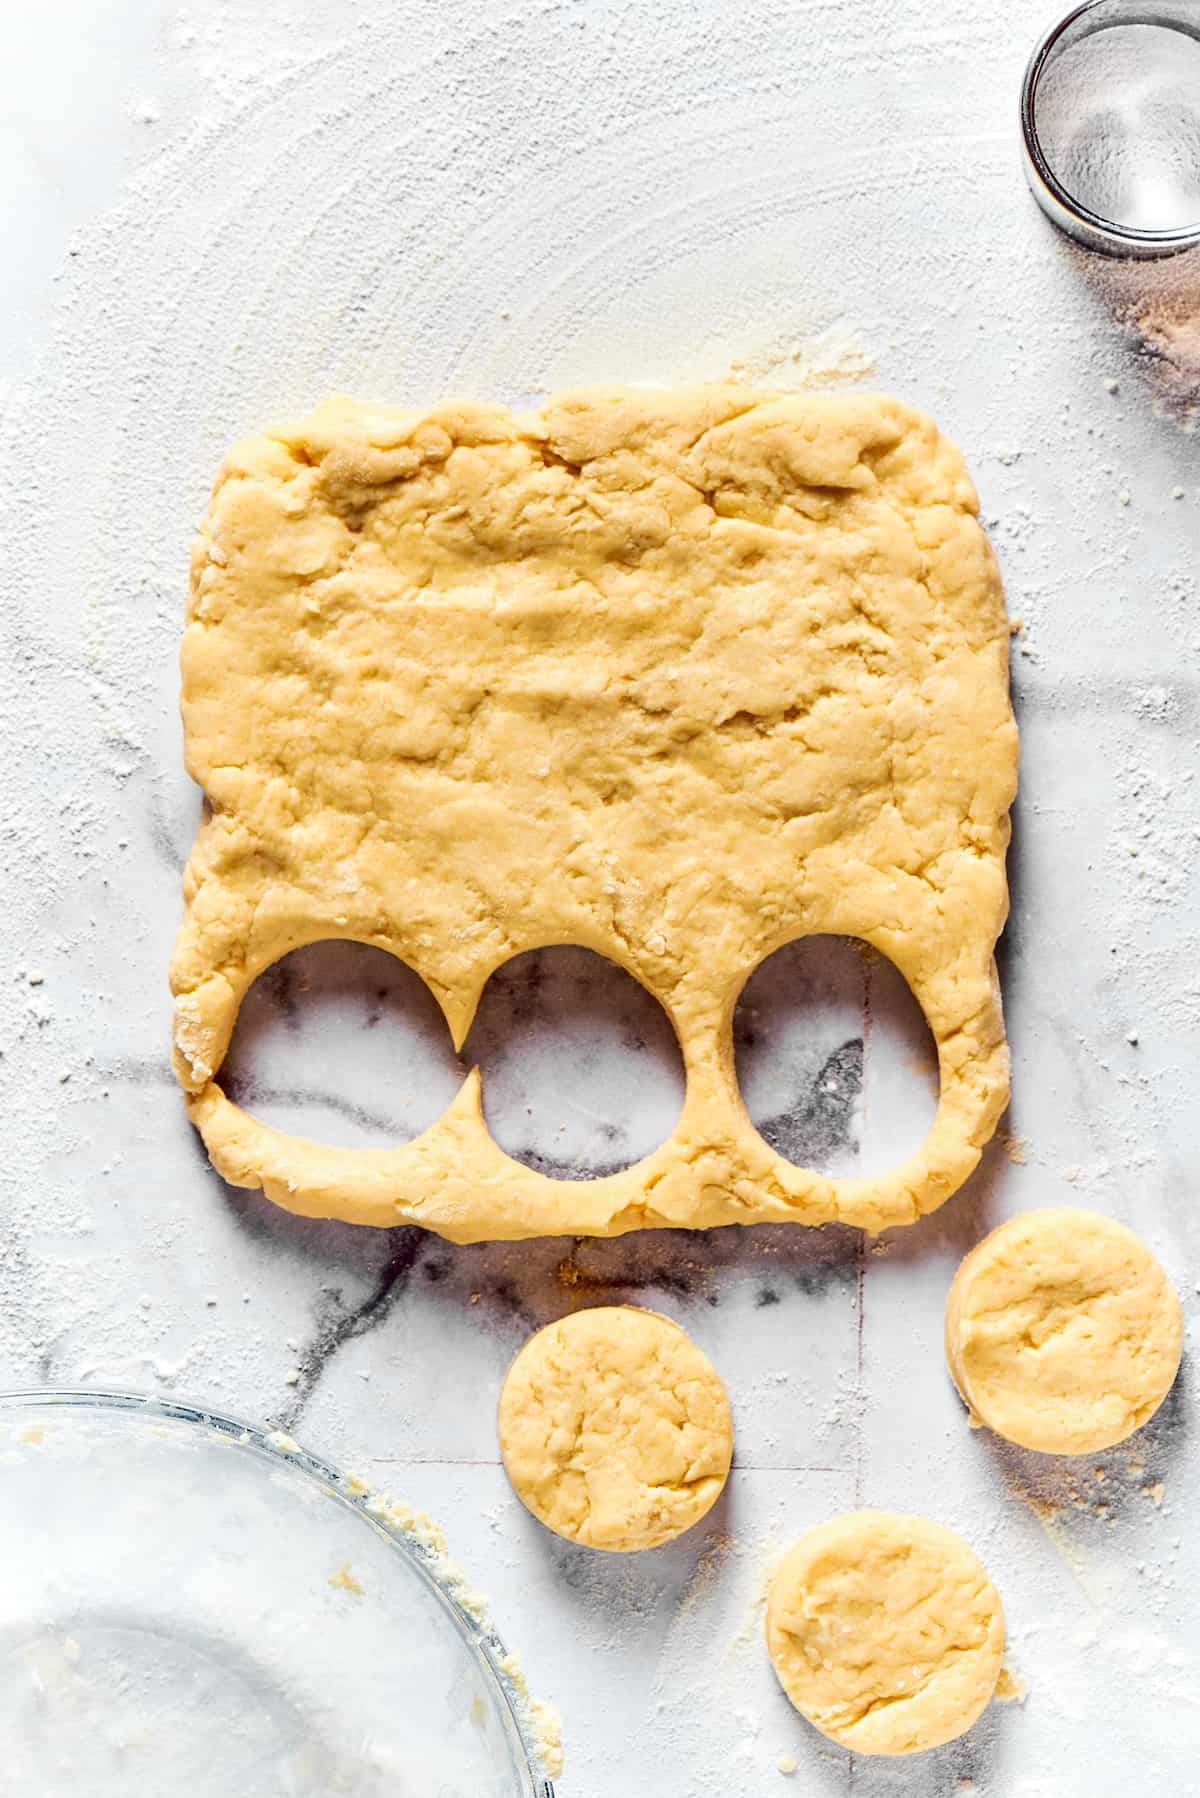
- Shape and Cut. Turn the dough out onto a lightly floured work surface, and knead or pat just enough to bring the dough together. Flatten it until it’s about an inch thick, and then use a biscuit cutter to cut out 9 rounds. Press the scraps of dough together, and cut out 3 more rounds.
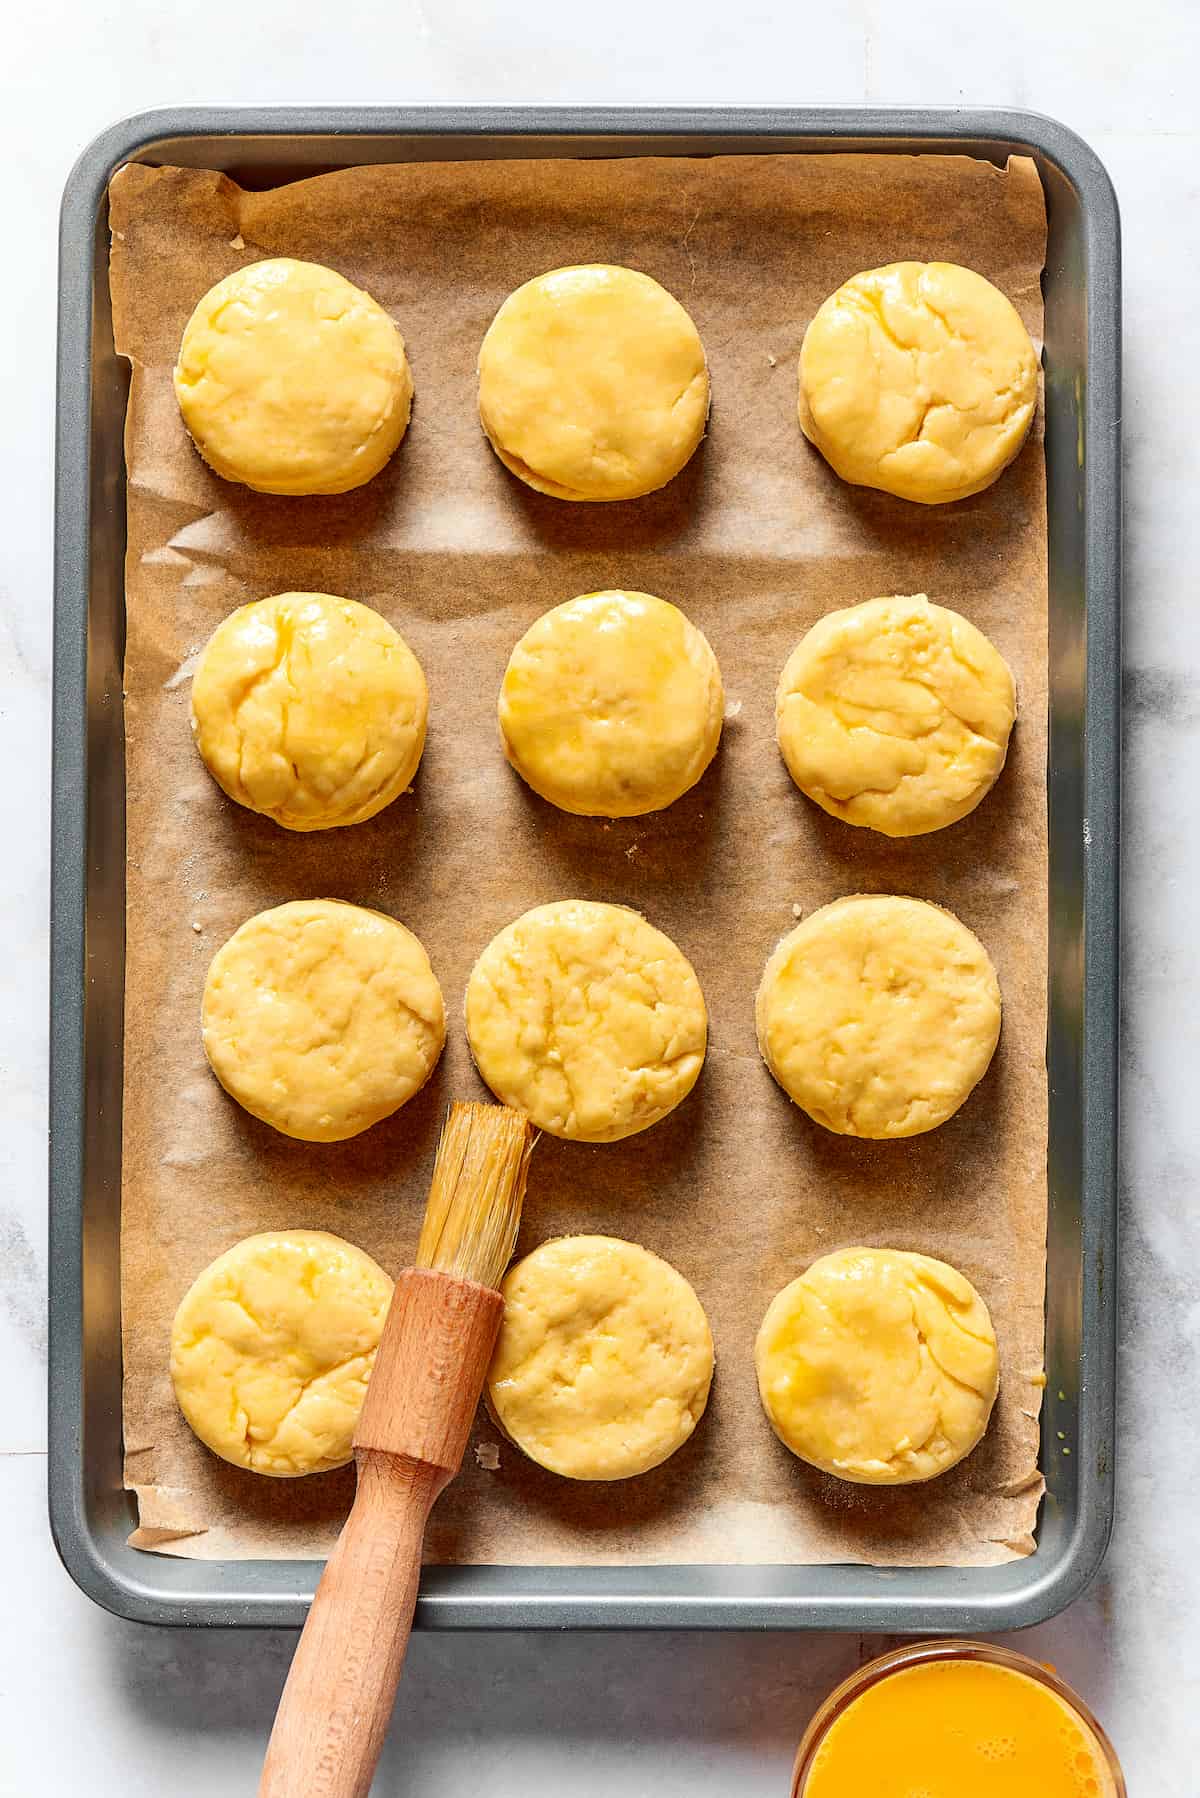
- Glaze and Bake. Place the cut-out biscuits on the baking sheet, and brush each one with beaten egg to glaze. Bake for about 10 minutes, or until the biscuits are well-risen and golden brown.
- Enjoy! When the biscuits are done, take them out of the oven and let them cool on the baking sheet. Serve warm, with maple glaze if desired.
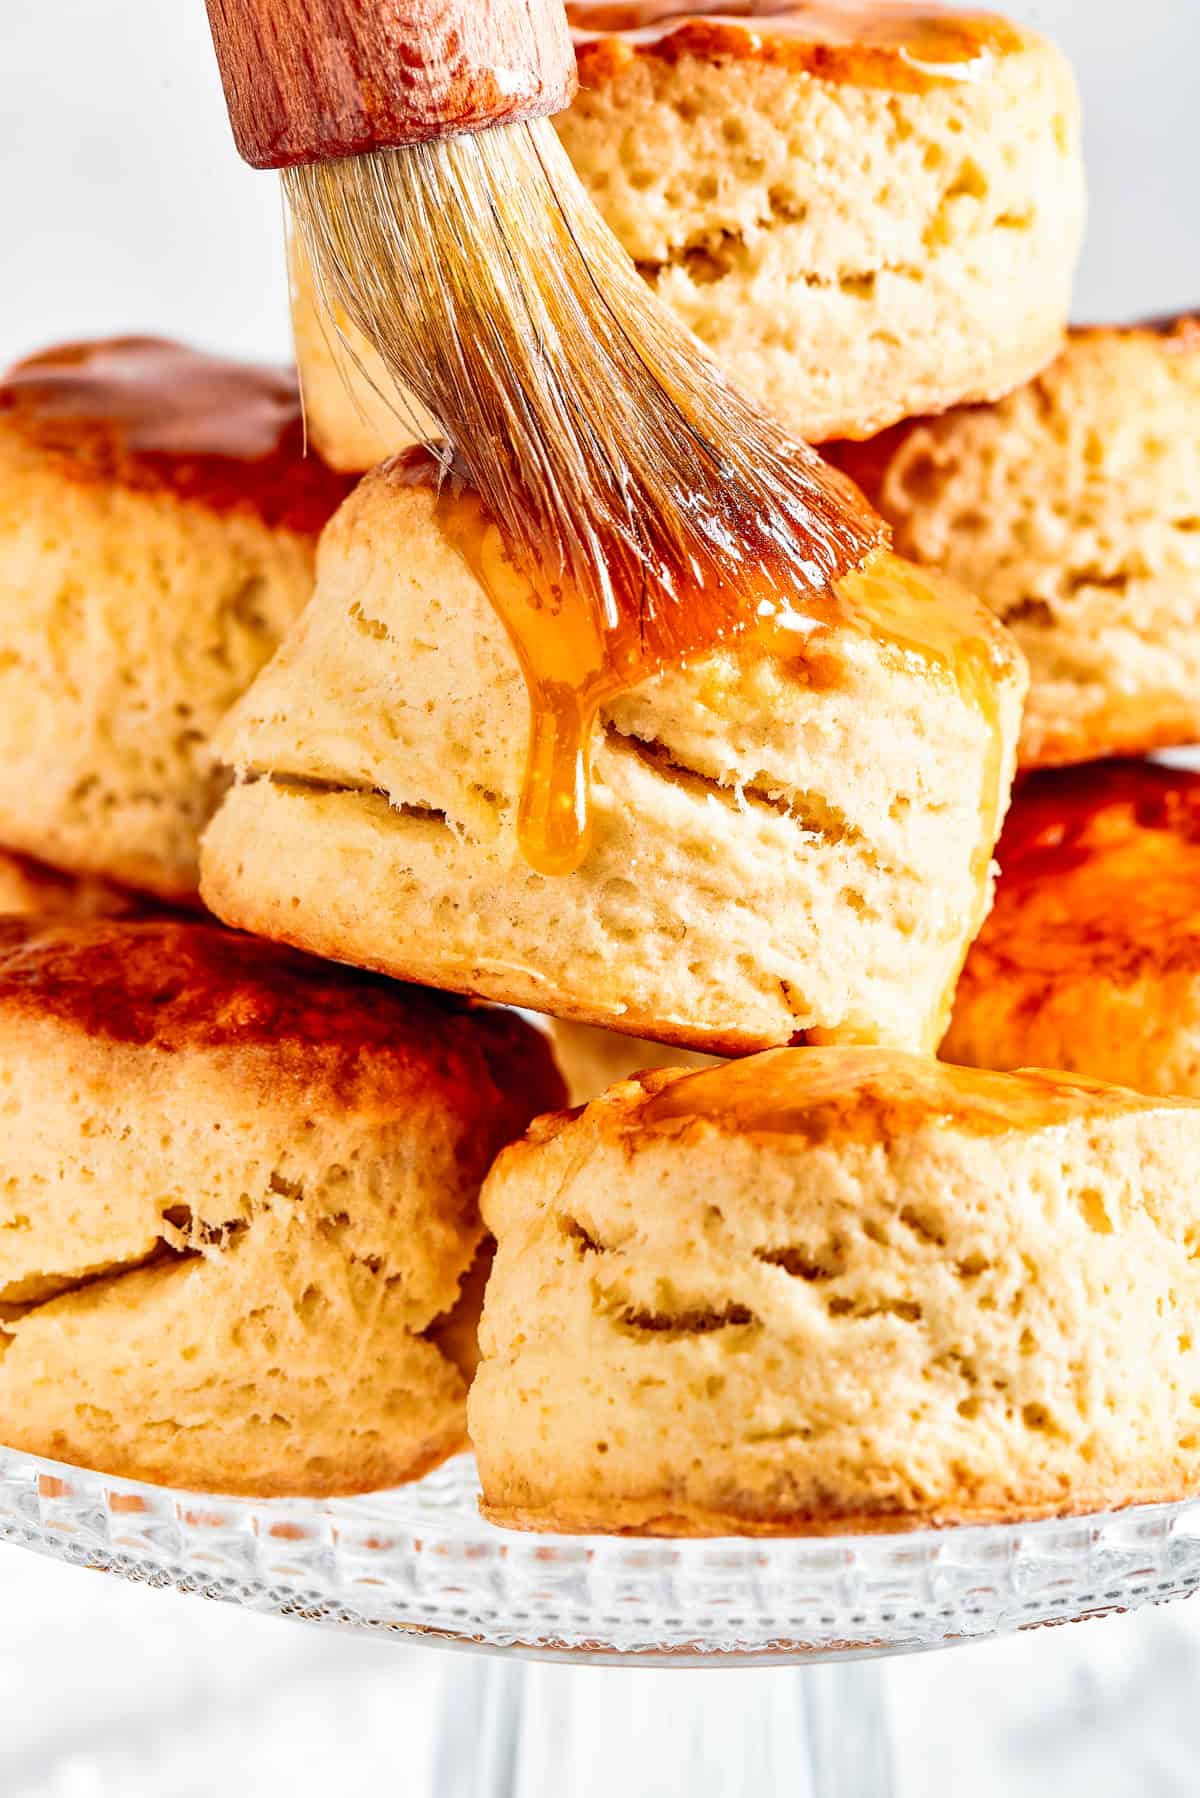
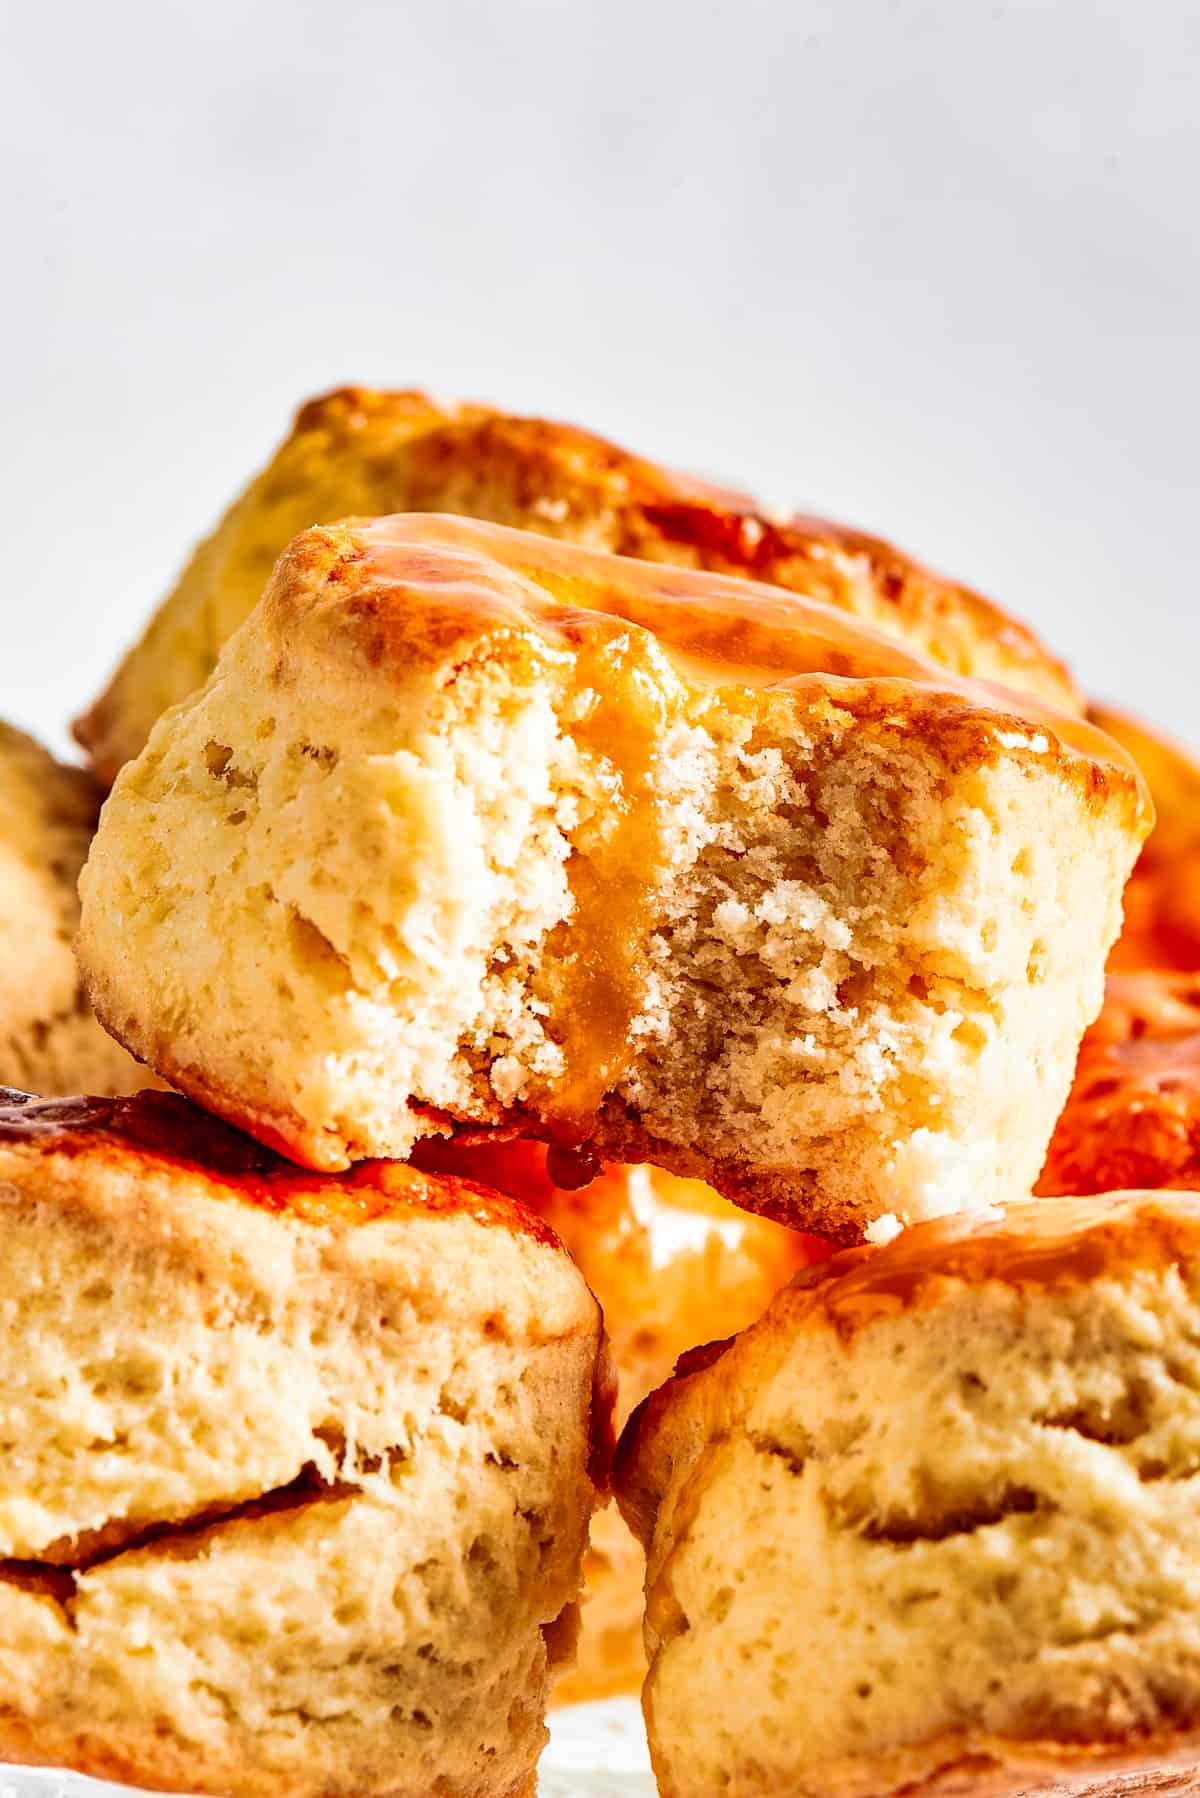
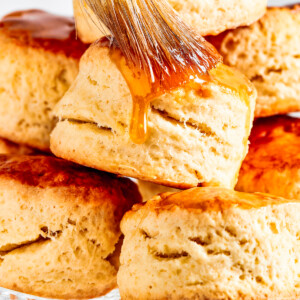
- Optional Maple Topping: For the maple glaze, place the butter and maple syrup in a small saucepan, heat it to a simmer, and let it reduce for 3 to 4 minutes. Brush the buttermilk biscuits with maple glaze while they are still warm.
What Is the Secret to an Excellent Biscuit?
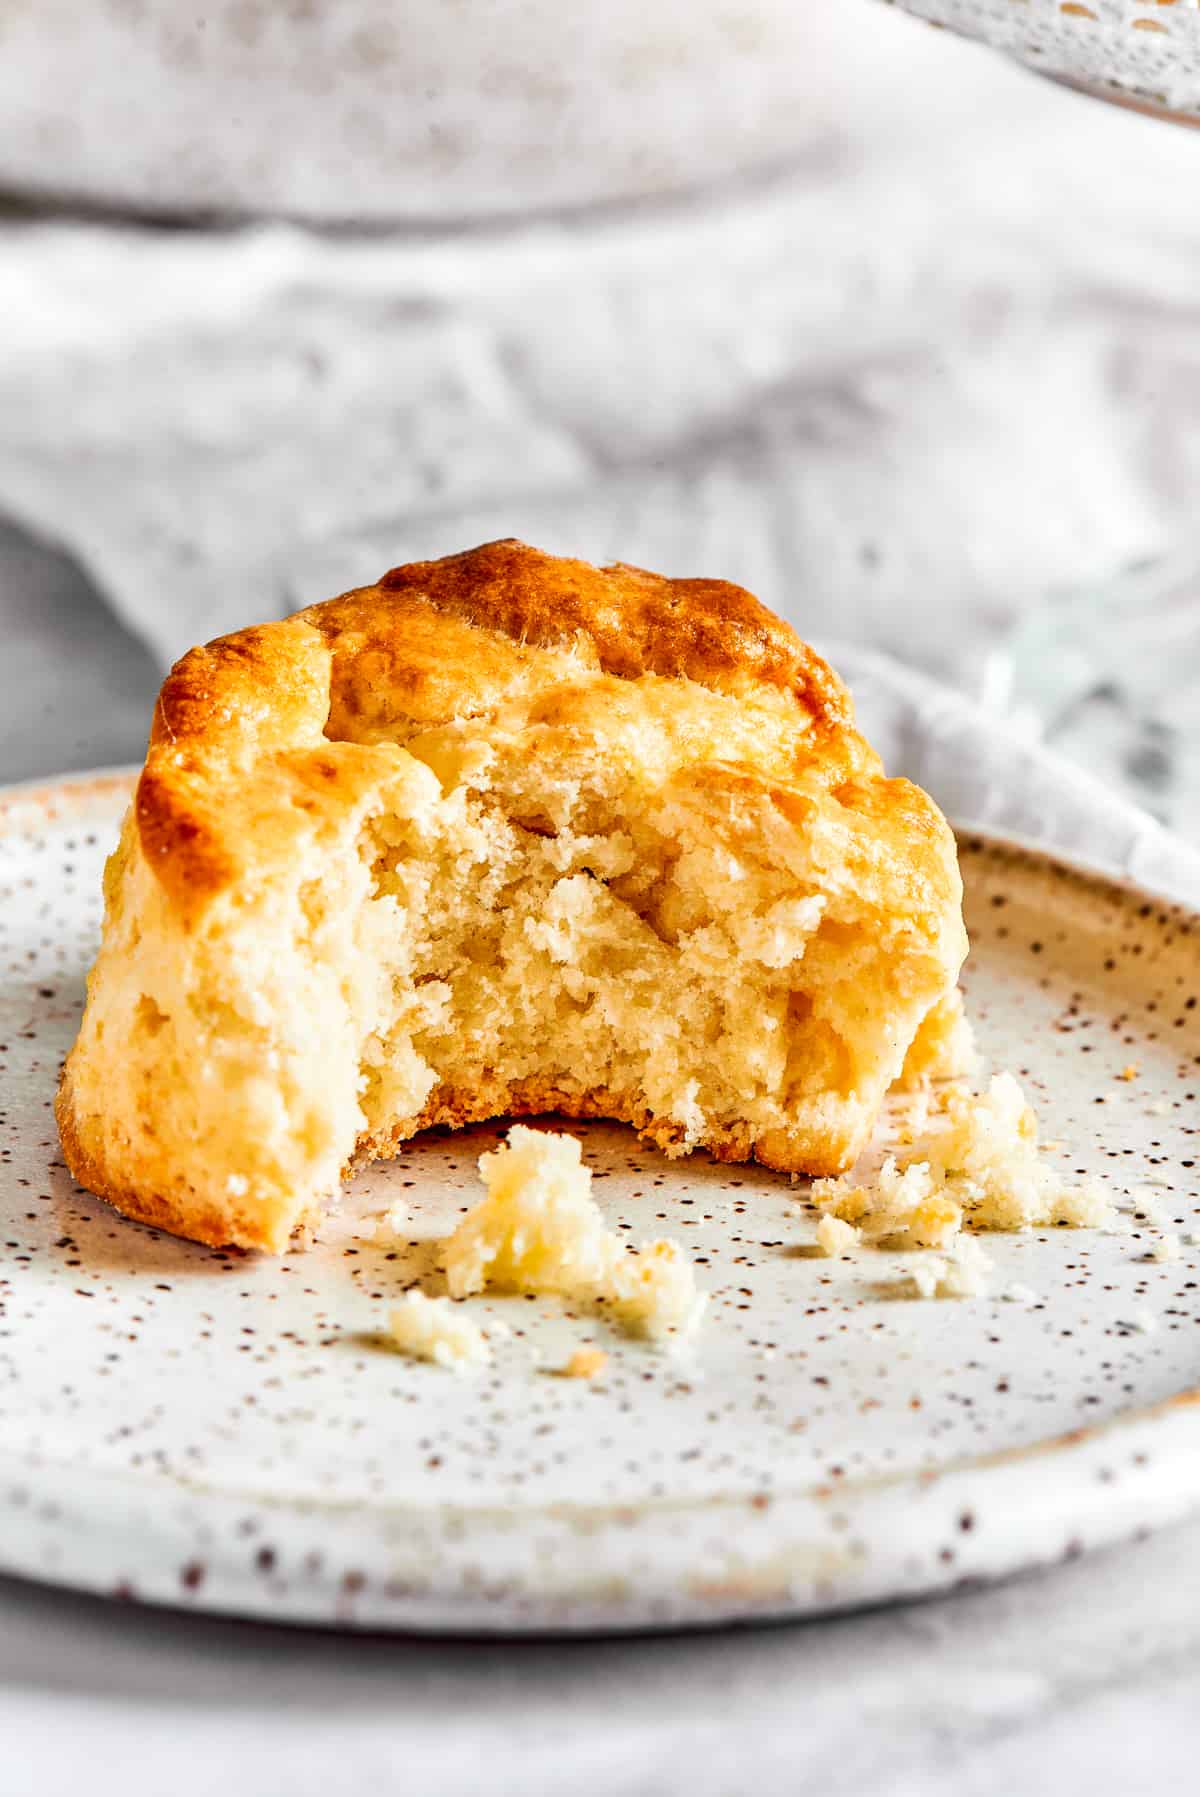
Every baker has their own secrets for perfect biscuits, but I’m happy to share mine with you guys. For dependably light, delicious biscuits, these are my top tips:
- Handle with Care: Biscuit dough is one of those doughs that shouldn’t be overmixed. It’s better for it to be a bit sticky and lumpy than to overwork it and get it smooth! Smooth dough means the gluten is activated, resulting in chewy, tough biscuits.
- Use Cold Ingredients: Another key to light, flaky layers is making sure the butter stays cold in the dough. This way, the small bits of butter will melt in the oven, creating buttery air pockets and flakes. If you think your butter or dough is warming up too much, feel free to stick it in the fridge (or freezer) for a few minutes.
- Consider Shortening: While vegetable shortening isn’t as common in baking recipes these days, some cooks swear by using half shortening, half butter for an even higher rise in their biscuits.
- DIY “Buttermilk:” If you don’t have buttermilk, you can make an easy substitute by combining two teaspoons of vinegar with enough milk to make ¾ cup. Let this sit for a few minutes to thicken.
Should You Let Biscuits Rise Before Baking?
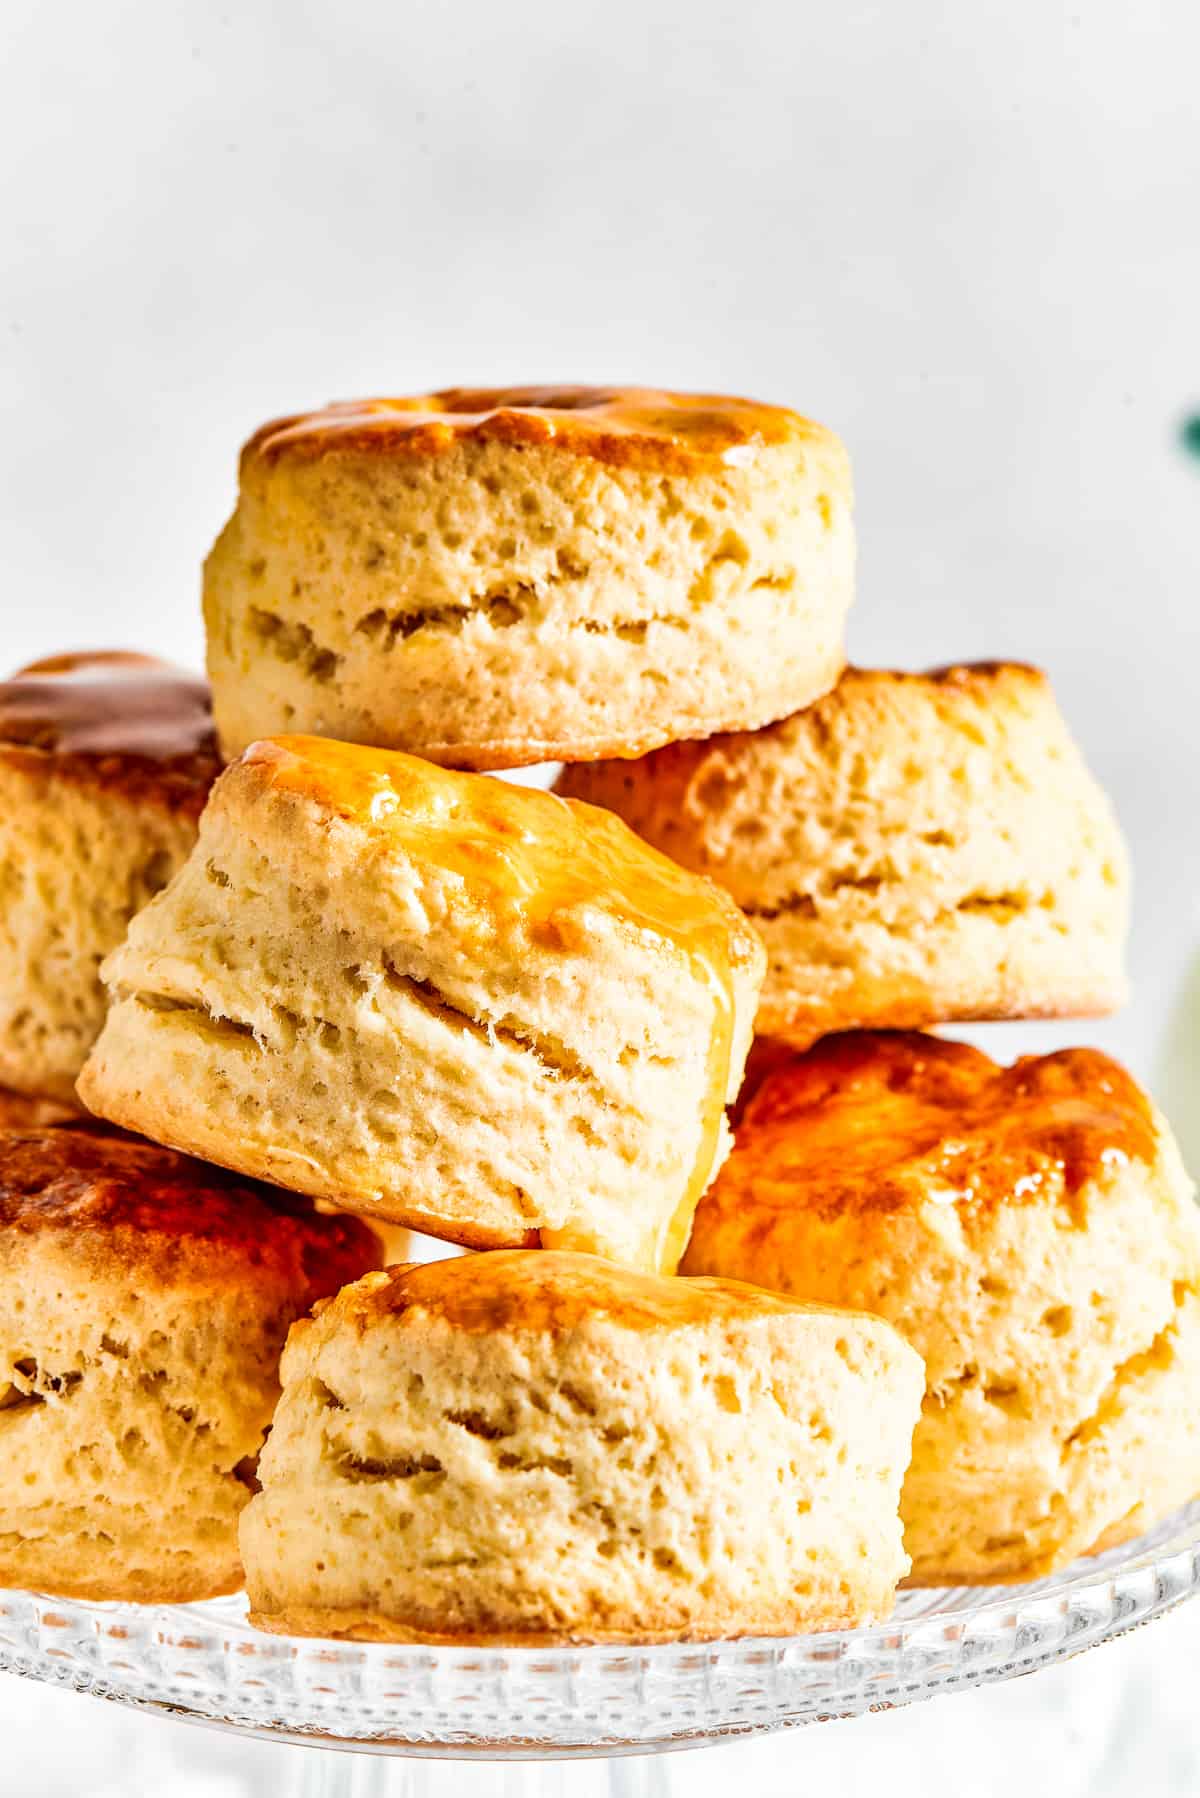
In general, you want to let quick breads rise while they’re in the oven, otherwise they might not turn out very fluffy. Biscuits are mixed, rolled, and immediately baked. The exception would be “angel biscuits” which are made with baking powder and yeast.
Serving Suggestions
Serve your homemade biscuits with almost any entree you could think of, from scrambled eggs to a bowl of hearty soup. For a few traditional options, check these out:
- Chicken: What could be better than chicken and biscuits? Make a pan of these finger lickin’ Oven Baked Chicken Tenders for a meal the whole family will devour.
- Pot Roast: This Perfect Pot Roast is a fantastic Sunday dinner, and it’s that much more special with fluffy, flaky biscuits on the side.
- Ham: Slow Cooker Ham with Brown Sugar Glaze is a natural with buttery homemade biscuits. Add a simple green veggie and you’ve got a mouthwatering menu.
How to Store And Reheat Homemade Biscuits
- Homemade biscuits can be stored in an airtight container at room temperature for a couple of days, or in the fridge for a week.
- To reheat, warm the biscuits in the oven at 350°F, or in your microwave for a few seconds.
Can I Freeze These?
- Yes! Freeze the biscuits baked or unbaked for up to three months. Either way, make sure to store them in an airtight container or freezer bag for maximum freshness.
- I recommend placing wax paper or parchment paper between unbaked biscuits to prevent sticking.
More Easy Bread Recipes
- The Best Homemade Cornbread Recipe
- Homemade Crescent Rolls (Butterhorn Rolls)
- Easy Homemade Flatbread Recipe
Easy Homemade Biscuits
Ingredients
- 2½ cups all-purpose flour,, plus extra for dusting
- 2 tablespoons granulated sugar
- 1½ teaspoons baking powder
- ½ to 1 teaspoon sea salt
- ½ cup cold unsalted butter,, cut into small cubes
- ¾ cup cold buttermilk
- 1 lightly beaten egg,, or milk for glaze
For the Maple Glaze:
- 3 tablespoons maple syrup
- 1 tablespoon butter
Instructions
- Preheat the oven to 450°F. Line a large baking sheet with parchment paper and set aside.
- In a large mixing bowl, whisk together the flour, sugar, baking powder, and salt until well combined. Add in the cubed butter.
- Using your fingers or a pastry cutter, cut in the cubed cold butter until the mixture resembles breadcrumbs.
- Make a deep well in the center of the flour mixture and pour in the cold buttermilk. Mix to form a soft dough. Do not overwork the dough.
- Transfer the dough to a lightly floured surface and knead very gently to bring the dough together.
- Lightly press the dough to a thickness of 1-inch and use a biscuit cutter to cut out 9 rounds. Combine the remaining dough again, then repeat the same procedure to get an additional 3 rounds.
- Place the rounds on the baking sheet and brush with beaten egg to glaze. Bake about 10 minutes or until well risen and browned.
- Remove from oven and leave the biscuits to cool a little on the baking sheet; serve warm.
- For the optional maple glaze, place the maple syrup and butter in a small saucepan, heat it to a simmer, and cook over medium-high heat for about 3 to 4 minutes, or until reduced.
- Coat the buttermilk biscuits with maple glaze while they are still warm.
Notes
- Butter: Use cold butter if you like those flaky layers.
- Fresh Ingredients: Use fresh baking powder and flour. That is, check the expiration date.
- Buttermilk: Buttermilk adds tenderness as well as a tangy flavor. For best results, make sure the buttermilk is cold.
- Do not overwork the dough: Handle the dough as little as possible. Every time you touch, knead and fold the dough, you are developing gluten. The more developed the gluten, the tougher the biscuit.
- Biscuit Cutters: When cutting out the biscuits, use a strong, sharp metal biscuit cutter to make it easy to cut through the dough. Avoid twisting them, or the biscuits will be sloped and won’t bake evenly.
Nutrition
Nutritional info is an estimate and provided as courtesy. Values may vary according to the ingredients and tools used. Please use your preferred nutritional calculator for more detailed info.



These look amazing. They look like the biscuits I grew up on. I love this recipe.
Thank YOU! Please enjoy! 🙂
I love a good old fashioned biscuit. What a fantastic recipe!
Thank YOU! I hope you love it! 🙂
I would like to wake up with these biscuits! They look so inviting!
Please enjoy! Thank YOU! 🙂
Looks absolutely delicious! This needs to happen in our house!
Thank YOU! I hope you and your family enjoy it! 🙂
Definitely better than store bought. So easy to make and so impressive!
Thank YOU! I hope you enjoy it! 🙂
Woah, this is my first time trying homemade biscuits! SO excited!!
That’s great! I hope you’ll love these! Thank YOU! 🙂
I will surely make this! Looks so delicious!
I hope you enjoy it! Thank YOU! 🙂