This post may contain affiliate links. Please read our disclosure policy.
Delicious and hearty Cheeseburger Pie makes the best cozy meal! A mix of savory ground beef and salty bacon is topped with flaky homemade biscuits crust – guaranteed to warm you up from the inside out!

My family, especially my daughters, absolutely love this easy recipe—it’s one of our all-time favorite comfort-food meals. There’s just something so satisfying about taking classic cheeseburger flavors and turning them into a warm, hearty dish. The buttery, light biscuits are a fun twist on the usual bun, and they make this dish extra cozy! If you’re like us and can’t get enough of these kinds of meals, you’ll definitely want to try my Cheeseburger Casserole or Cheeseburger Sliders, which are also family favorites!
Why I Love This Cheeseburger Pie Recipe
- Pure comfort food. From the buttery biscuits to the cheesy filling, this meal just shouts comfort food.
- Filling. The combo of beef and bacon plus cheese makes this a satisfying dinner. Add a simple Avocado Tomato Salad for a little color and dinner is ready.
- Kids love it! Cheeseburger pie is a kid favorite with good reason! If your kids love cheeseburgers, chances are they will also love a melty, meaty pie topped with light-as-air biscuits.
What Is a Cheeseburger Pie?
A cheeseburger pie is more like a casserole than a traditional pie because it’s topped with biscuits rather than a traditional homemade pie crust. I like to serve cheeseburger pie for dinner, but it also makes a quick lunch. You’ll find the cheeseburger basics here, turned into a one-dish meal.
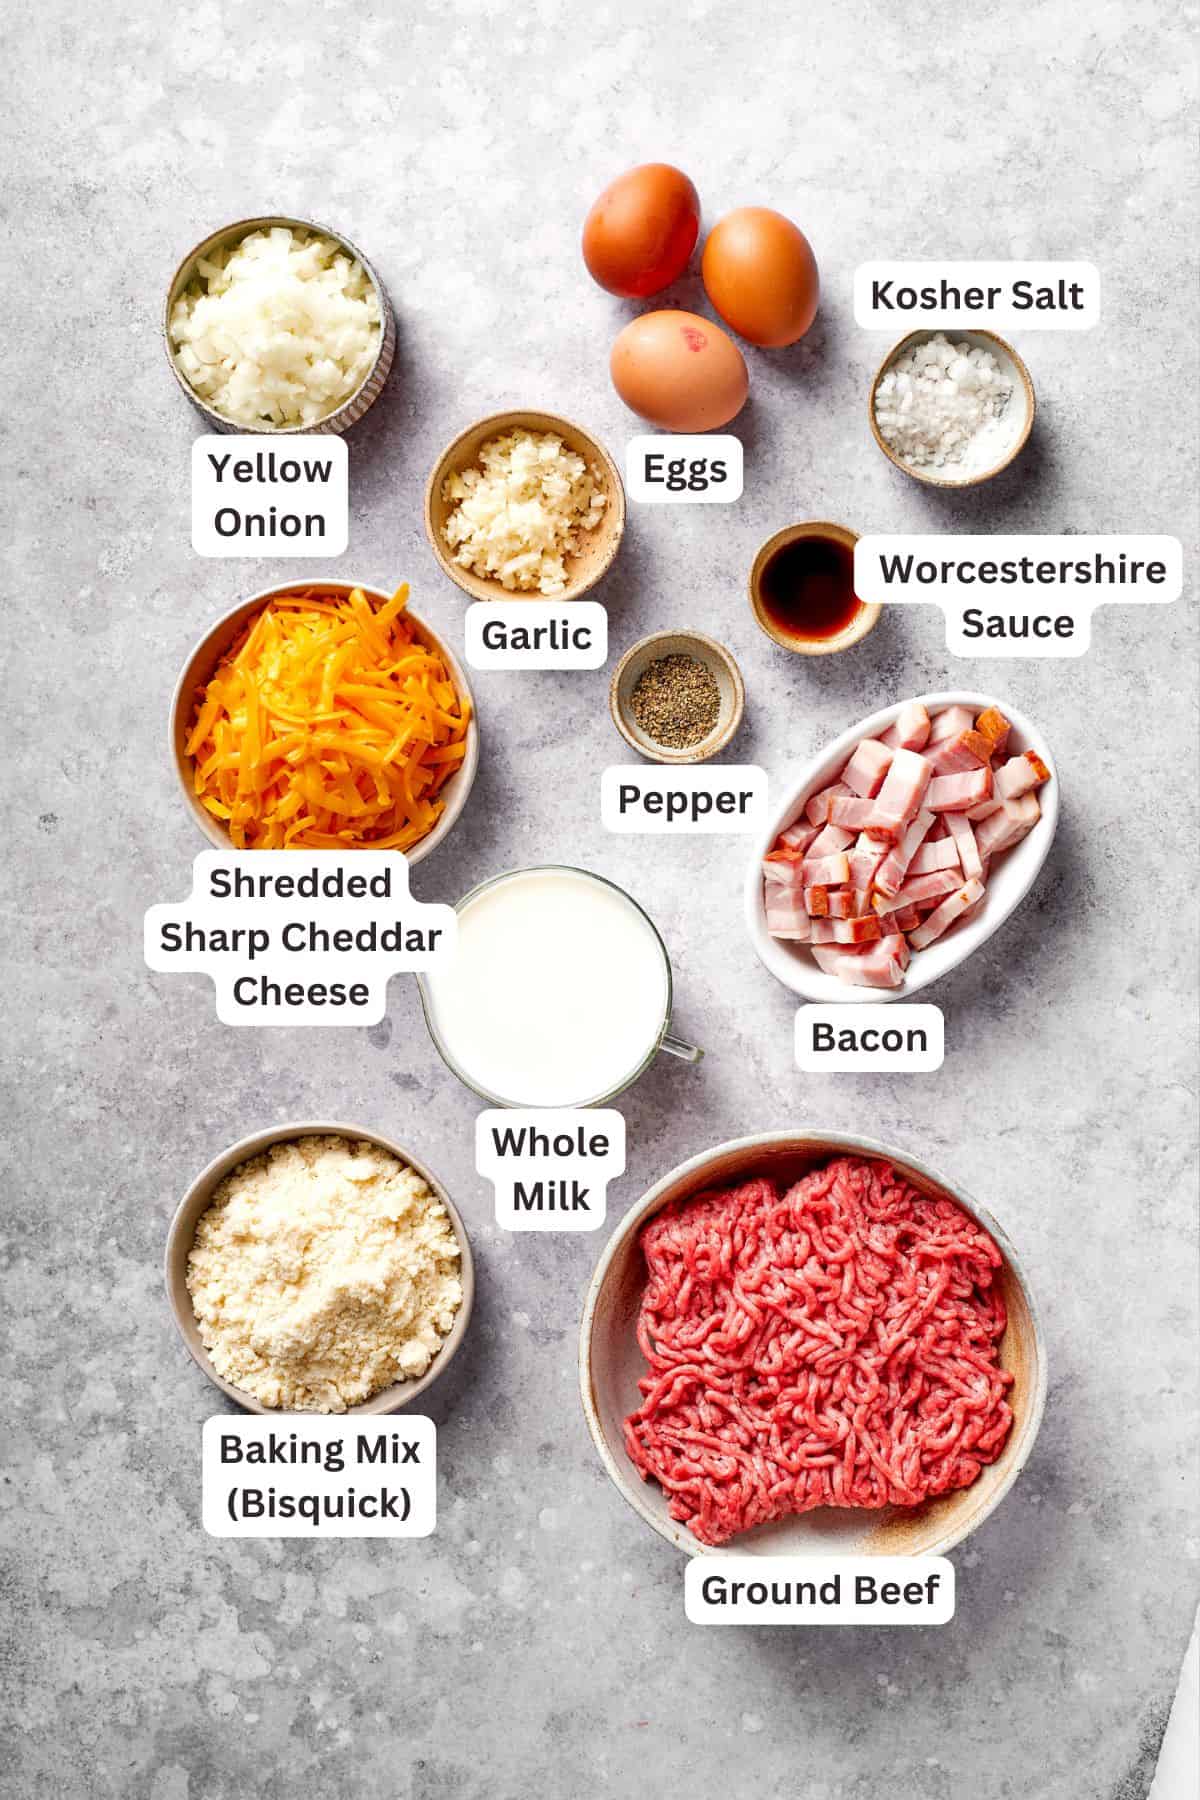
Recipe Ingredients
- Bacon – You can add more bacon, or leave it out if you don’t eat bacon.
- Ground beef – I like to use 80/20 ground beef, but you can use what you prefer.
- Seasonings – A yellow onion, garlic, Worcestershire sauce, salt and pepper add savory flavor.
- Cheese – I like to use sharp cheddar cheese for the most flavor, but you can use a milder cheddar if you like.
- Crust – To make the pie crust, I use a baking mix (such as Bisquick), whole or 2% milk, and large eggs.
- Garnish – Fresh parsley.

How to Make a Cheeseburger Pie
Transform classic burger flavors into this family-friendly dish that’s easy to make and perfect for weeknights. With simple ingredients and a few quick steps, this hearty meal comes together in no time!



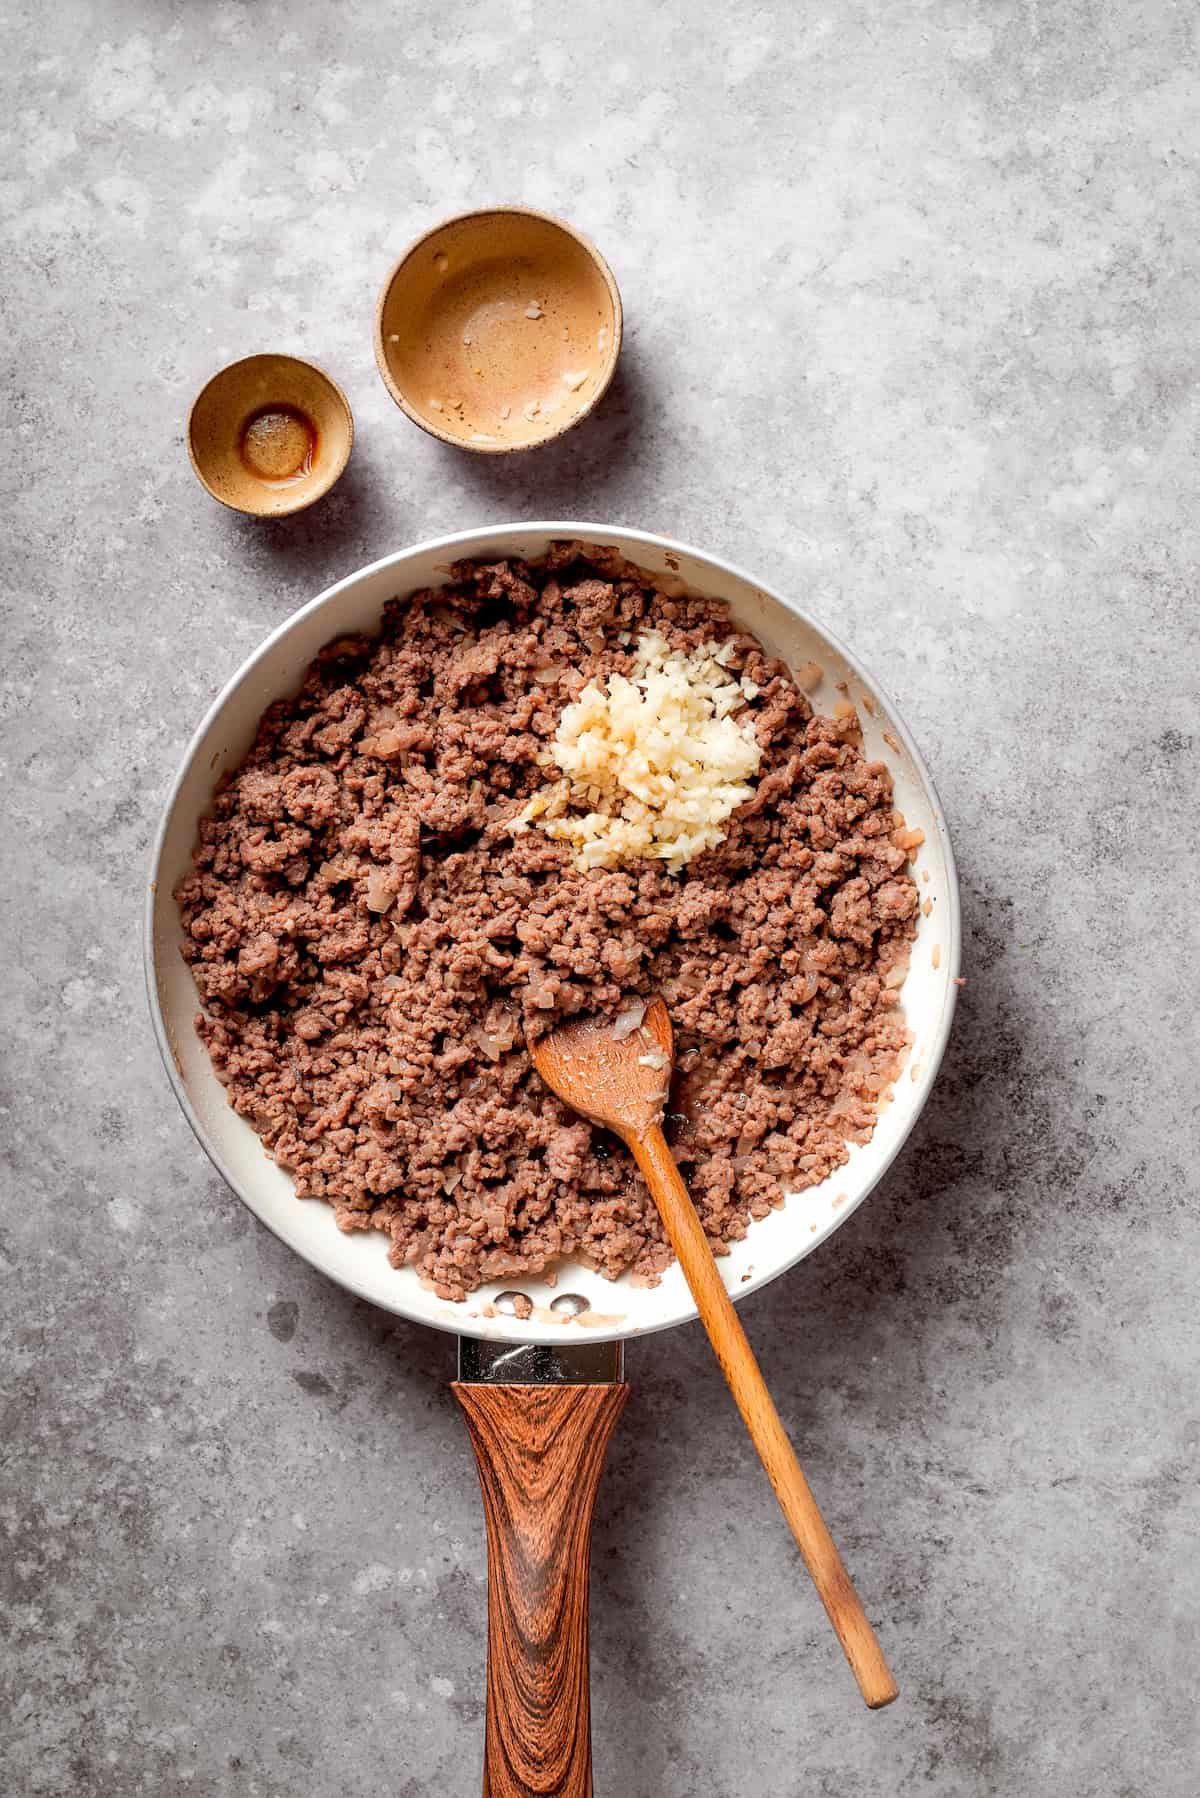

- Cook the bacon. In a large skillet over medium heat, cook the chopped bacon until it becomes crispy, then set aside.
- Cook the ground beef. In the same skillet, add the ground beef and diced onion and cook until browned, then add the garlic. Stir in the seasonings.
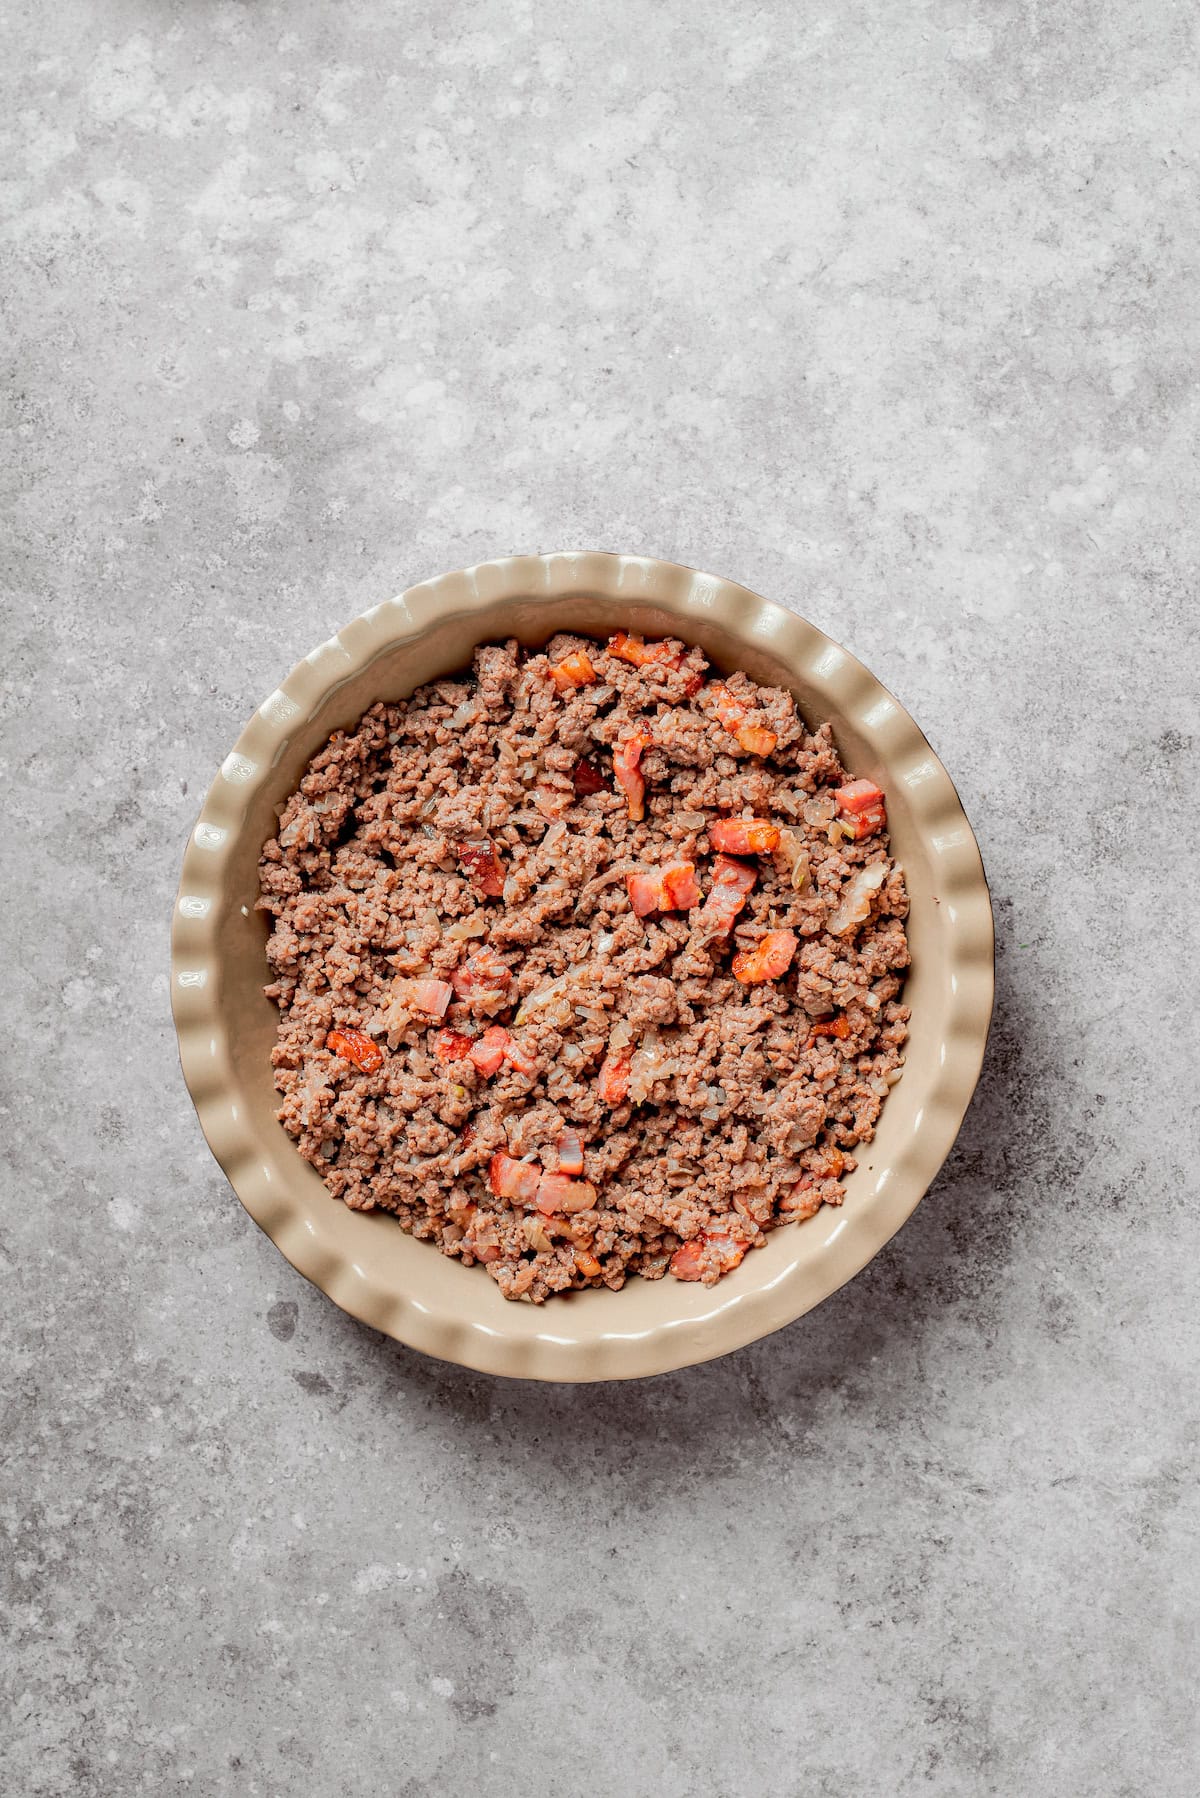
- Add to pan. Place the meat in a greased pie dish along with the bacon, then sprinkle cheese over the top.






- Prepare crust batter. In a medium bowl, whisk together the Bisquick, milk, and eggs until smooth.
- Pour over the pie. Pour the batter over the filling.
- Bake. Bake at 375°F for 25-30 minutes or until the cheeseburger pie is golden brown and cooked through.

Tips & Variation Ideas
- To keep the filling from being dry: If you’re worried about the filling being dry, you can add a little tomato sauce or cream of mushroom soup.
- Lighten it up: Swap ground turkey or chicken for ground beef, or make it vegetarian using a plant-based meat substitute (use vegetarian bacon or leave it out).
- Add more seasonings: For that super cheeseburger vibe, stir in some ketchup and tomato sauce to the filling.
- Other cheese: Sharp cheddar adds a ton of flavor, but you can try another cheese like Jack cheese for a mellower cheesy note. You could also add some chopped-up slices of American cheese on top of the crust during the last 5 minutes of baking time.
- All the toppings: Don’t forget a side of pickles and dishes of mayo, ketchup, and mustard to recreate that classic cheeseburger taste.
Serving Suggestions
This hearty meal needs a side of vegetables to balance out the richness. I recommend a simple bowl of steamed broccoli or sauteed green beans. Salad is always a welcome choice – fresh, crisp greens paired with cucumber, carrots, and radishes dressed in a light vinaigrette are easy and reliable, or just cut up a few ripe tomatoes. Or, make my garlic fries and pretend you’re at a burger joint! My pizza fries recipe is also yummy!
How To Store And Reheat
- Fridge – Place cooled leftover cheeseburger pie in an airtight container and store it in the fridge for up to 3 days.
- To Reheat – You can reheat the pie in an oven-safe dish in a 350°F oven until the cheese is melted, the filling is hot, and the biscuits are slightly crisp, about 15-20 minutes. Or, heat the pie in the microwave on a microwave-safe plate in 1-minute increments. If you use the microwave the biscuits will not be as crisp as with the oven method.

Cheeseburger Pie Recipe
Ingredients
For the Filling:
- 6 slices bacon, chopped
- 1 pound ground beef, I use 80/20 lean ground beef
- 1 large yellow onion, finely diced
- 3 cloves garlic, minced
- 1 tablespoon Worcestershire sauce
- 1 teaspoon Kosher salt
- ½ teaspoon freshly ground black pepper
- 1½ cups shredded sharp cheddar cheese
For the Crust:
- ¾ cup baking mix, such as Bisquick
- 1 cup whole milk
- 3 large eggs
- fresh parsley, chopped (for garnish)
Instructions
- Prep. Preheat the oven to 375°F. Lightly grease a 9-inch pie dish or a similar-sized baking dish.
- Cook the bacon. In a large skillet over medium heat, cook the chopped bacon until crispy. Once done, remove it from the skillet and set it aside on a paper towel-lined plate. Keep a small amount of the bacon drippings in the pan for extra flavor.
- Cook the ground beef. In the same skillet, add the ground beef and diced onion; cook it over medium heat until it is browned, breaking it up with a spatula as it cooks. Once the beef is cooked and onion is softened, add the minced garlic and cook for another 30 seconds.
- Season. Stir in the Worcestershire sauce, salt, and pepper.
- Transfer it to the pie dish. Return ⅔ of the cooked bacon to the pan, setting aside the rest for garnish. Transfer the meat mixture to the prepared pie dish and sprinkle the shredded cheese evenly over the top.
- Prepare the crust batter. In a medium bowl, whisk together the Bisquick, milk, and eggs until smooth. Pour the batter over the meat and cheese in the pie dish, ensuring it covers the entire surface.
- Bake. Pop it in the oven and bake for 25-30 minutes or until the pie is golden brown and a knife inserted into the center comes out clean.
- Let it rest. Remove the pie from the oven and let it cool for 5 to 8 minutes before slicing.
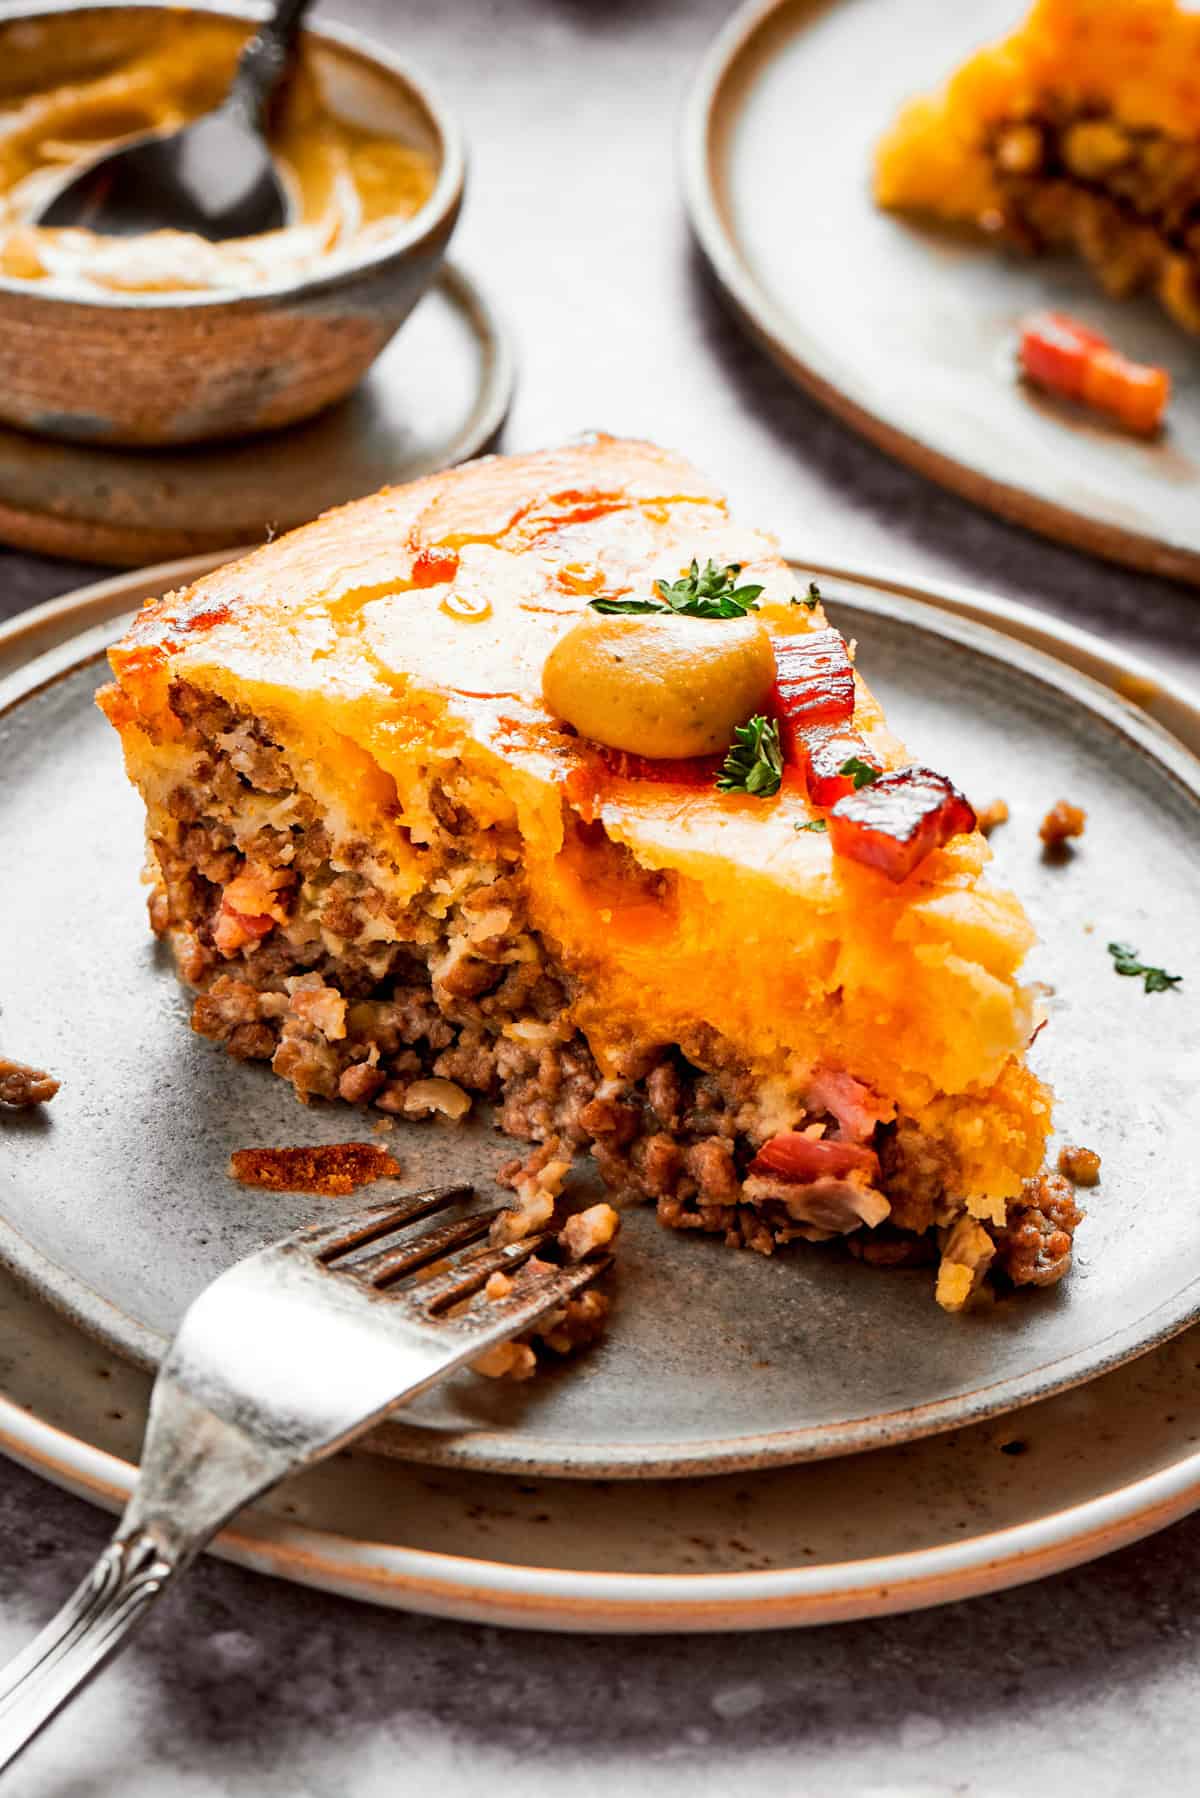
- Serve. Top with the remaining bacon and optional burger toppings like mustard. Cut it into wedges, garnish with fresh parsley, and enjoy!
Equipment
Nutrition
Nutritional info is an estimate and provided as courtesy. Values may vary according to the ingredients and tools used. Please use your preferred nutritional calculator for more detailed info.









Cheeseburger Pie sounds like the ultimate comfort food! 🍔🥧 The combination of savory ground beef, crispy bacon, and a flaky homemade biscuit crust is just mouthwatering! 😋 It’s the perfect meal for cozy nights in. Do you have any favorite side dishes that pair well with it?
Thank you! 😊 Cheeseburger pie really is the ultimate comfort food! My little one would immediately tell you to serve it with pickles and fries—and I agree with her! But honestly, I think it’s great with a simple side salad or even some roasted veggies for balance 😉.
I made it with a tater tots bottom. I fried my tots, and then assembled them on the bottom of the pie pan. Just follow the directions and it turned out great. My grandson loves it!
That sounds like a delicious twist! Using tater tots as the base is such a creative idea, and I’m glad it turned out great for you. Thanks for sharing your awesome variation! 🙂